TURKEY THREE WAYS (AND GRAVY!)
Roast, Smoke, or Grill your Thanksgiving Turkey for hands-off perfection!
Wanna hear something crazy?!? We started What’s 4 Dinner? one year ago! Happy anniversary to us! We hope you’ve enjoyed a peek into our kitchens every week, and above all, we hope you’ve found our info useful, our recipes tasty, and that you’ve shared them with your loved ones. This newsletter is a true labor of love, and nothing makes us happier than seeing you cook from it!
If you’ve enjoyed it, consider gifting a subscription to someone who might like some weekly kitchen inspo—it’s FREE!
This week, we’re breaking down how to cook and carve your Thanksgiving turkey. Plus, we’re giving you a make-ahead gravy recipe that will be your new Thanksgiving MVP! There’s A TON OF INFO in this newsletter, so let’s get right to it…
CONSIDER YOUR BIRD COOKED
(AND CARVED)!
EK: And we’re back for Turkey Talk: Part Deux! It’s time to cook and carve the bird, and you’ve basically got three options—the oven, the grill, or the smoker. All three methods are virtually hands off. We promise the turkey will be the easiest thing you cook all day!
AU: This! Every year I hear from people who are intimidated to cook their Thanksgiving turkey. If you roast chicken, you know exactly what to do.
Like Elizabeth said, the best turkey recipes are ones that are completely hands-off! Honestly, a good turkey doesn’t need all that crazy sh*t you read online (yes, I realize you’re reading online right now). You don’t need to baste every 30 minutes, don’t do the whole melted-butter-cheesecloth-blanket thing, don’t start your bird upside down and then flip it halfway through—the juice ain’t worth the squeeze!
EK: Amen Brother! And, if you missed last week’s newsletter, we discussed how to choose a bird and prepare it for cooking (brine vs. dry brine). Check it out here!
TURKEY IS THAWED. NOW WHAT?
AU: So by now, you’ve got your perfectly thawed turkey out of its packaging. What’s next? Well, you gotta do some turkey spelunking and remove the giblets… How many people have cooked their turkey with the neck and the giblets still inside?
EK: And the answer is…soooooo many people!
The giblets and the neck bone are tucked away inside the cavity of the bird. The neck bone is the neck bone, but the “giblets” are the collection of the turkey’s small organs, a.k.a. offal. Typically the giblets include the heart, gizzard and liver.
You will have to stick your hand in the cavity of the turkey (I generally put a glove on) to remove them. And, you will have to stick your hand in both sides of the turkey – one side has the neck bone and one side has the giblets tucked inside.
This is also a good indicator to see how thawed the turkey is. If it is still frozen, it will be hard to remove the package of giblets and the neck bone. If it is still frozen, place the turkey in cold running water until you can remove the neck and giblets. The giblets are generally packed together in a food-safe bag but it is better not to roast the turkey with them inside.
Now that we’ve talked all about giblets, if you can’t find them, chances are your turkey didn’t include them. Used to be that “giblet gravy” was the preferred gravy served on Thanksgiving, so everyone wanted the giblets, but these days not everyone makes their gravy from scratch—or uses the giblets—so some turkey companies have stopped including them, only to have them thrown away by the home cook.
AU: Sidebar about my mom: one of the first Thanksgivings as an “adult,” she and her friends were having such a good time preparing the meal (aka drinking booze) that they unknowingly roasted the bird with a dish scrubby inside of it. When they went to remove the stuffing, long fluorescent green strands of plastic came out instead! Quite the cautionary tale, no?
EK: OMG! I thought I had heard everything (including a cat that crawled into the cavity of a turkey), but that’s a new one for me! Can you imagine the look on their faces?! I hope they laughed it off, instead of cried!
EK: And, I am so glad you told that story because someone must have been washing the bird! And, that reminds me to mention, don’t wash your turkey. If you’ve ever cooked chicken, you know that all poultry has the possibility of salmonella and the less you spray the poultry juices around, the better. The heat in the oven/grill/smoker will cook and kill any bacteria without any risk of cross contamination.
GET THAT BIRD COOKIN’
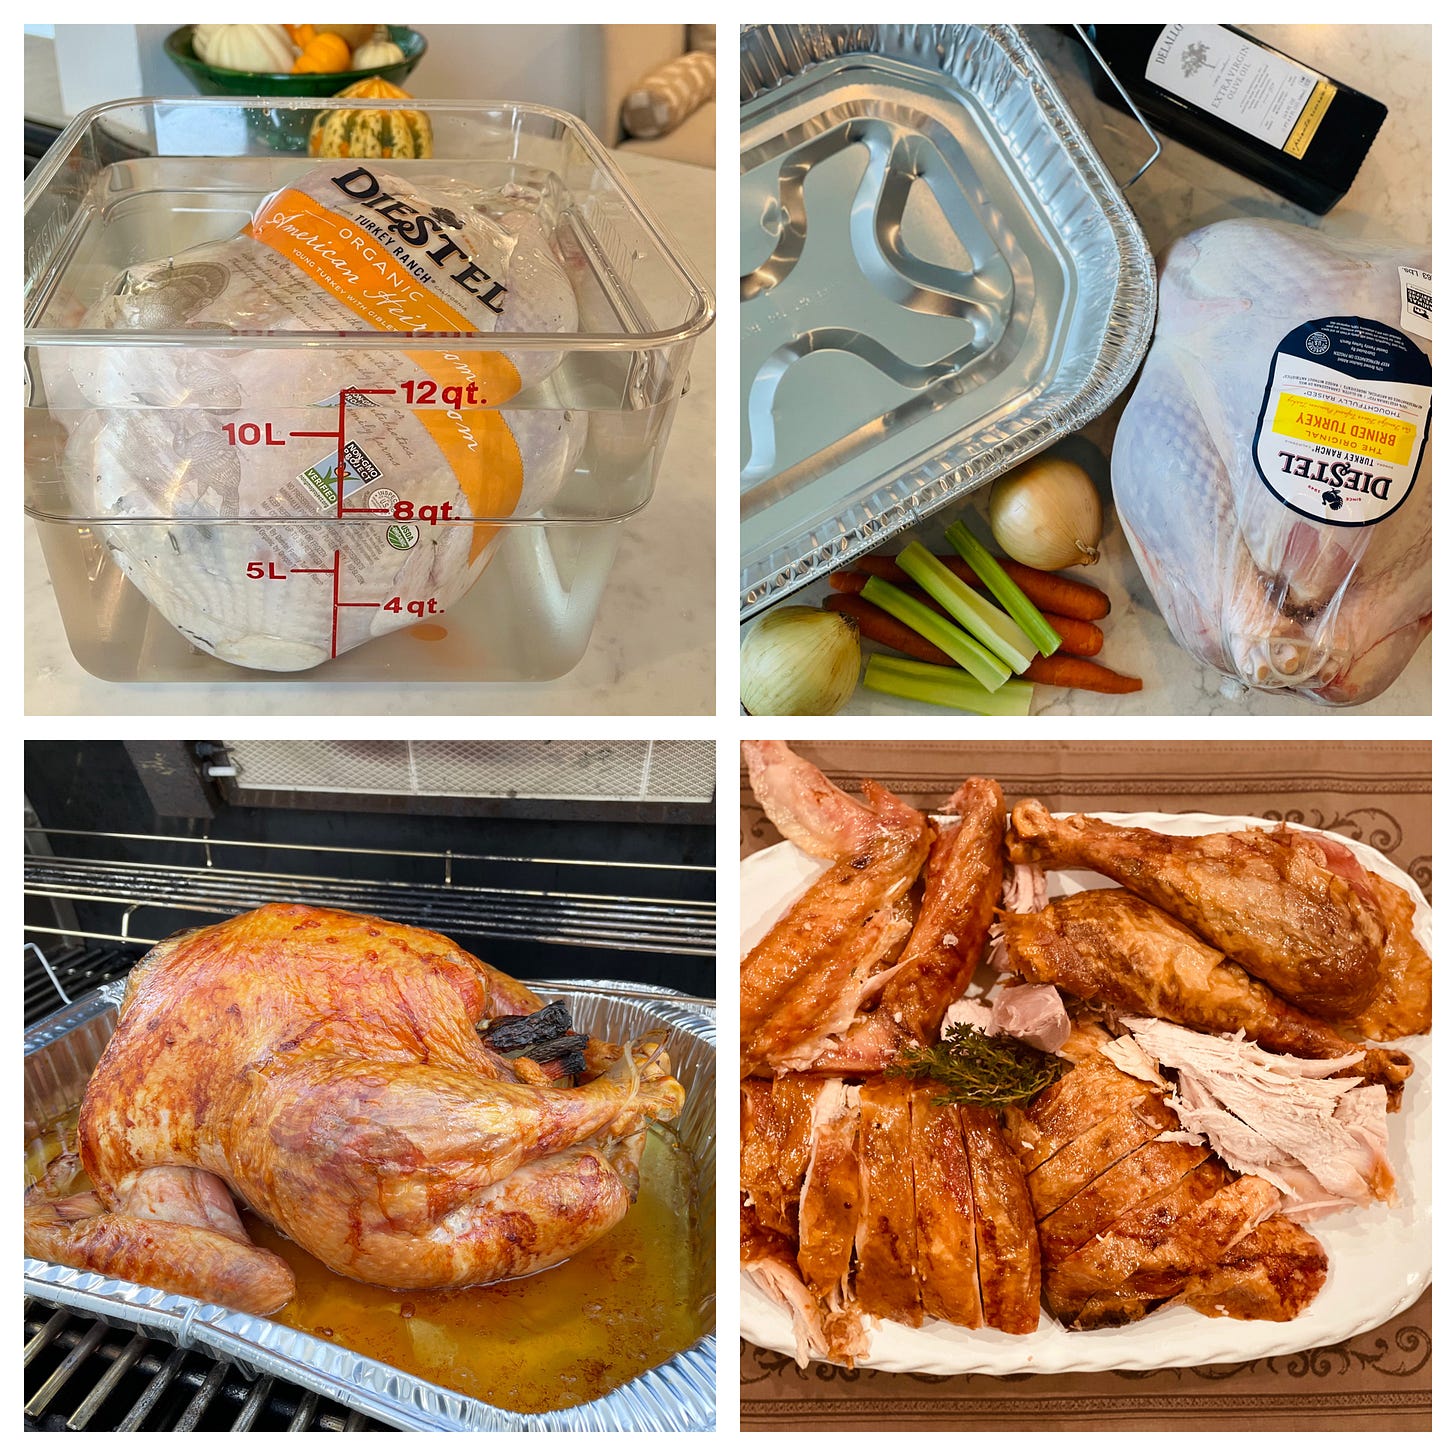
EK: Once the neck bone and giblets are removed, all you have to do is brush the skin with a light coat of olive oil to seal in the juices. Season with salt and pepper, if you haven’t brined the turkey, and roast it in a pre-heated 325ºF oven, grill, or smoker in an open pan. The result will be a beautiful turkey with golden-brown colored skin, crispy with virtually no muss and no fuss!
AU: And please—for the love of all things holy—USE A THERMOMETER!! It is truly the only way to actually know if the bird has been cooked through. If you bought a turkey with a pop-up plastic one—TAKE IT OUT IMMEDIATELY. That thing is a one-way ticket to Sawdust City®. Instead, use an oven-safe leave-in thermometer, a digital instant-read thermometer, or a cool smart thermometer that connects to your phone, like this one from Chef IQ.
The USDA recommends cooking turkey to at least 165ºF to be food safe. Because the temperature can still rise after you take the bird out of the oven (thanks to carry-over cooking), I usually take my turkey out when the breast meat registers between 160-165ºF, and the dark meat has reached at least 175ºF.
And yes, it’s safe to eat the dark meat if it’s still pink, if the temperature in the leg/thigh has reached at least 165ºF (but it will taste better at 175ºF or above).
OVEN-ROASTED TURKEY
12-14 lb. turkey, thawed
Olive oil
Basic Brine
Preheat oven to 325ºF. Remove turkey from brine and pat dry. Remove the neck and giblets and reserve for other uses or throw away. Remove and discard excess fat. Twist wing tips under back—this is called “wings akimbo.”
Place turkey, breast-side up, on a flat rack in a shallow pan, about 2-inches deep. Brush skin with a light coating of olive oil. Place in a preheated 325°F oven.
Let roast 11-13 minutes per pound or until an instant-read thermometer inserted in thickest part of the thigh (not touching the bone) registers 175°F and the juices run clear. Transfer turkey to a platter and let stand for 15-20 minutes before carving.
TURKEY SAVE:
If you’ve overcooked your turkey, cut the turkey into slices, pour gravy directly on top of it, and gently heat it in a 300ºF oven.
GRILL-ROASTED TURKEY
Grilling Method: Indirect/Medium Heat
12-14 pound turkey, thawed
Olive oil
Kosher salt and freshly-ground pepper
Remove the neck and giblets; reserve for other uses or throw away. Remove and discard excess fat. Twist wing tips under the back of the turkey—this is called "wings akimbo."
Brush turkey with oil and lightly sprinkle with salt and pepper—if the turkey is brined, no need to season the turkey, just brush with oil.
Place turkey breast-side up directly on the cooking grate of a grill or in a disposable foil roasting pan, if you want the juices. Cover grill with lid. Charcoal grillers will have to add about 15 briquettes to each side every hour, gas grillers don't need to do any tending. No need to baste, the thin coating of oil will promote browning and keep the juices inside the bird, a.k.a. keep the bird juicy!
Cook 11-13 minutes per pound or until an instant-read thermometer inserted in thickest part of the thigh (not touching the bone) registers 175ºF and the juices run clear. Transfer turkey to a platter and let stand for at least 20 minutes before carving.
SMOKED SPATCHCOCKED TURKEY
EK: This is essentially the same method as grilling the turkey. Set your smoker to 325ºF and smoke away. You can spatchcock your turkey—just like a chicken—or have your butcher do it. If you choose to spatchcock, the turkey will cook faster because of the wider surface area, which means the white and dark meat will be done closer to the same time.
CARVING YOUR MASTERPIECE
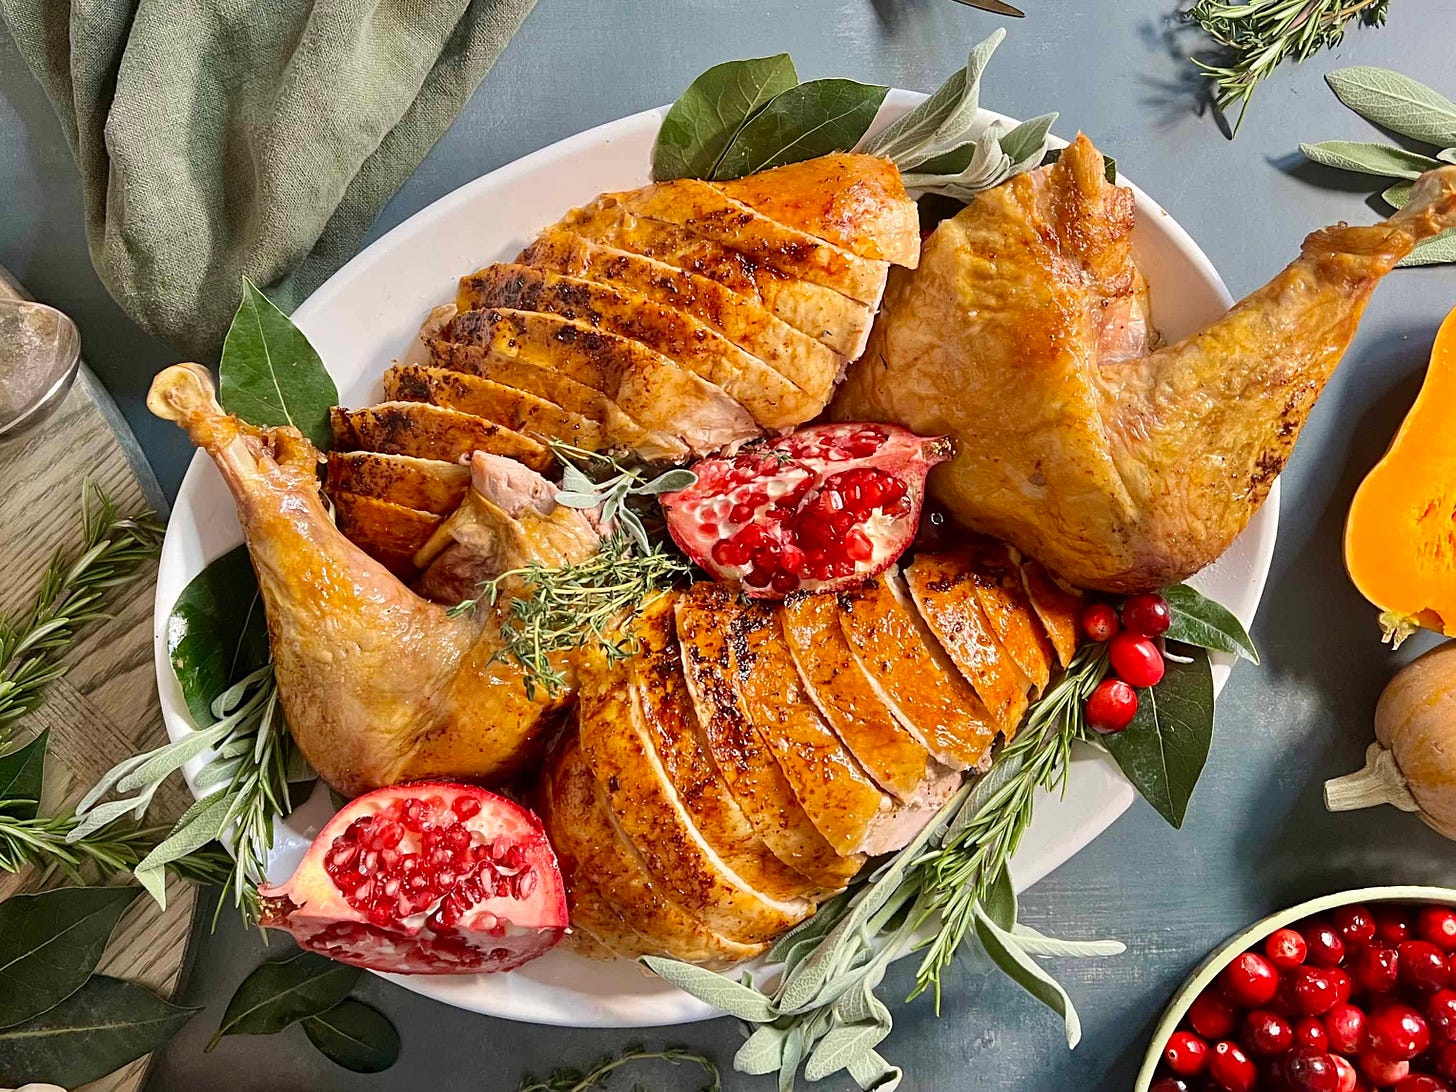
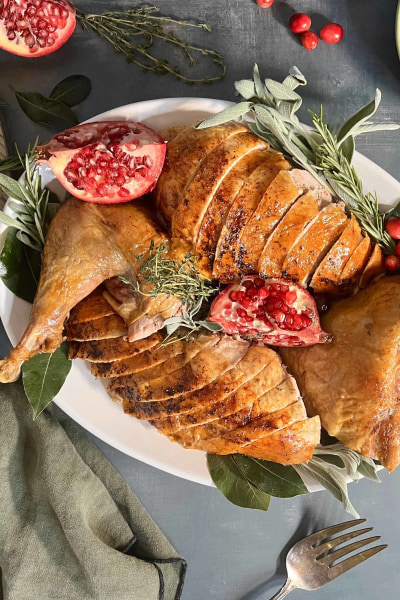
EK: Instead of cutting large slices from the breast lengthwise, like a Norman Rockwell painting, carve like a Butcher.
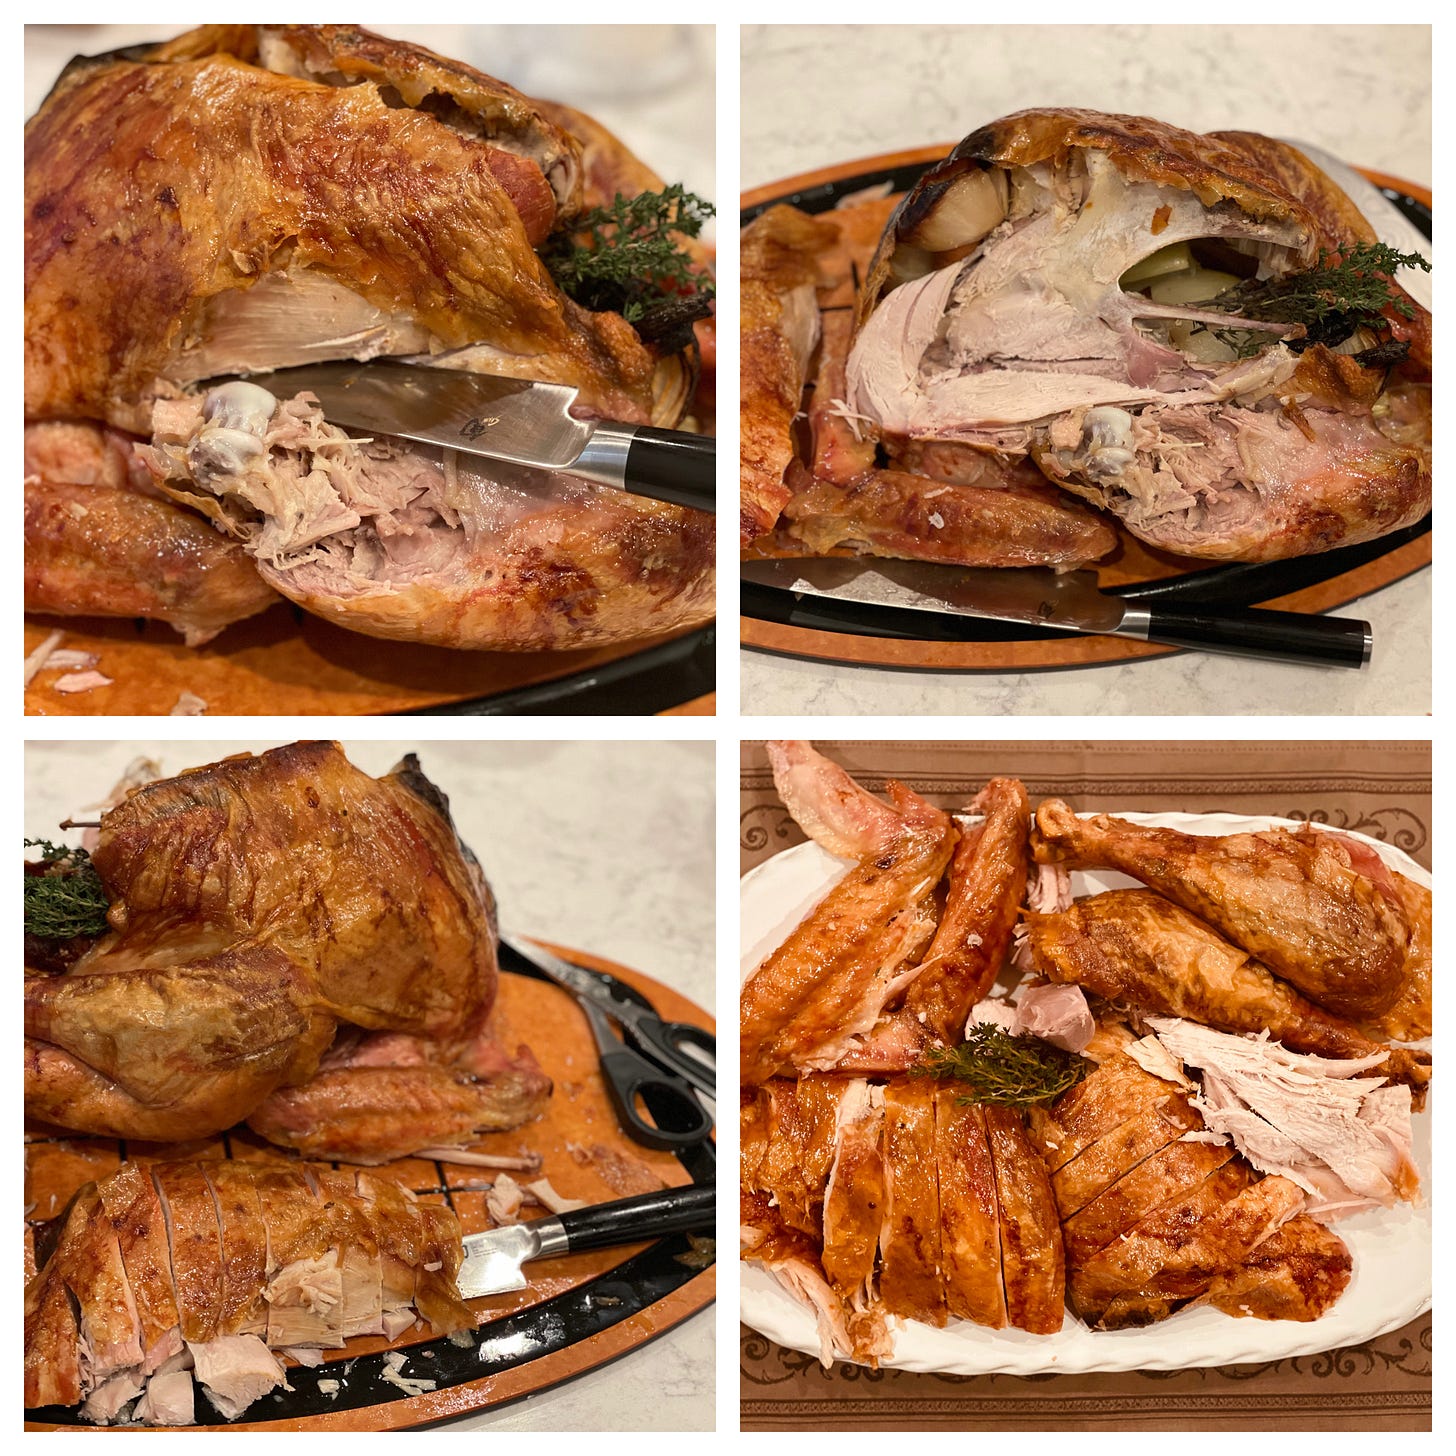
To do this, remove the whole breast from the bone and cut across it to make crescent-shaped chunks. Place it on the serving platter as the whole breast and then cut off and add the drumsticks, thighs, and wings. Make sure you always have a sharp knife—a sharp knife will make carving the turkey a breeze.
EK: The photos above are the non-styled real-time steps that I take to carve the turkey. I use both a pair of kitchen scissors and a carving knife.
AU: Here are detailed instructions for carving like a butcher!
REMOVE THE LEG/THIGHS: Cut downward through the skin where the leg/thigh meets the body of the bird. Push the entire leg/thigh towards the cutting board to pop the leg bone and reveal the joint where the leg/thigh attaches to the bird. Insert the tip of your (very sharp) knife into the joint and cut through the tendon to release the leg. Continue slicing through the thigh meat until the leg/thigh is removed from body. Repeat on other side.
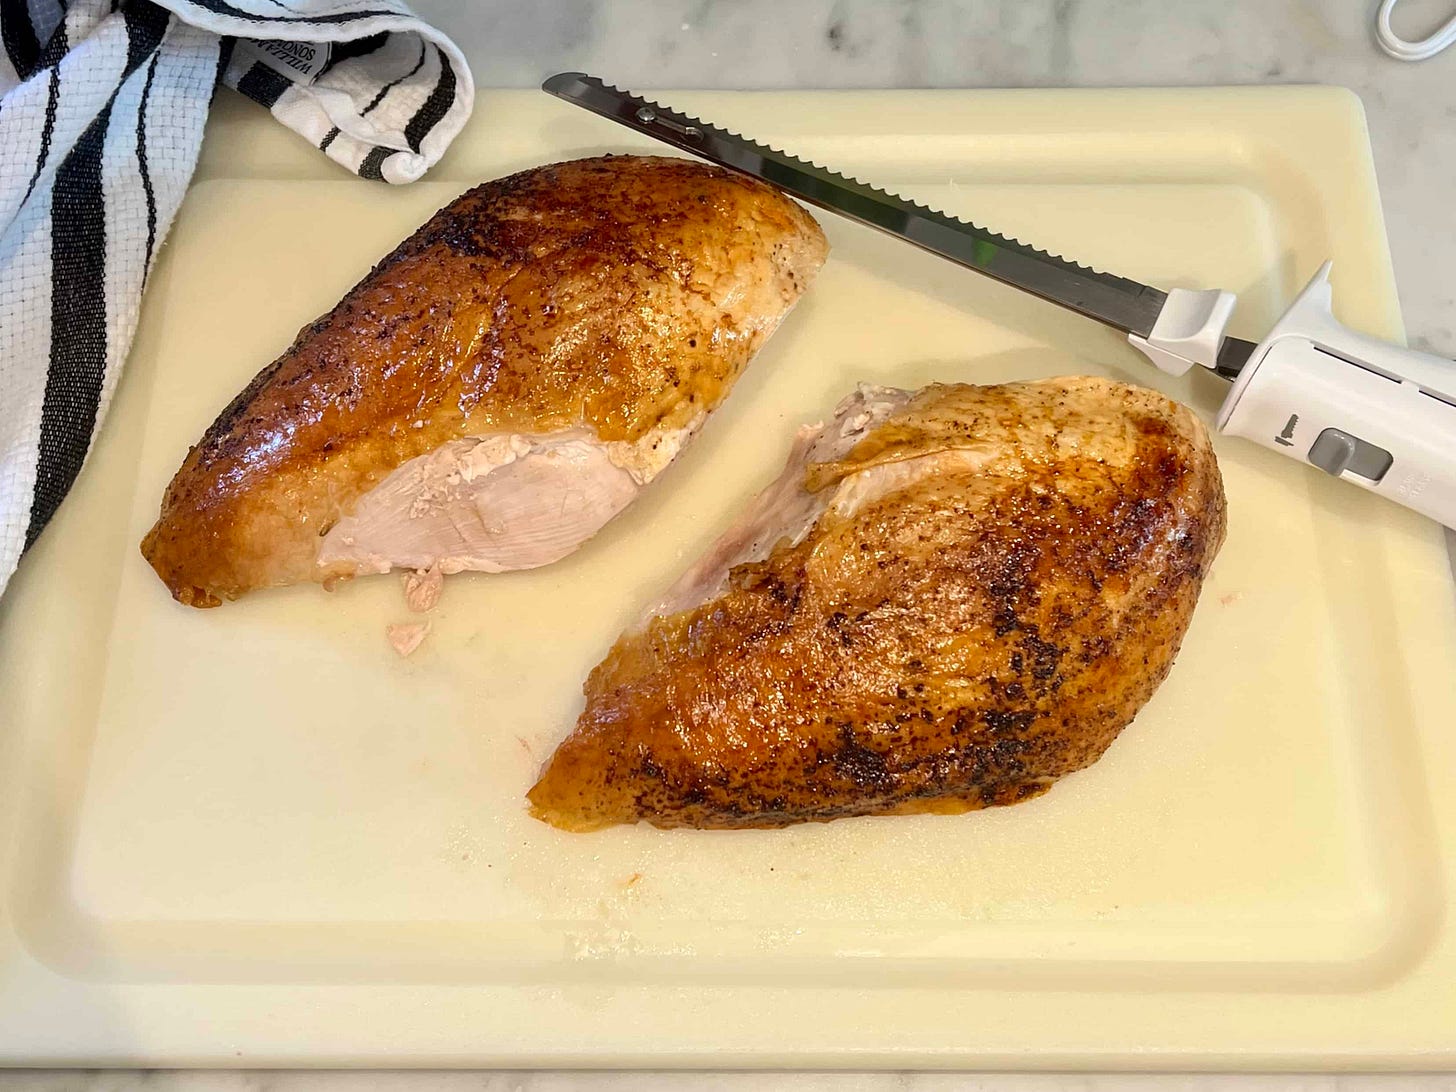
REMOVE THE BREAST MEAT: Once both leg/thighs are gone, there is ample room to remove the breasts. Cut a straight line under the breast (parallel to the cutting board). Then, starting on top of the turkey along the keel bone, slice downward (perpendicular to the cutting board) to release the breast in one boneless lobe. You may need to make a few slices and gently pull the meat away from the carcass as you slice. If you miss a few pieces of white meat, don’t worry. It pulls right off the bone for leftovers! Repeat on other side. Set the two boneless breast pieces with cut-side-down on the cutting board, and slice crosswise into 1/4” to 1/2”-thick pieces.
SEPARATE DARK MEAT: Turn the leg/thigh pieces over to reveal the cut side. You will see a small line of fat that separates the drumstick from the thigh. Cut through that to separate the two, and slice the thigh meat, as desired. Remove turkey wings and add to platter (but I always consider these the “Cook’s Treat”).
EK: It’s important to have a really sharp knife, and if you look at my platter vs. Anthony’s platter, you will learn another trick—I know that I did! When I saw how neat and sharp Anthony’s slices were, I was like…WHAT?! And then he told me that he uses an electric knife! I mean look at his picture-perfect platter!
EK: I’m not going to lie, I have plating envy for sure. Mine tasted great and looked fine, but Anthony’s turkey takes the cake! I am getting an electric knife for sure!
AU: Growing up, we always used an avocado green electric knife my parents got as a wedding gift to cut briskets, roasts, turkeys, etc. So it was just a natural instinct to do the same now! Once I have both breasts removed the way Elizabeth explained above, I just slice them into neat and tidy, forkable slices. My trusty Hamilton Beach electric knife cuts through the crispy skin and succulent meat like buttah! Unfortunately, they no longer make it in 1970 avocado green. *Do not try to carve the turkey OFF the bones with an electric knife.*
AND THE REST IS GRAVY…
AU: Do not even THINK about making gravy from scratch on Thanksgiving day. What kind of masochist are you?!? Make it this weekend. This would also be a great time to make your pie dough, cranberry sauce, and prep anything you can to make your Thanksgiving week prep list more manageable.
If you’d like to follow along my Turkey Timeline that I’ve been using for years, here’s a downloadable PDF (with a shopping list!).
AU: The recipes in the Turkey Timeline are fantastic ones I’ve gathered over the years. But this year, it’s just going to be a few of us, so I’m not going quite as hard in the cooking department… which brings me to a VERY streamlined gravy recipe…
I would estimate that 9 out of 10 people say the GRAVY is one of the most important components to a Thanksgiving meal, and rightfully so! It covers up any shortcomings in the turkey department, and frankly, if you’re not covering everything on your plate with it, you’re a monster.
I typically roast some turkey parts (like backs, necks, wings—whatever I can pick up from the butcher counter) in the oven and then make a rich turkey stock out of it… but this year, I wondered what would happen if I just seared the parts in my electric pressure cooker and then added the aromatics to make the stock.

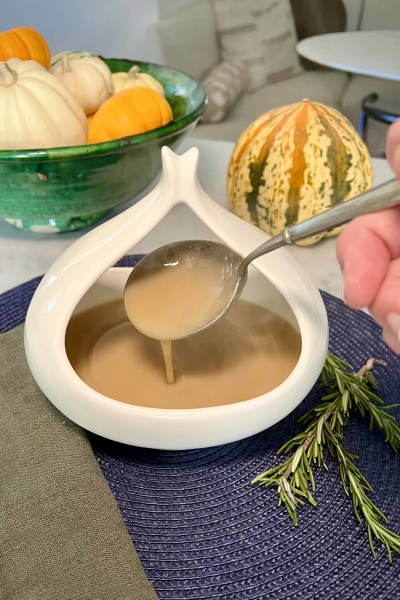
AU: Well, I’m happy to report that it’s a delicious and EASY base for turkey gravy! All done waaaaaaay before that bird even sees the oven! Then, on the big day after you’ve taken the turkey out of the oven, all you have to do is collect your drippings and let them settle, defat them, and add to the pre-made gravy base. For good measure, I always love a little extra splash of white wine, cognac, or bourbon (Confession: I love a slightly boozy-tasting gravy).





Congratulations on a year of What’s 4 Dinner! I look forward to it every week. It makes me feel like I’m in the kitchen with you, cooking and kibitzing with friends. Thank you!
HAPPY ANNIVERSARY!! I’m so happy for and proud of you both for what you’ve accomplished. This newsletter is so much fun to read every Thursday morning and it’s clear to all how much thought and work you put into each week’s content. Oh, and I’ve never had better food. I love recipe testing!!