YOUR STEAK WILL BE GREEN WITH ENVY
Happy March to all! This week Elizabeth is taking a closer look at ways to turn a Virtuous Green Vegetable (VGV) into a crave-worthy side with one simple flavor-packed make ahead ingredient! Perhaps you already have a delicious main dish, like mac ‘n’ cheese or roast chicken… but you need something to make it a meal? TheVGV may just be your new favorite part. And even though Anthony’s an Aquarius by birth, he’ll show you how he keeps his kitchen in Virgo-worthy shape with a kitchen drawer secret weapon.
VGV (Virtuous Green Vegetables) 2.0
EK: This is all about how to turn a VGV into a Craveable Dish with a simple flavor booster. When Anthony coined the term VGV last week, it really hit home. I can’t tell you how many meals and menus I’ve created and then said, “But we need a green vegetable!”
In fact, the same thing happened this weekend when I cooked dinner for my good friends, Matt and Brendan. I roasted carrots and potatoes, but had nothing green, so Matt said he would bring over some green beans. Now I like green beans okay—especially when I grill them—but let’s face it, they are kind of boring!
AU: Confession time: I used to eat canned green beans EXCLUSIVELY (Del Monte Whole Green Beans, to be exact). They weren’t even green! But they were one of the only green-ish vegetables my mom could get us to eat when we were little.
EK: I don’t think that even my flavor-packed ingredient could get me to eat a canned green bean…
Back to my green-bean epiphany. Saturday night, Matt brought over a bag of trimmed green beans from Whole Foods. I buy this same bag all the time—and have for years—because it is a perfect 12-ounce portion. I never knew that it was a microwave-ready bag of green beans!! In fact, I have never microwaved any fresh vegetable before—only frozen vegetables like chopped spinach. Anyone else out there who didn’t know this? or am I alone?
AU: Well, this is awkward… I think it’s just you, EK. I feel like most of America prepares their veggies this way. Or at least the store-prepped ones!
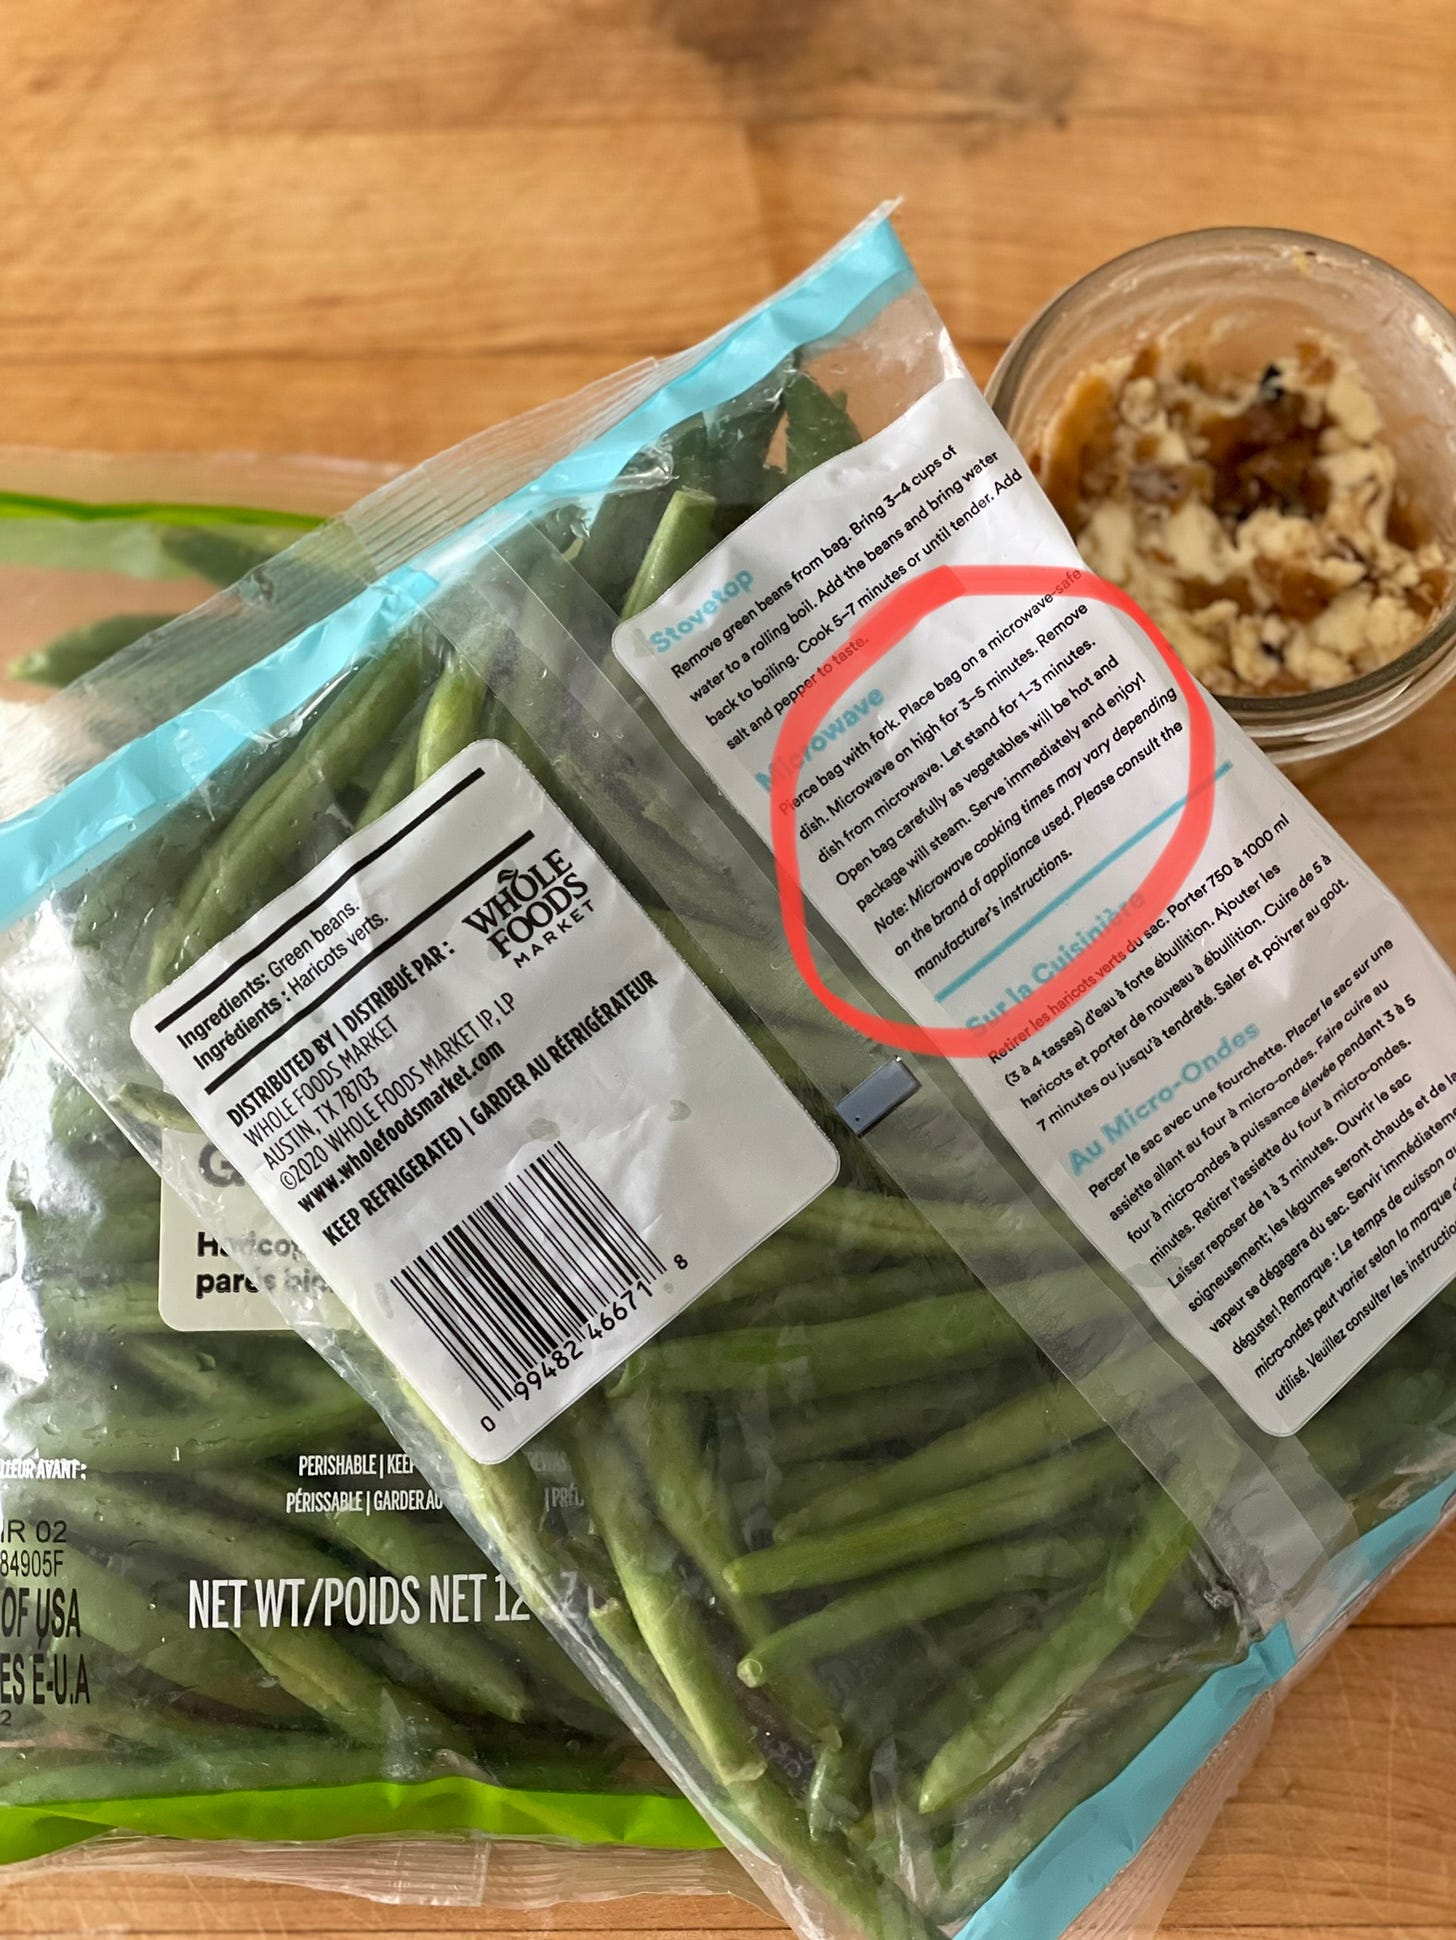
EK: So you told me. I don’t know why I didn’t know this, but I didn’t… if I had turned the bag over and read the instructions, I would have learned this eons ago!
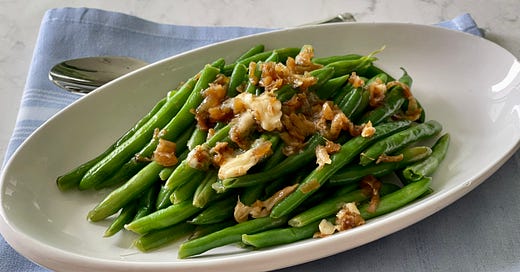
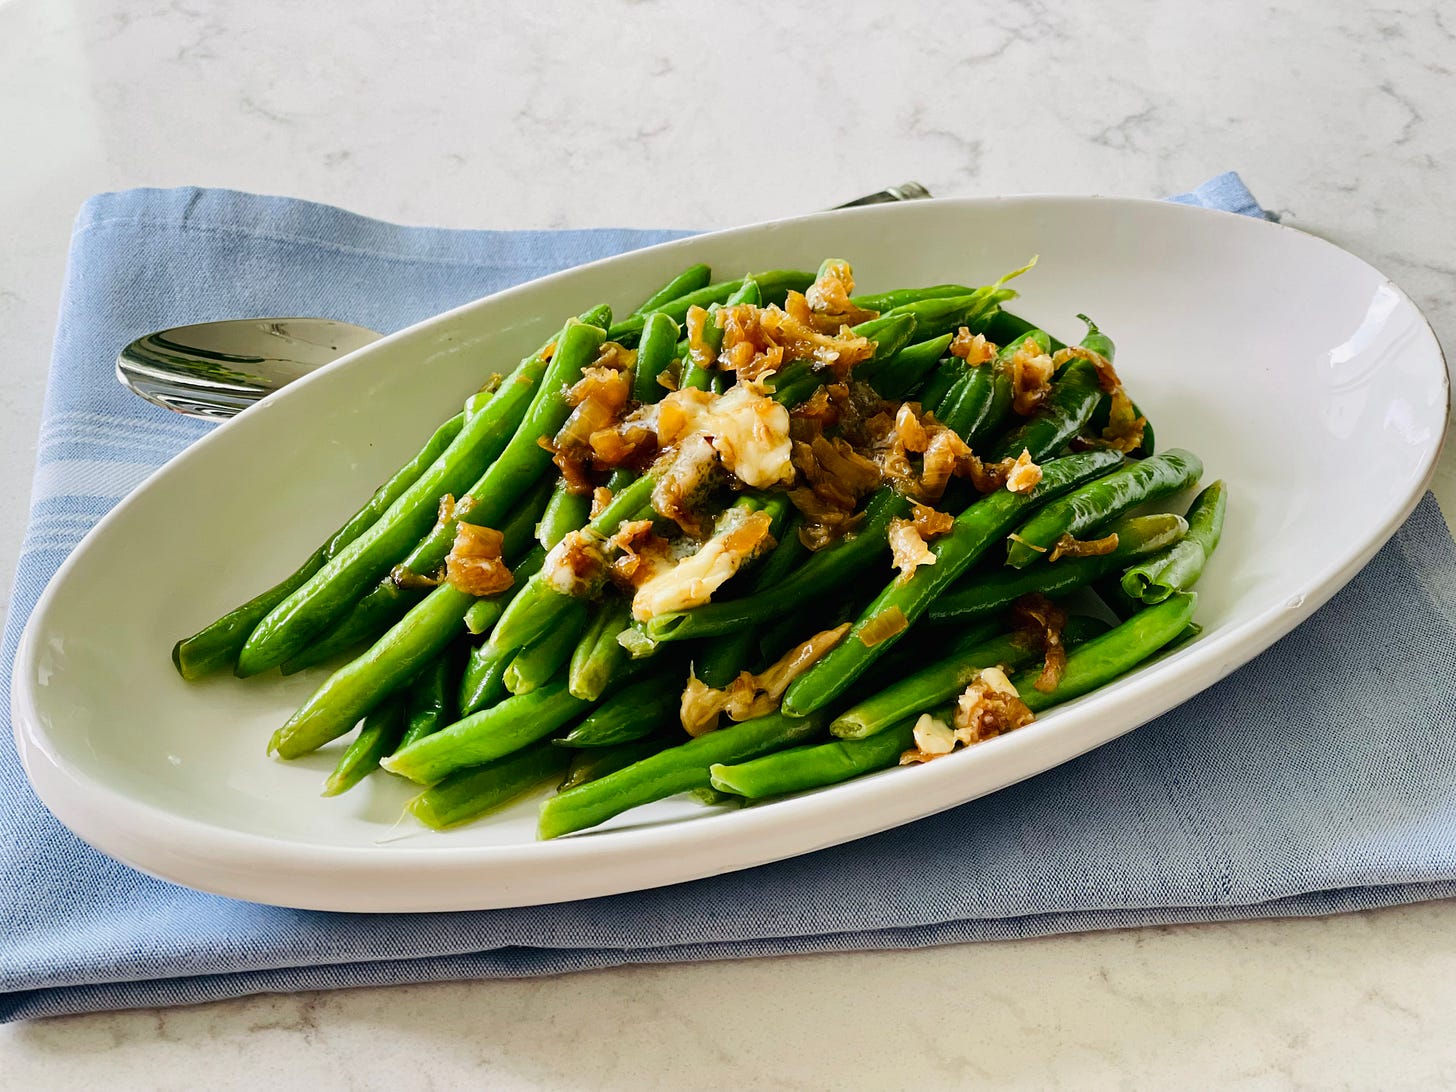
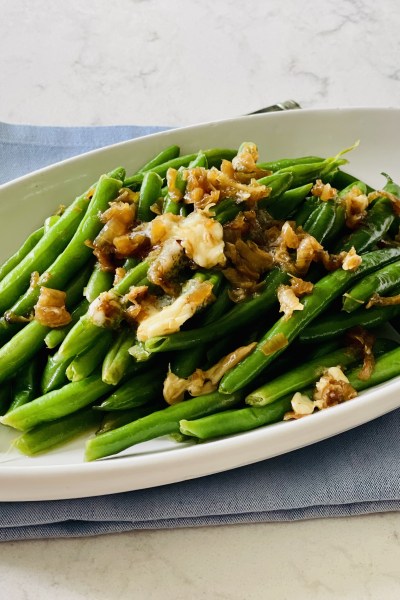
Back to my dinner and the green beans. Matt microwaved the green beans and they were well-cooked with no pot to clean which was a bonus. They were tender and still bright green, but they needed a little dressing up with some flavor. I had a Roasted Garlic and Onion Butter in my refrigerator and 2 tablespoons later, I was eating the simplest and most delicious green beans!

EK: The green beans come prepped and ready to be microwaved, but the Roasted Garlic and Onion Butter needs to be made in advance. Think of this as THE CONDIMENT for VGV.
If you are like me, once you make it and see how it transforms simple microwaved green beans, it will become an essential refrigerator item. I plan to make it every week to have on hand for anyVGVs (broccoli, asparagus, peas, greens, etc) as well as sweet potatoes, cauliflower and even cabbage! It would be great used for scrambled eggs too!
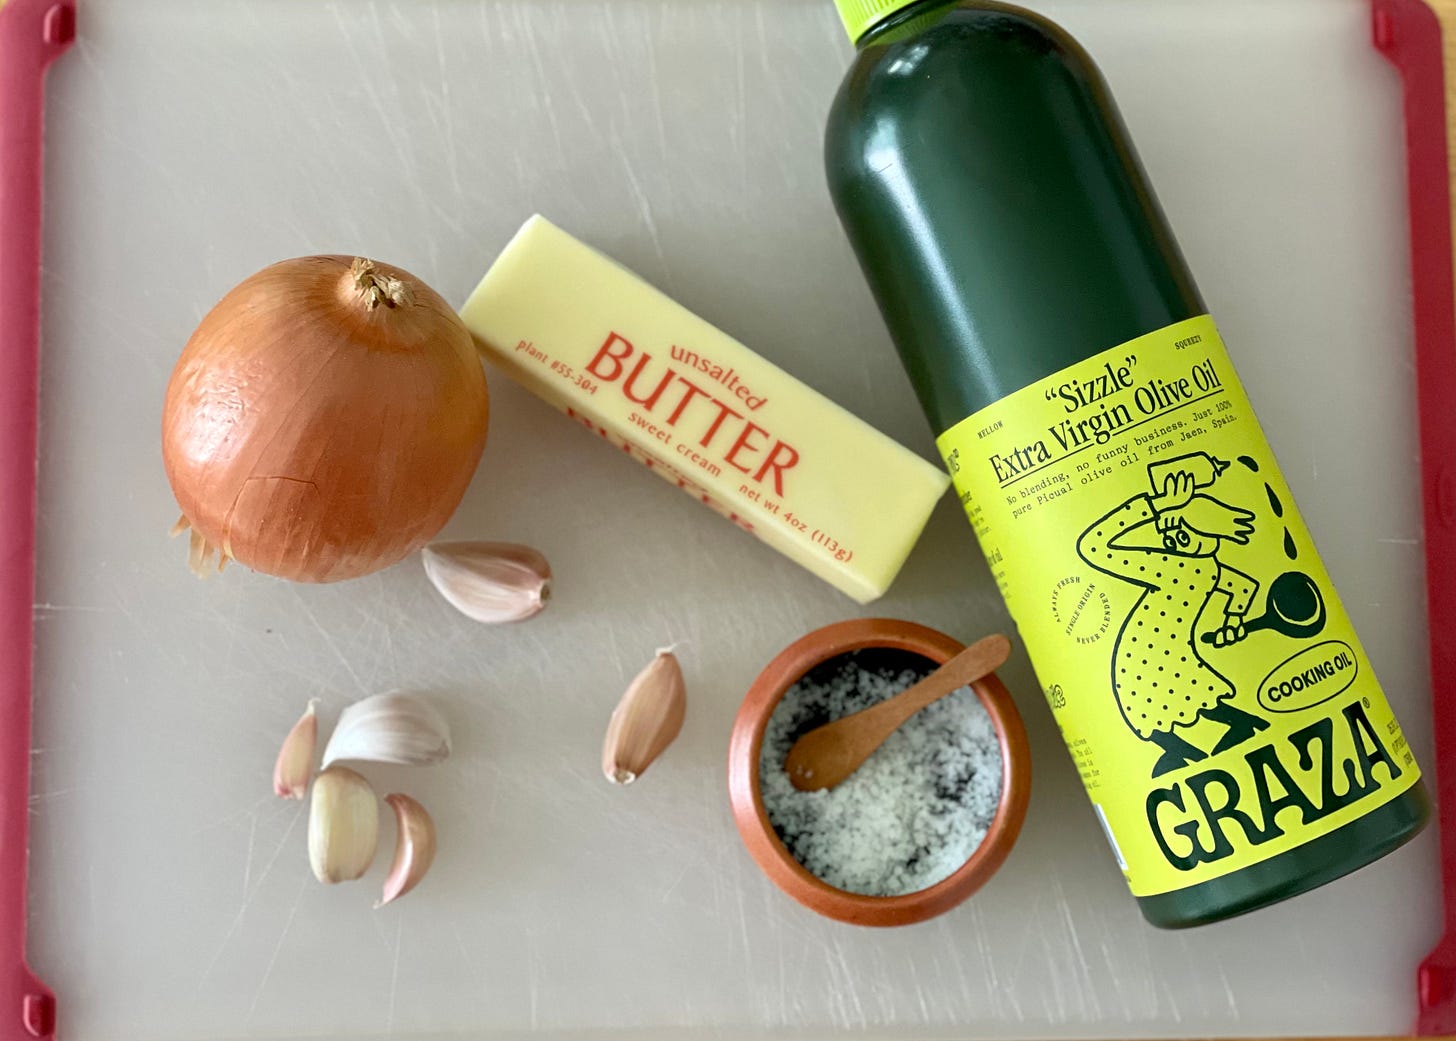
EK: Making the Roasted Garlic and Onion Butter could not be easier. It is literally made up of roasted garlic, roasted onions, and butter. The olive oil and salt are your pantry items.
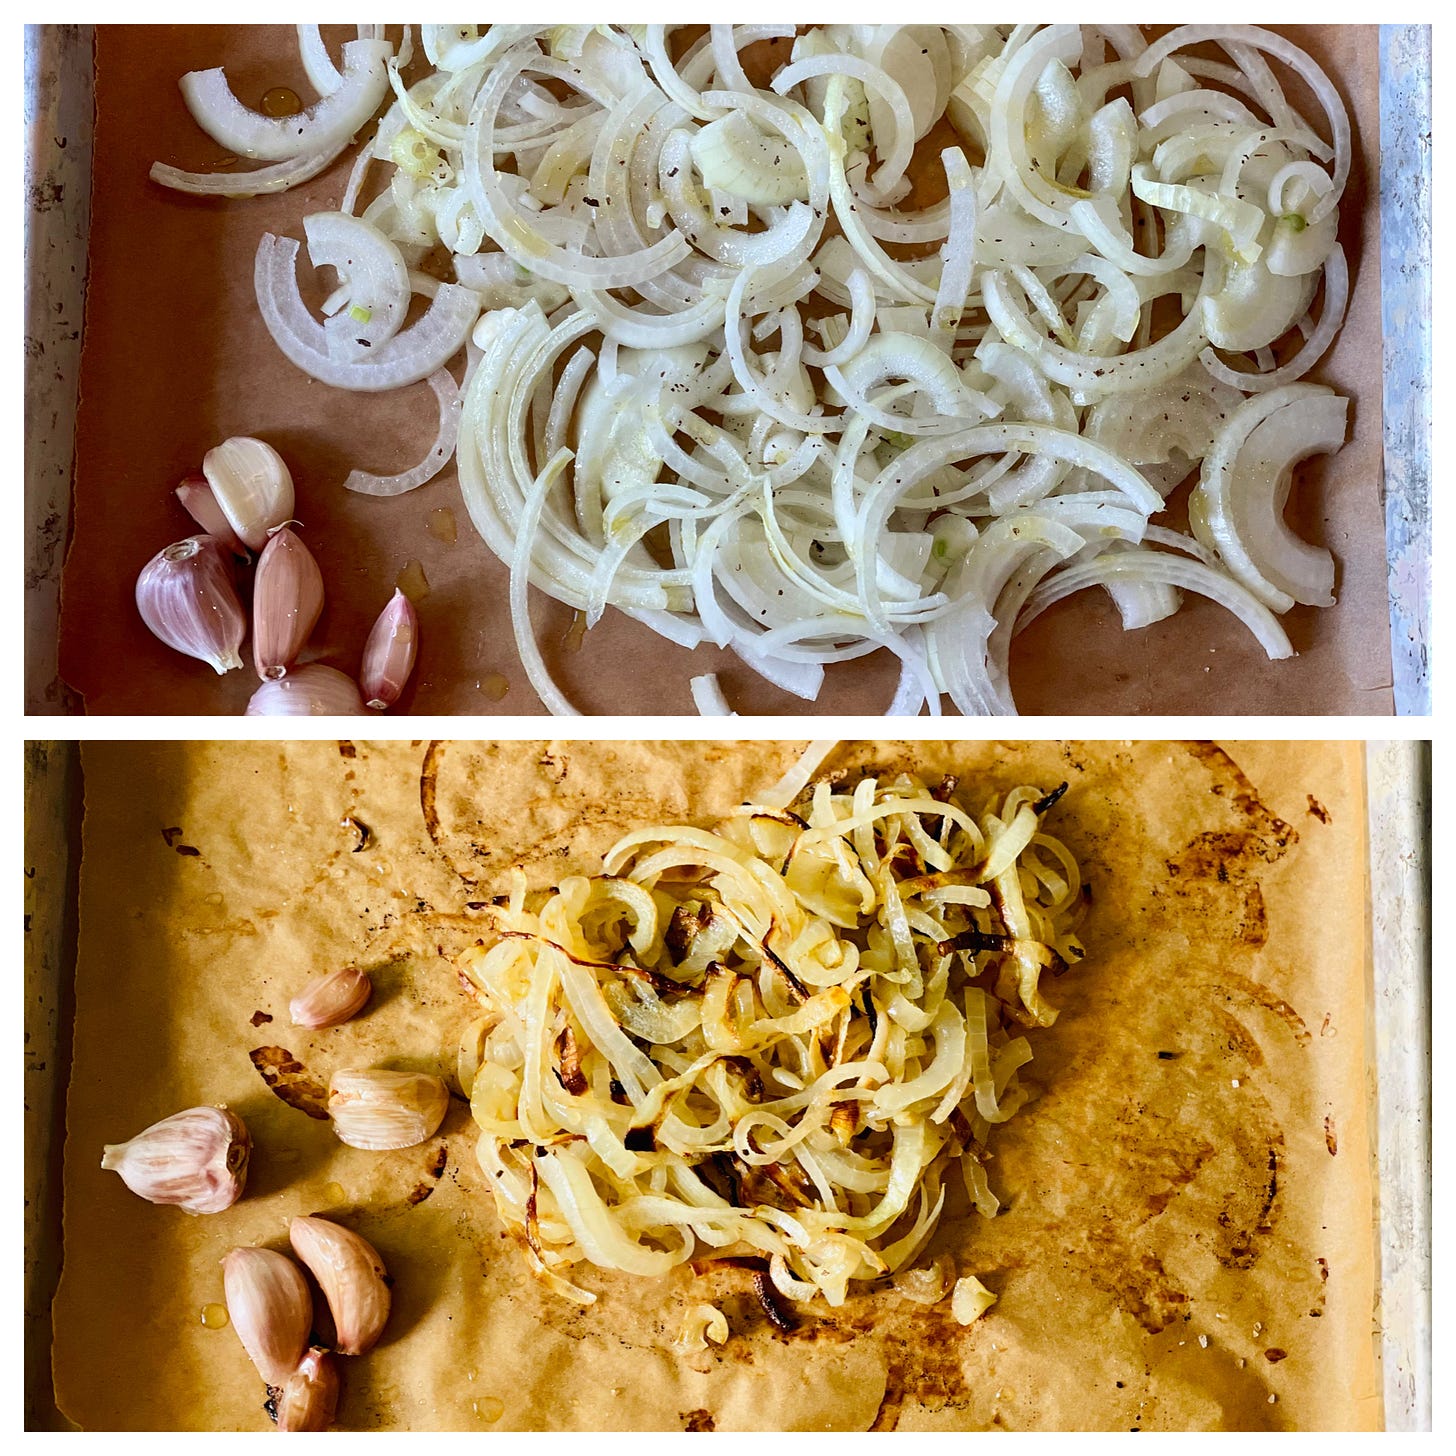
First you have to roast the garlic and onions. Slice a small to medium onion in half-moon slices. Toss with olive oil and season lightly with salt and pepper. Do the same thing with 4-to-8 cloves of garlic left in their skins. If you use peeled garlic, it will burn, so make sure you use unpeeled garlic.
Roast in the oven at 425ºF for 25-30 minutes on a parchment-lined sheet pan and let cool. The edges of the onions will be somewhat charred and the onions translucent when they are done. If you want them to be darker, you can roast them longer.
EK: The next step is the most important, pile the onions on top of each other when they are hot so they will steam and cool at the same time. The most efficient way to do this is to fold the parchment paper over the onions and garlic and let it sit at room temperature to cool. If you mix the hot onions and garlic with the butter, the butter will melt.
EK: Once the onions and garlic are cool, mix them together with the room temperature butter. [Don’t forget to squeeze the roasted garlic from their papery jackets.] Add a pinch of good, coarse sea salt. Because all onions are different sizes (last week I got a cup of onions; this week, I got less than 3/4 cup), your yield will vary and the butter may be chunky and not smooth. But don’t worry, when you add the butter to hot vegetables, it will melt, leaving the chunks of flavorful onions behind to make a perfect bite.
KITCHEN ESSENTIALS: A LABEL OF LOVE
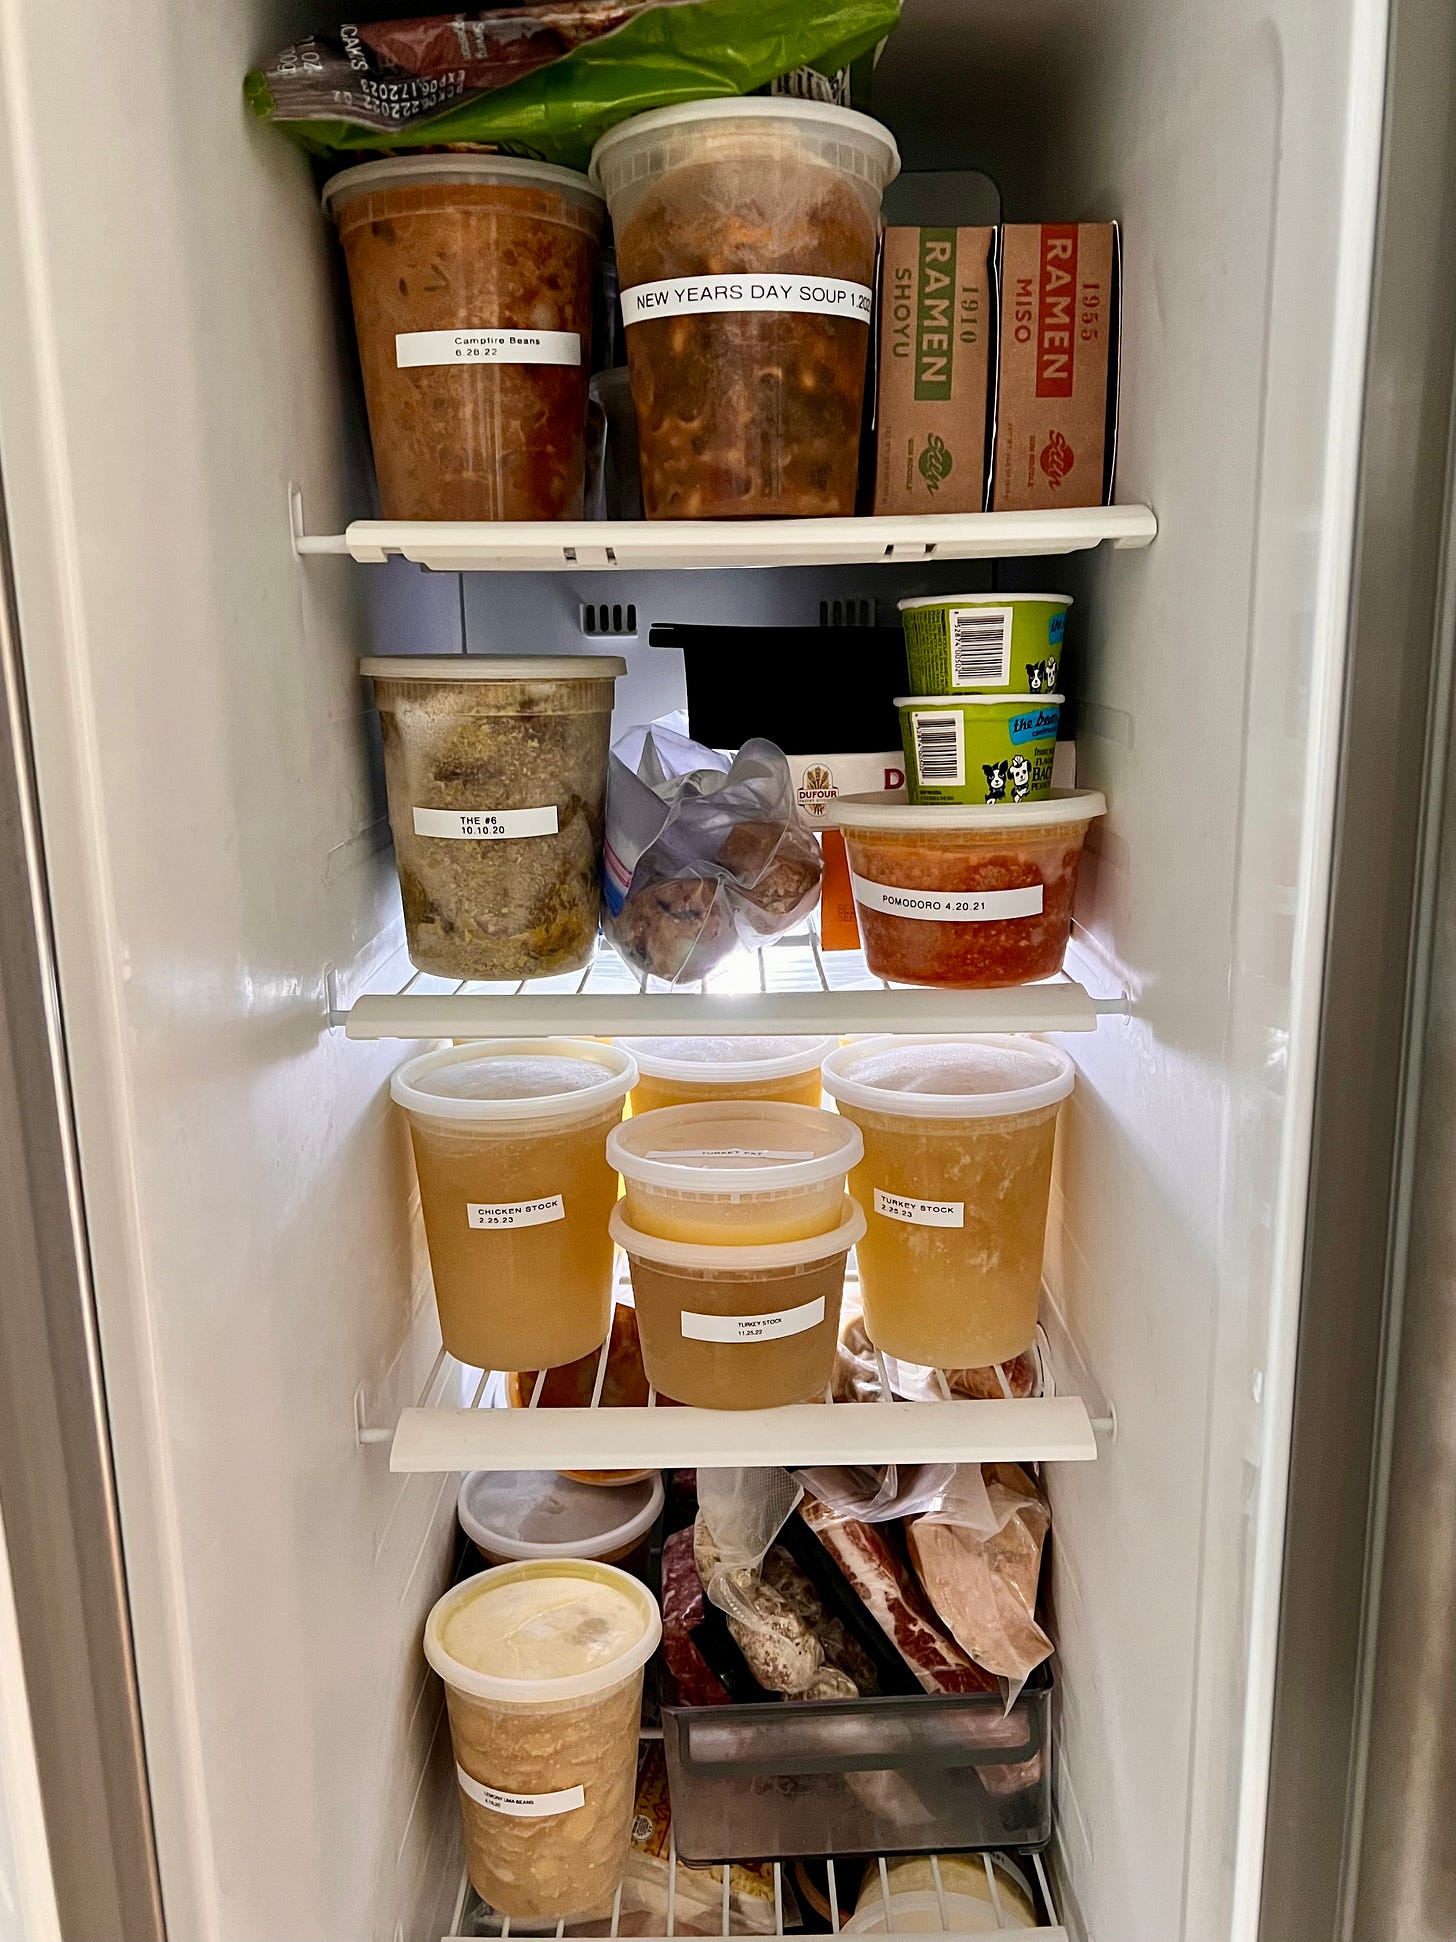
AU: Some people in my life may call me a bit extra. I don’t see it, but everyone is entitled to their (grossly incorrect) opinion, I suppose. If you think that labeling every item in your freezer with a label maker is “EXTRA,” then I would just LOVE to know how you can tell your Sunday Gravy from your Chili in the back of a dark freezer.
The point is not to determine whether I am extra or not, it’s to note that you should probably be labeling things going into your freezer. If you are labeling things in your fridge (also a pro move), you were definitely “a joy to have in class.”
I use deli containers for most everything and slap a label on them that identifies what the food is, and the date on which it was cooked/frozen. This makes it easy to eat/cook items on a first-in-first-out basis.
EK: I fully admit that I am Extra:)… No shame here, but my freezer doesn’t look anything like that at all. I have freezer envy, and I am throwing my painters tape out and buying a label maker, stat!
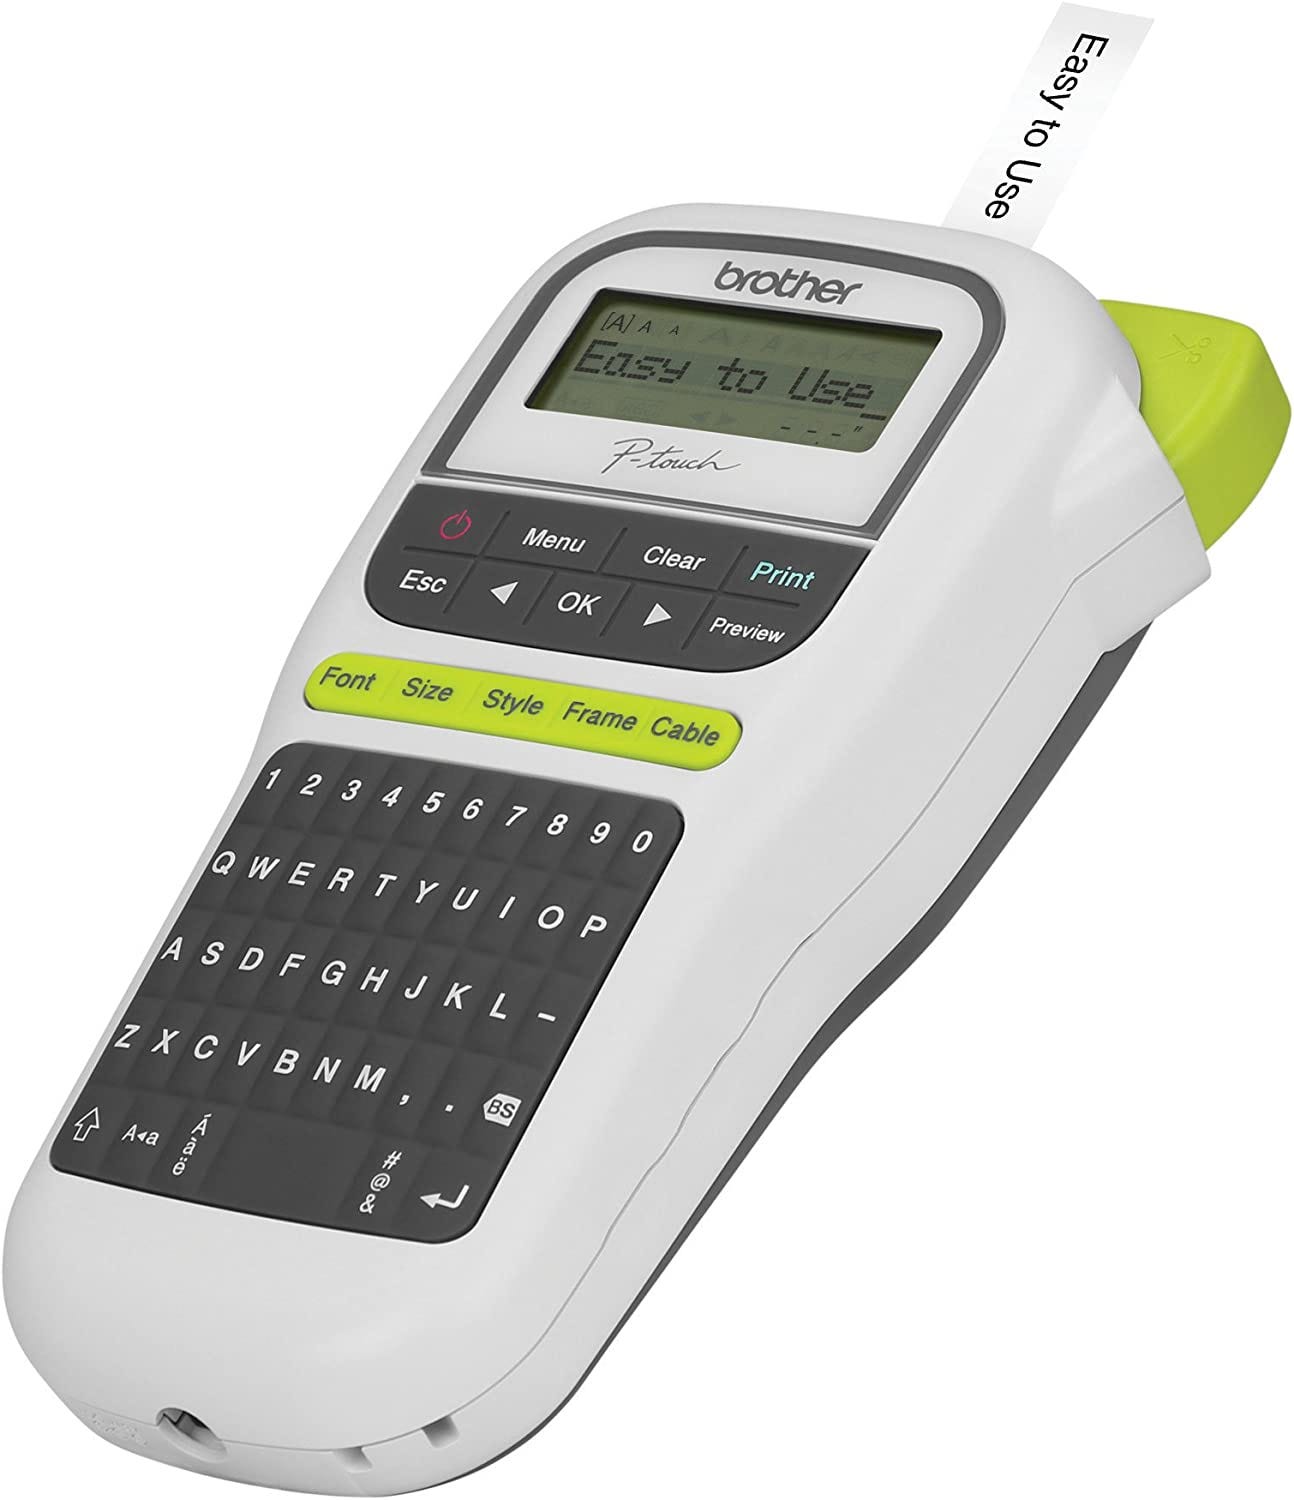
AU: My preferred method of labeling is my trusty Brother P-Touch (Buy it here). This bad boy is small enough to live in a kitchen drawer, so I can print out a label whenever I need to. It’s great because you never have to decipher your own horrible handwriting (anyone else’s handwriting terrible now that we exclusively type everything??), you don’t have to worry about pen/marker smudging, and it has a built-in label cutter that is as satisfying as popping bubble wrap. Plus, the labels are easy to remove, so you can wash and reuse your containers ad infinitum.
However, there have been MAJOR TECHNOLOGICAL ADVANCES in the world of label makers, and I am VERY excited to have just ordered this adorable little baby…
AU: For just $24 I am now the owner of a Jadens bluetooth label maker that connects to an app on my smartphone. I can create labels with barcodes, QR codes, and even images with more than 12 languages, 60 fonts, 400 borders, and designs! When I tell you that this “Joy to have in class” is excited… I will test it out, and report back promptly for my fellow label-enthusiasts. It’s also rechargeable (the Brother P-touch relies on several AA batteries) and comes in a variety of colors/designs.
UPDATE: I received the linked unit above—it works great! I didn’t realize it came with INDIVIDUAL labels (as opposed to one continuous tape, like the P-Touch). The labels it comes with are a bit small for my taste, so I recommend you purchase some larger ones like these and you’re off to the races!
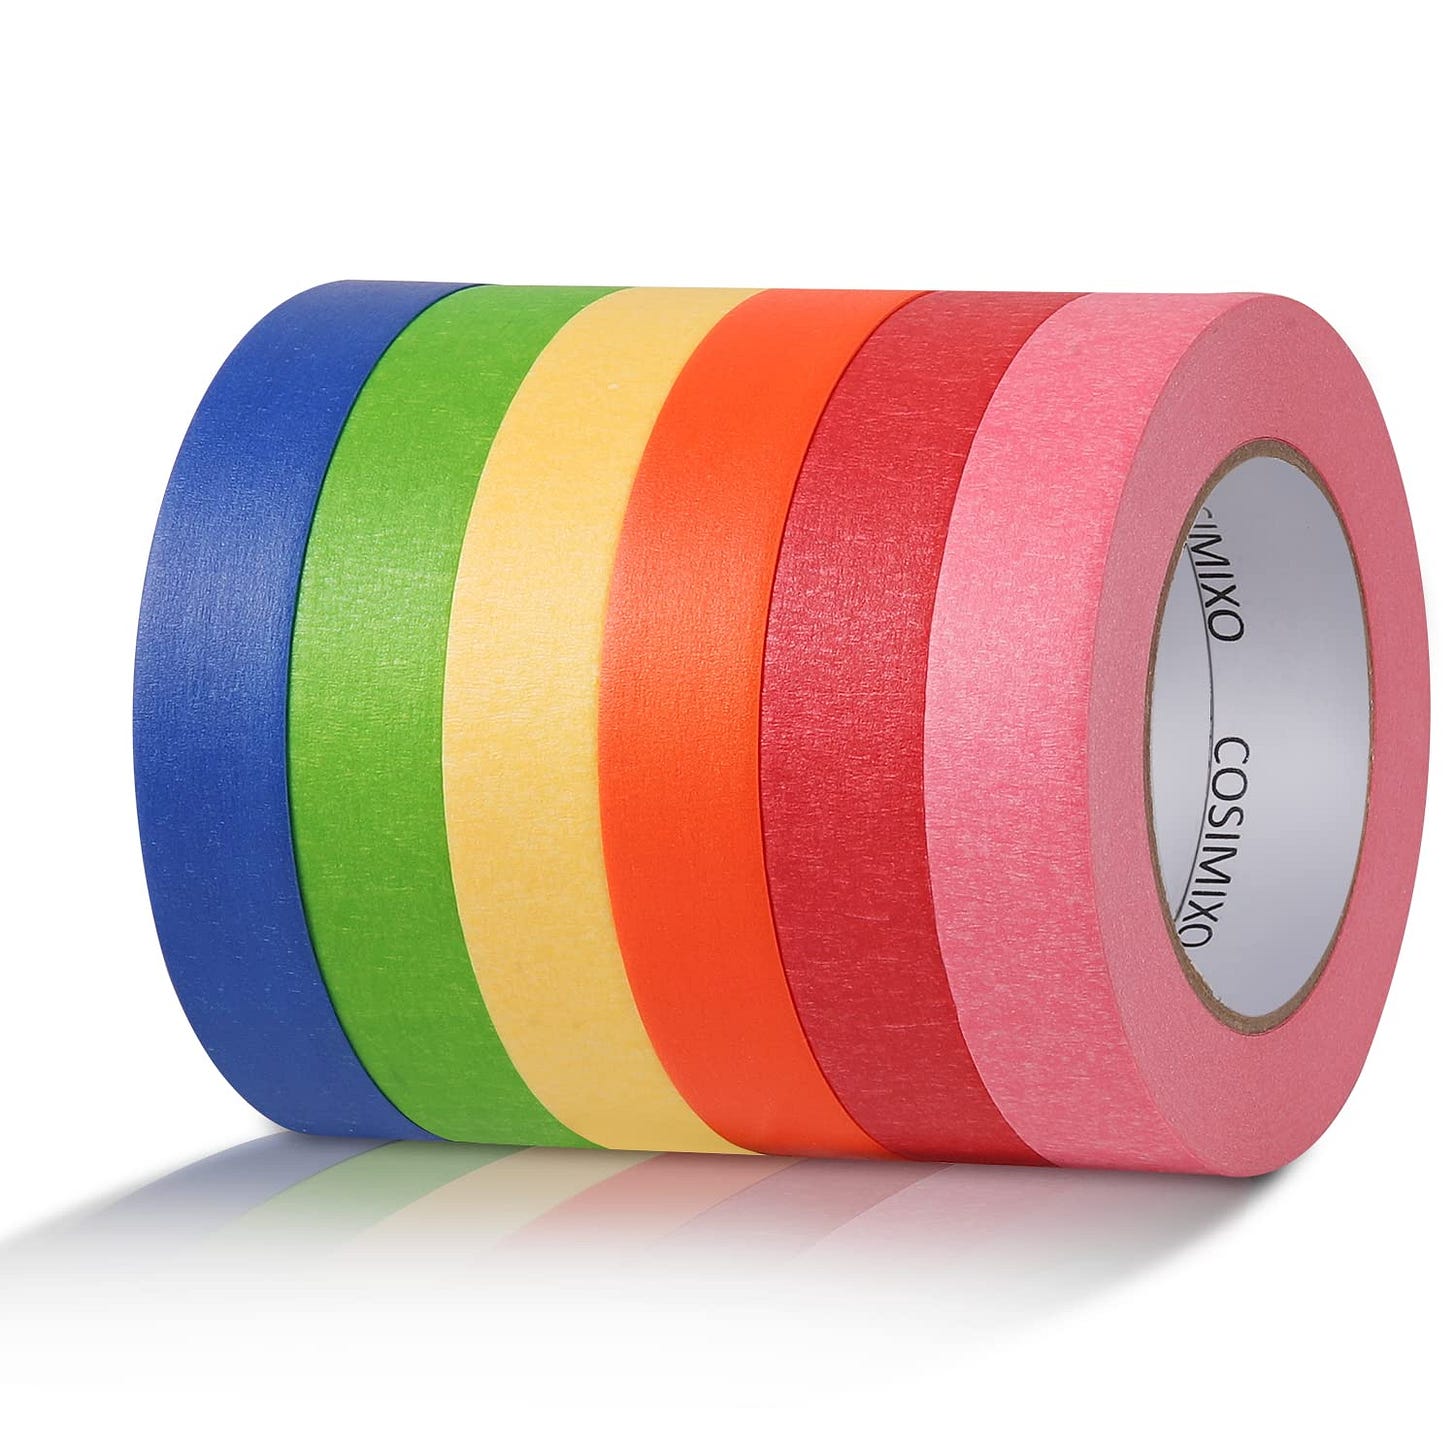
AU: If you’d like to go more analog, do as the restaurants do: TAPE AND A SHARPIE! This bundle of 1-inch thick painter’s tape will allow you to color-code your freezer, and doesn’t that just sound like heaven?!? The organizational options are endless: you could color code by ingredient, or by meal, or season… Okay, maybe I am extra.

