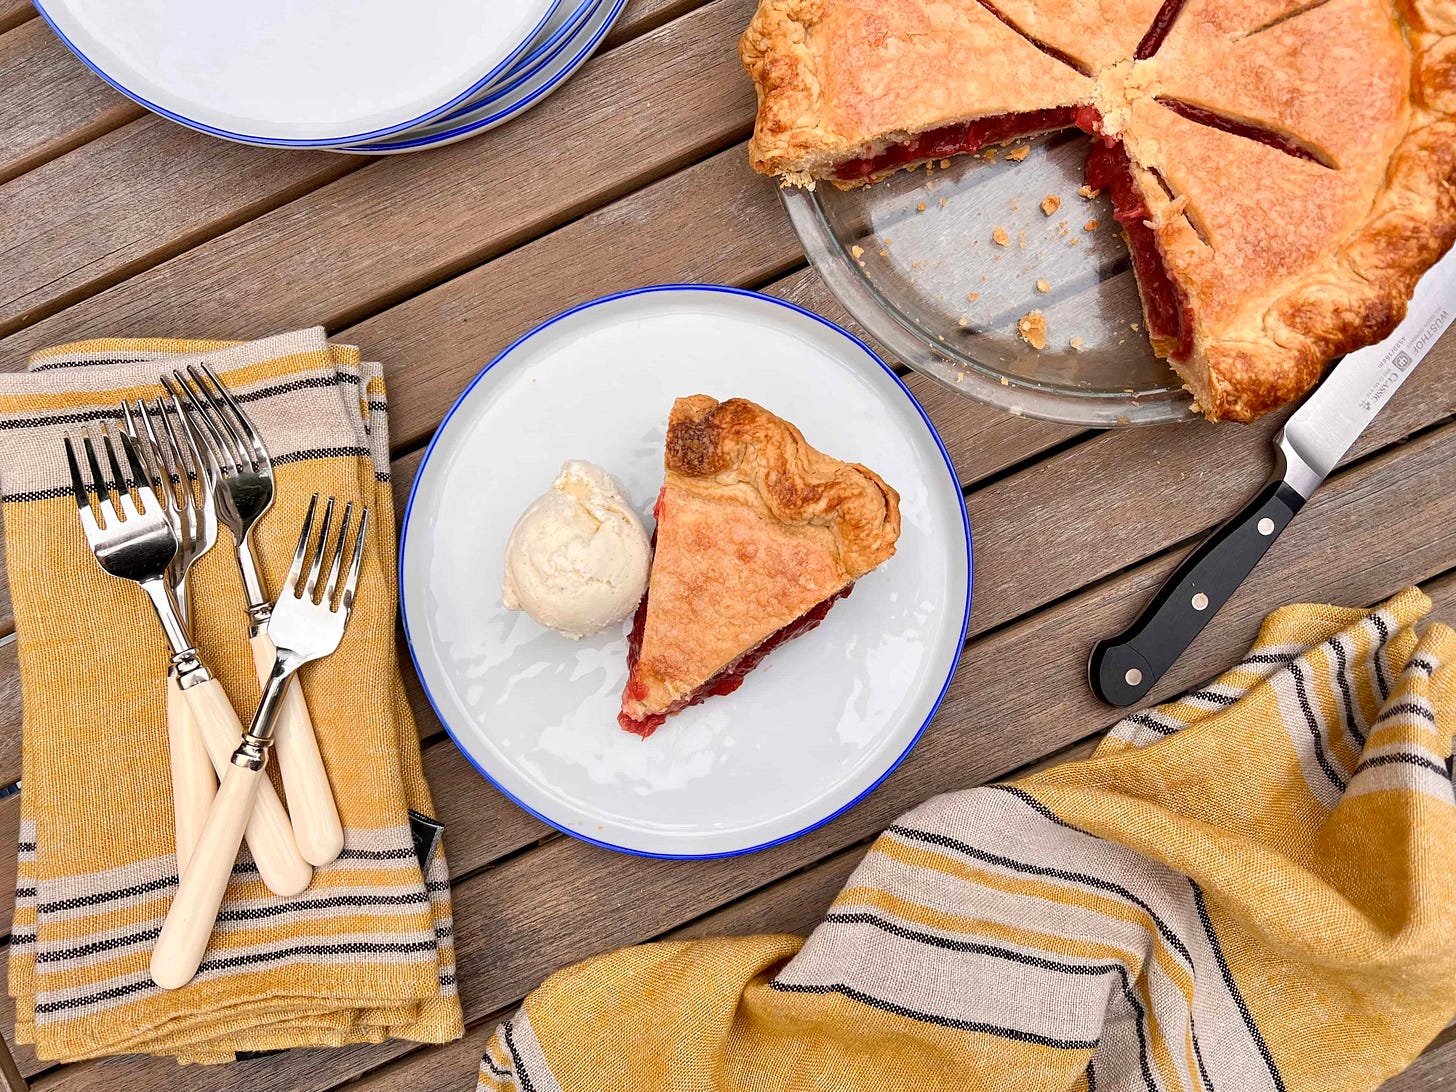
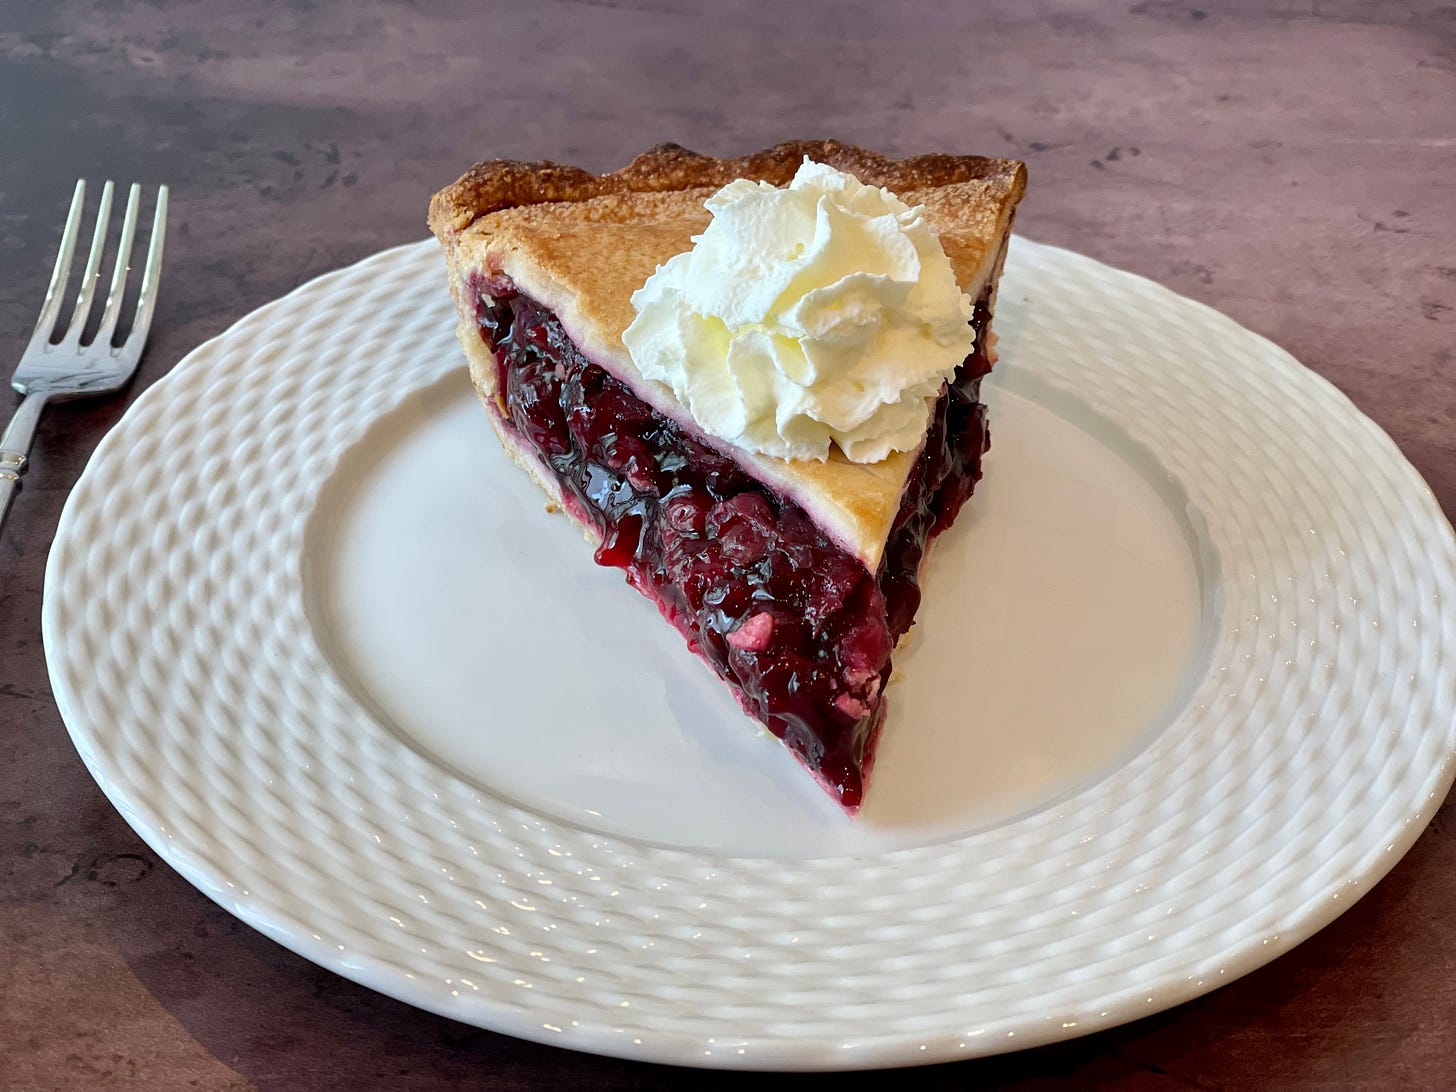
Happy Thursday, friends! This week we’re taking advantage of all the amazing Summer fruit that’s blanketing the farmer’s market this time of year (Leslie Uggams was right. June really is “bustin’ out all over!”). What better way to taste produce at its peak than baking it in a pie?! Pies can be intimidating for first timers (and even experienced pros), but they don’t have to be. And did you know that W4D’s very own Elizabeth Karmel developed a whole pie program with more than 3 dozen pie recipes to rave reviews?! We’ve got some of our favorite pie tips and recipes for you—all served up with à la mode!
PERFECT PIE DOUGH EVERY TIME
AU: One of the seemingly trickiest parts of every pie recipe is the dough itself. Of course you can always buy a pre-made crust in the dinky aluminum pan. I keep some in the freezer at all times, in case I want to quickly whip up a Quiche Lorraine. But I’ve always felt like the pre-crimped edge is a dead giveaway, and even the roll-and-bake pre-made crusts never seem to brown the way I want them to. If you’re going to showcase the very best of Summer’s bounty, this is one instance where I think Ina Garten would agree that store bought is NOT fine.
There are SO MANY opinions when it comes to pie dough—some say that a combo of vegetable shortening and butter is the key to a perfect crust, others think a nip of vodka instead of water is the trick…
EK: I am a fan of all of them. I used vodka and a mix of shortening and butter in my pie dough at Hill Country Chicken to make the from-scratch pie crusts for more than 1,000 mini “Pie Cups” a day. But I am also a fan of all-butter and a bit of apple-cider vinegar to bind and tenderize the pie crust. With all the pie dough I’ve made, I had never heard of the technique that Anthony loves and makes the most golden pie crust ever—I can’t wait to try it myself!
AU: YOU WON’T BE SORRY!! Over the years, I’ve combined some of my favorite pie dough techniques from some really genius/talented bakers to create what I think is the best/easiest/most foolproof pie dough recipe ever. AND IT’S ALLLLLLL BUTTER, SO THE FLAVOR IS *CHEF’S KISS!* I know. That’s what makes me so nice.
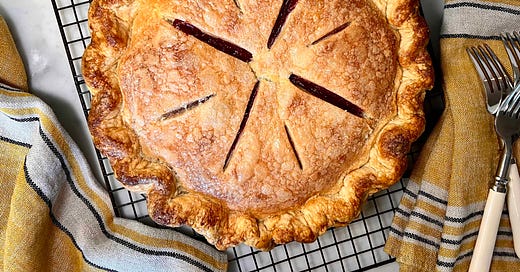
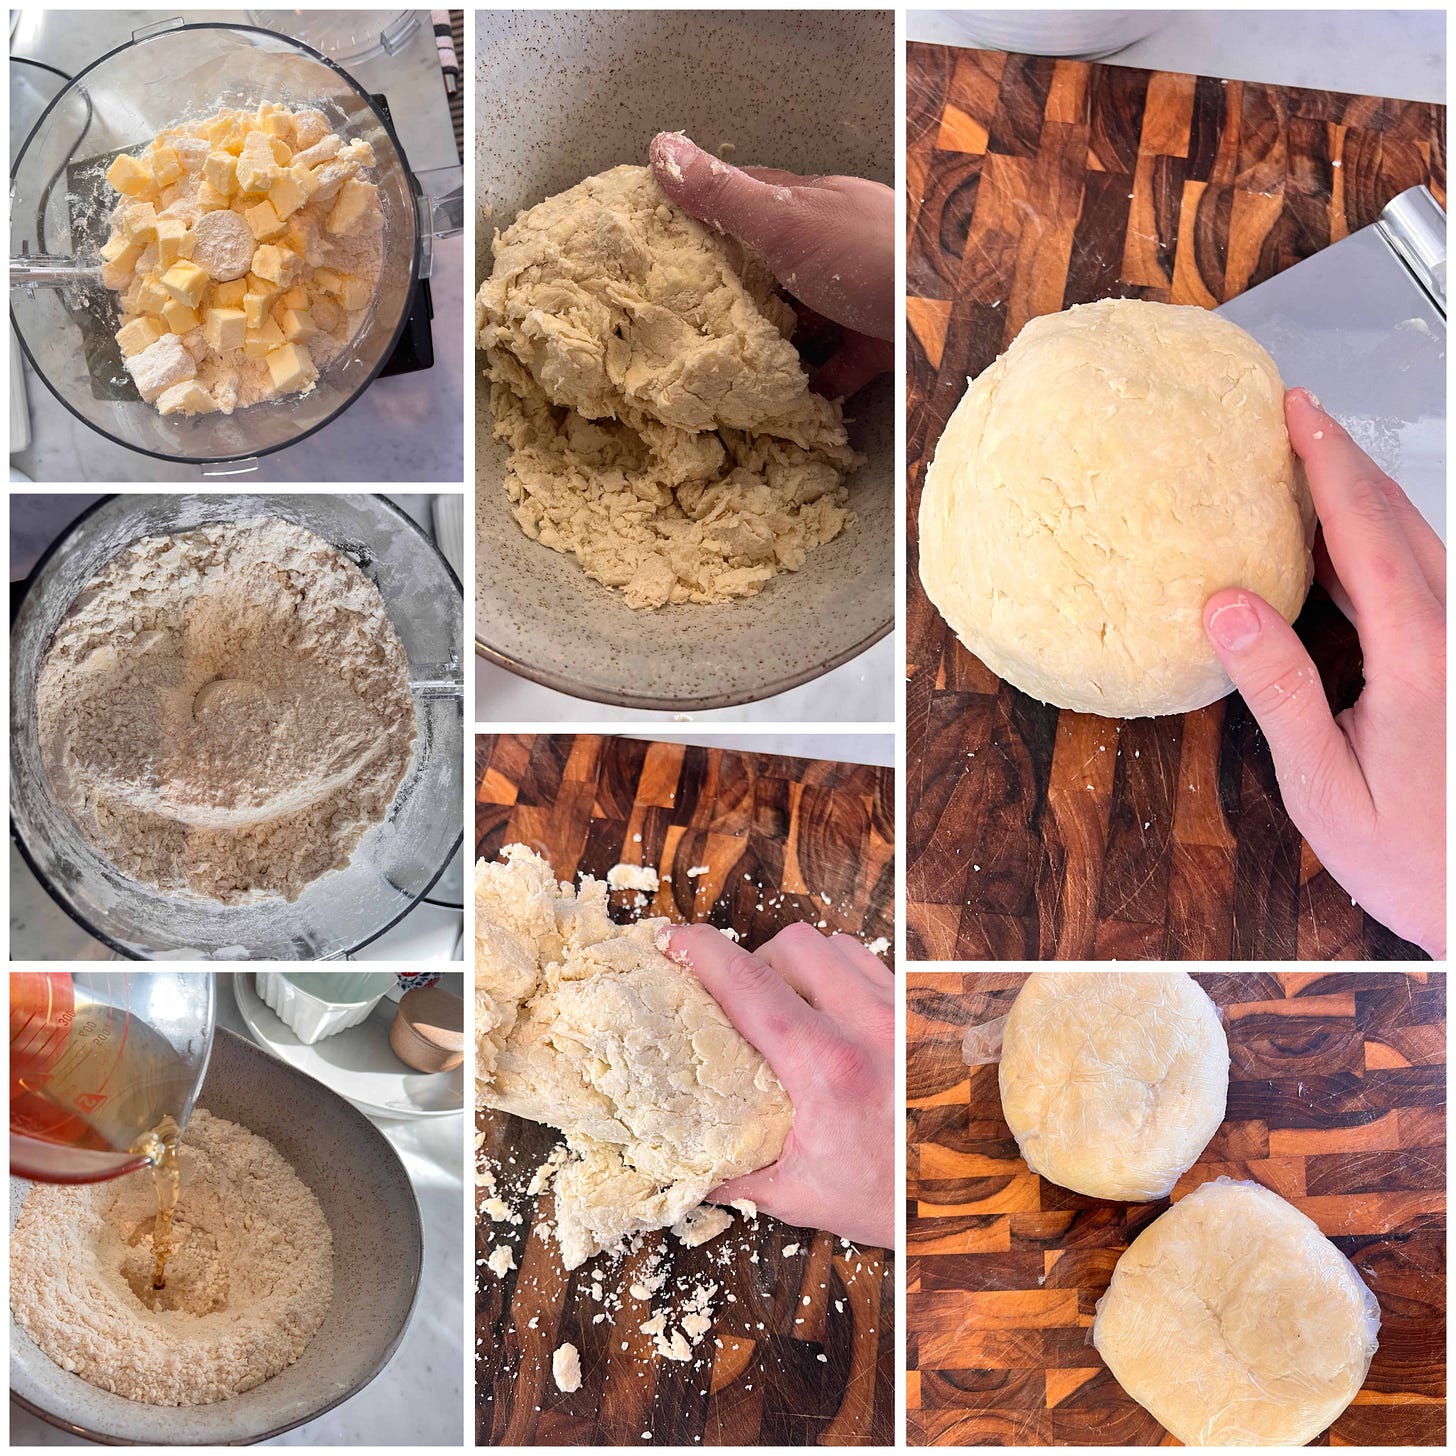
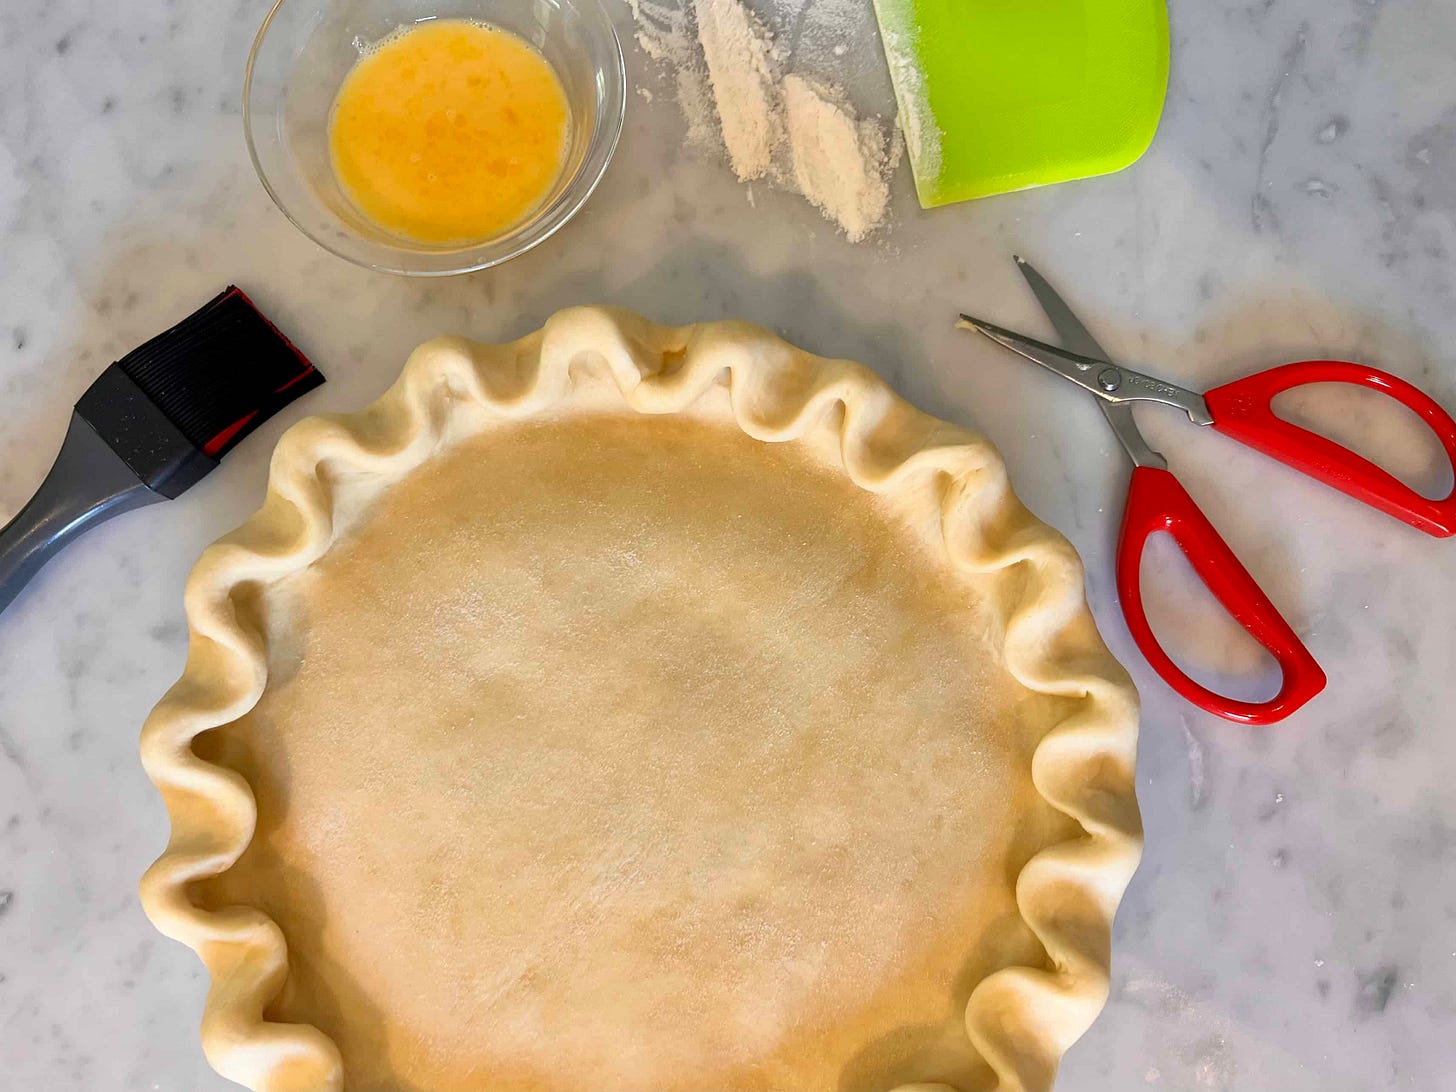
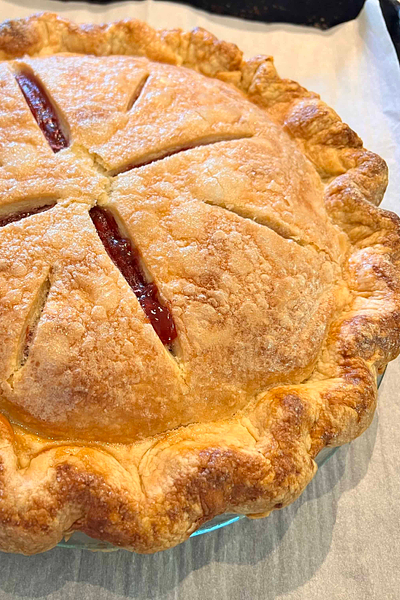
AU: So here’s the recipe in a nutshell: First, you combine some brown sugar, apple cider vinegar, and salt with some hot water. You stir until the salt and sugar dissolve, and then place that in the freezer until it’s ice cold (about 20 mins). I learned this technique from the Pie Queen of Los Angeles, Nicole Rucker’s, book Dappled. It’s genius because the dissolved sugar/salt hydrate the pie dough all the way through, and promotes excellent browning. You’ll notice the baked crust is a deeper brown than your average pie dough (see above pic), and that’s why I love it.
AU: Next, you’re going to work really cold butter (and a lot of it!) into some flour using your food processor. You want everything to stay chilled as you work to ensure you’ve got little bits of butter suspended in the dough. Later, in the oven, that butter will create steam as it bakes, and that steam will create flaky layers. Flaky is the goal.
Tip the crumbly mixture into a bowl, and create a well in the center. Add the chilled sugar-water to the center of the well, and slowly incorporate the flour mixture with your fingers into the liquid. Like you’ve seen Italian grannies do for centuries when making pasta. Do not be tempted to add additional liquid. It will all come together—just keep working the dough.
Once you get a shaggy mass, knead it a few time on your cutting board until it looks and feels like a proper dough that’s speckled with visible chunks of butter. Split the dough ball in half, and create two 1”-thick discs. Wrap the dough discs tightly with plastic wrap to chill for at least 2 hours or up to 2 days. The attached recipe PDF makes enough for one 9” double-crust pie, or 2 single-crust pies with some pie dough leftover that you can bake off as a Chef’s Treat* or for extra decoration on your pie.
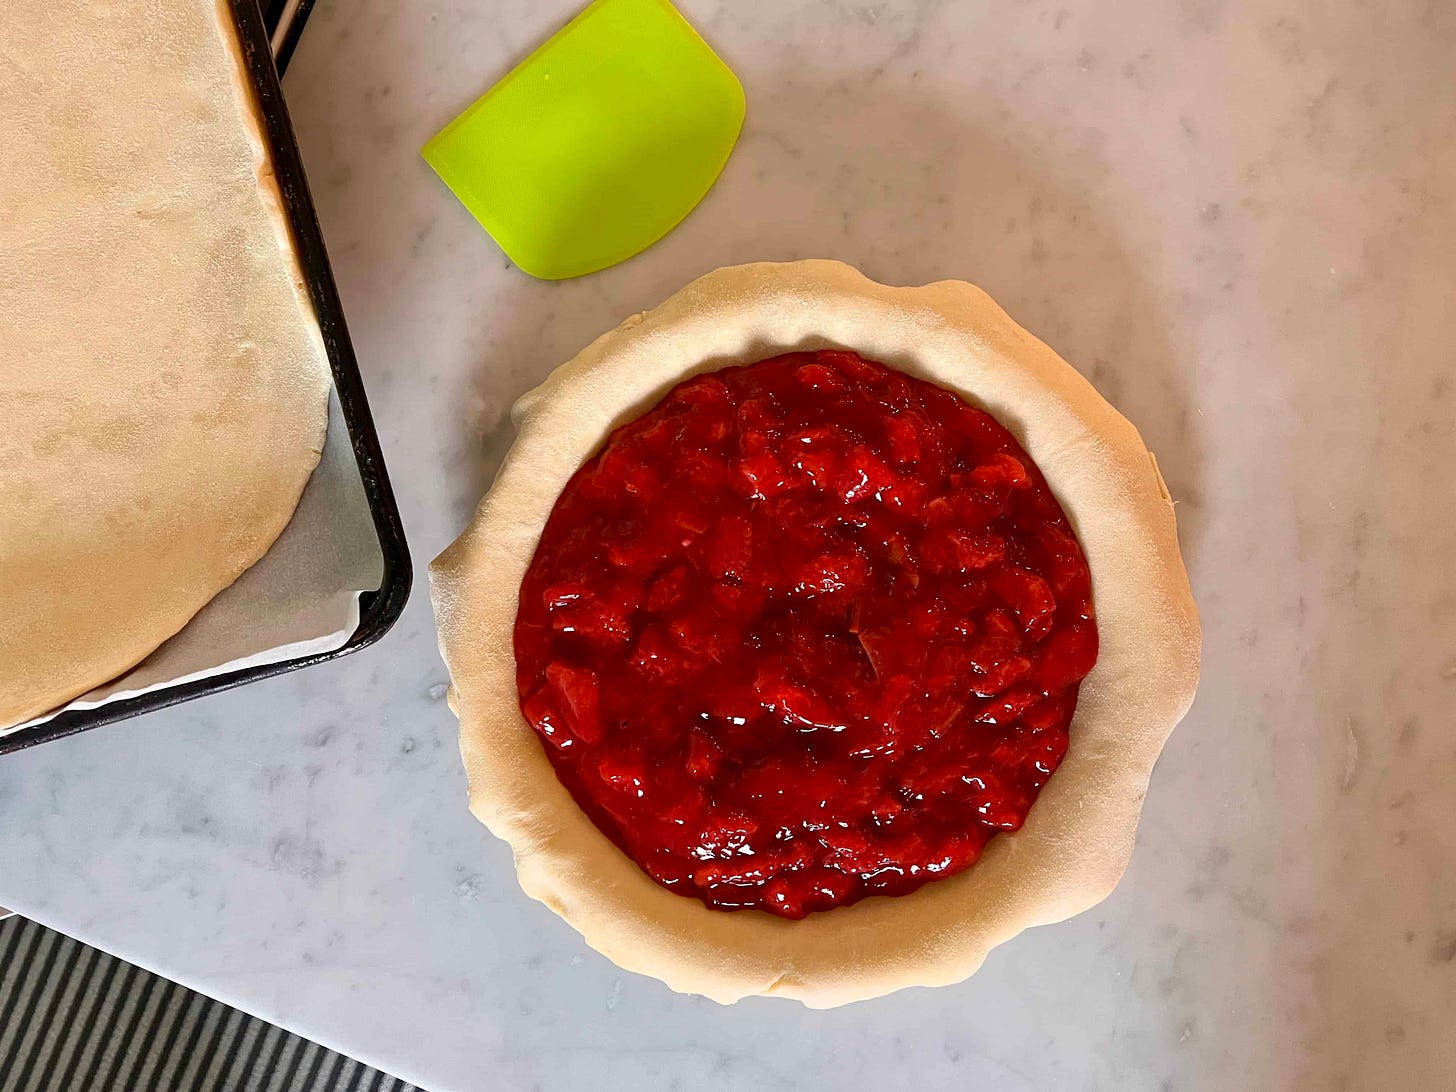
AU: While the dough is chilling in the fridge, get your pie filling together. I like to pre-cook the filling, especially when using a super juicy fruit, like berries. This week I made the Strawberry-Rhubarb filling from Erin Jeanne McDowell’s recipe I found on Food52.
While the ingredients may change, the method is a good one to remember: cook down some fruit in a dutch oven with half of the sugar in the recipe, once that starts to give off its juice, add the other half of the sugar mixed with a thickener (like cornstarch) and whatever spices you want to add. Stir and simmer that until it’s thick and bubbling from the center of the pot. Cool it completely and refrigerate until you’re ready to assemble and bake your pie.
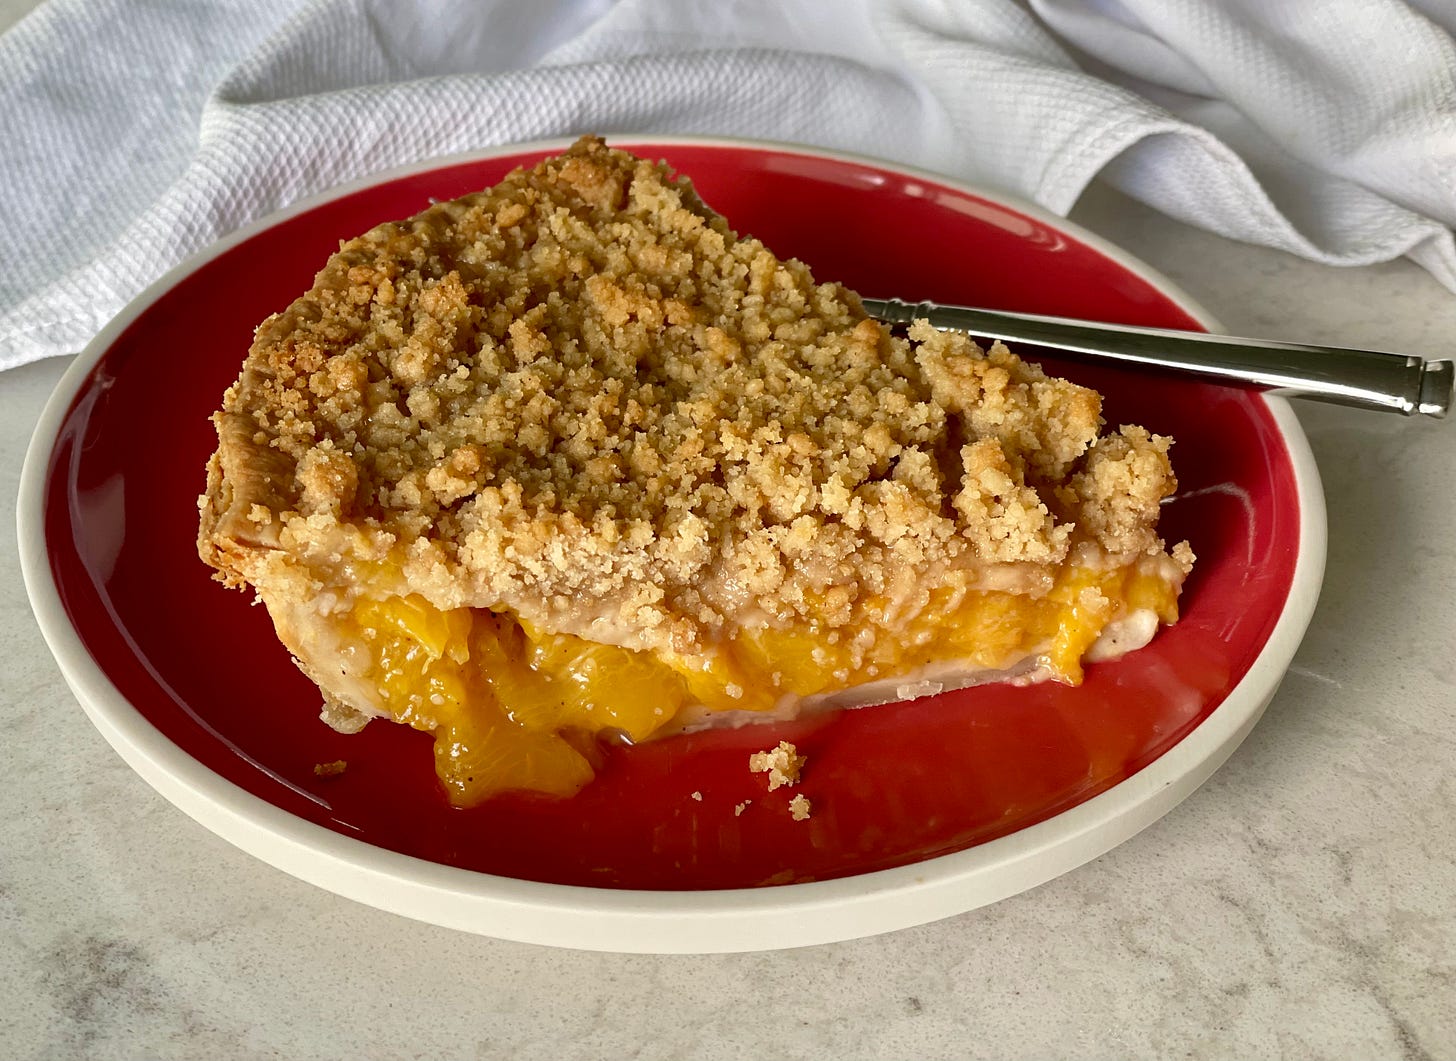
EK: And, remember, if you are using cornstarch or any thickener, it only works if you keep it at a boil it for a minimum of a full minute. And, it only gels completely if you use more than you think you need. For example, the Strawberry-Rhubarb filling recipe that Anthony made calls for 1/3 cup or 5.3 tablespoons of cornstarch. My juicy and loose fresh Peach Pie (below) only uses 1 tablespoon.
AU: Then it’s time to work on your arts and crafts skills! Pie-making is fun to me, because it’s kind of like sculpting clay. You want the dough to be warm enough to roll out without it splitting, but cool enough to hold its shape. There’s a sweet spot, and if it’s a hot day, you may need to stop mid-roll and transfer the dough to the fridge to firm up.
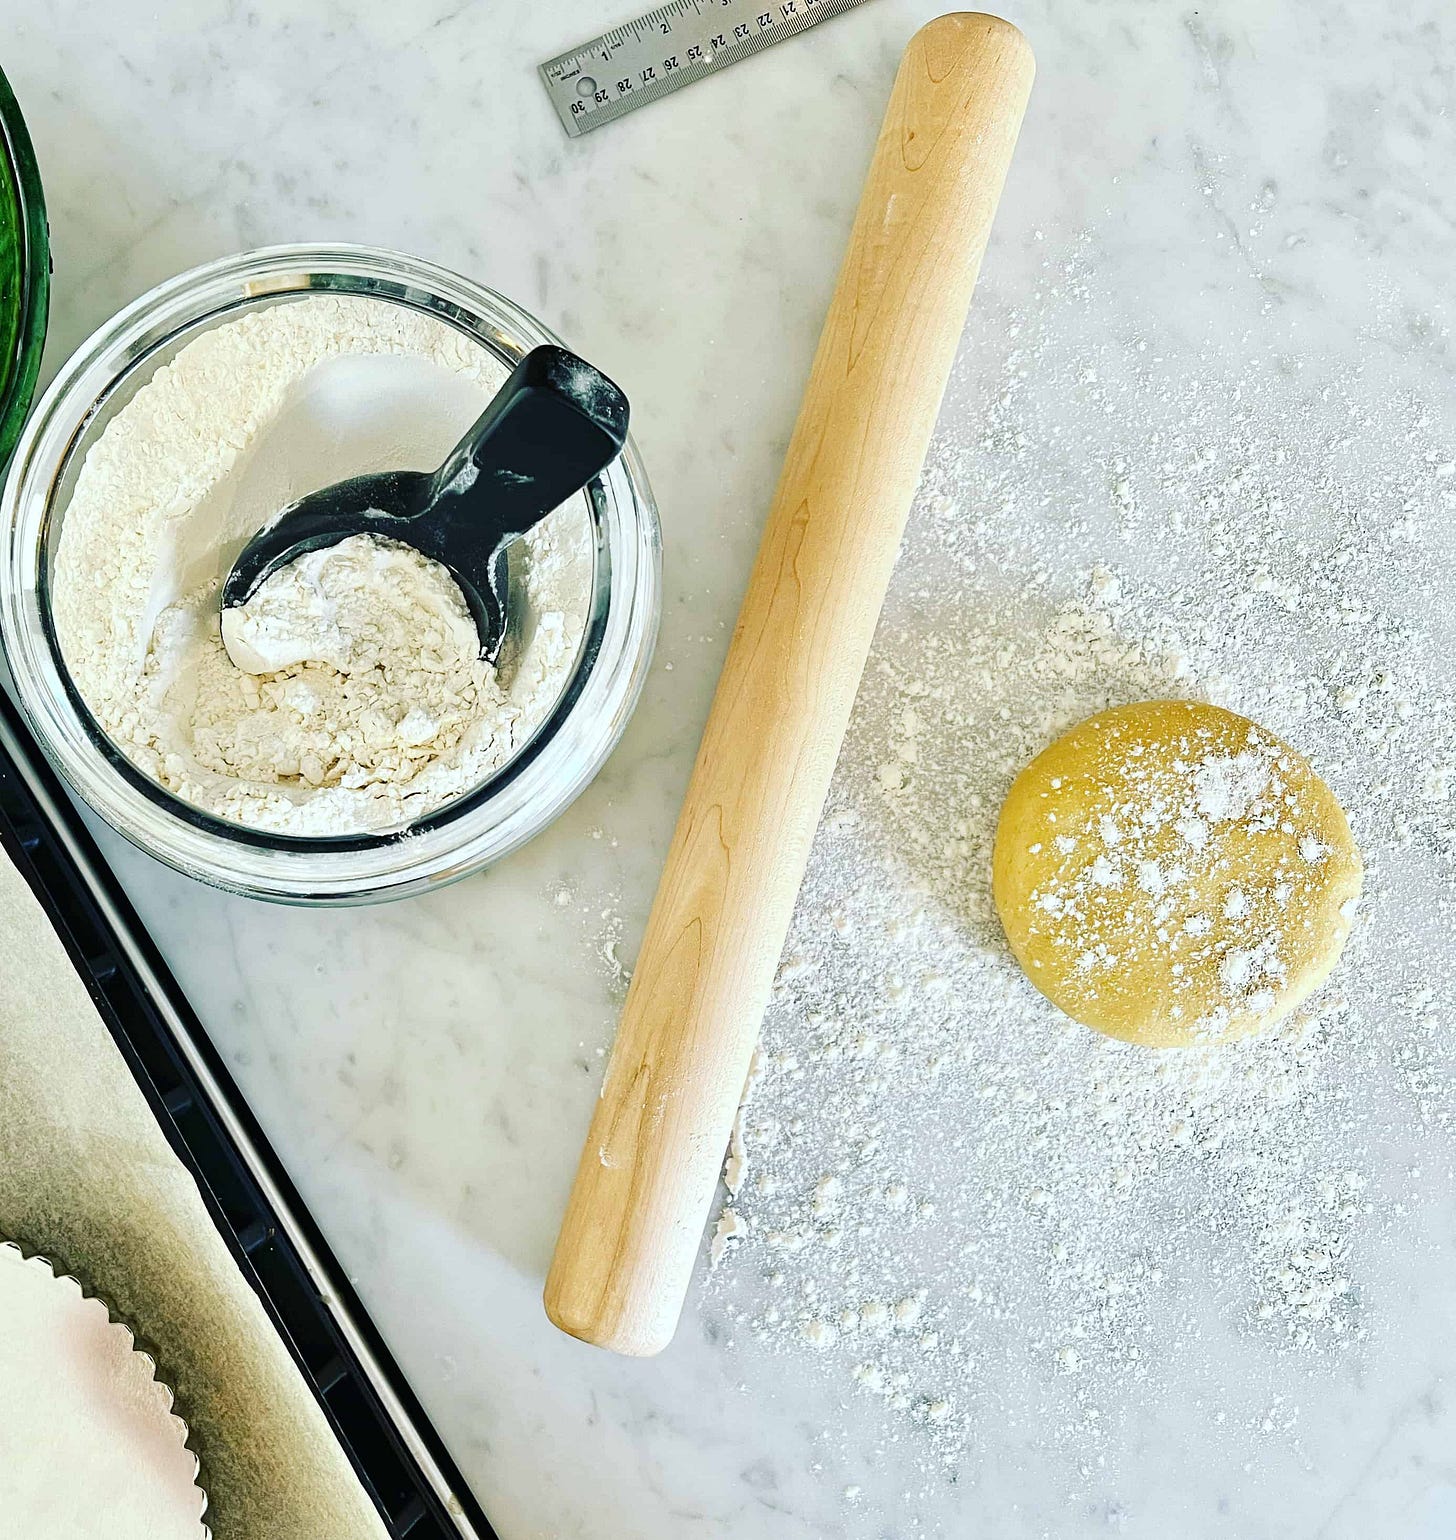
EK: It’s important to make a round disc of dough before you refrigerate it, because starting with a round shape helps you end with a nice round shape. Sprinkle a little flour on your cutting board or a silicone mat (made for rolling out pastry and pie dough). I like the mat because it has different measurements that you can use to make sure you roll the dough to fit your pie plate. If you rotate the disc from side to side and top to bottom as you roll it out, it stays in the circular shape and is easy to roll out. Toss a little more flour on your work surface as soon as it feels like it is sticking a little.
AU: I like to assemble the whole pie and then let it hang in the fridge for at least 15 minutes before baking it. In my mind, this helps the pie fluting keep its shape, but much like firing clay or blowing glass, sometimes the Pie Gods just have a higher plan for your pie… Sometimes you get a stunner, and sometimes she looks like a stinker, but will taste amazing. The joy and defeat of pie. :)
But here’s the big plot twist: no one is unhappy when there’s pie. So make some this Summer and spread some joy!
PEACH PIE IN THE RAW
EK: Pie is personal. And any way you make it, anyway it looks, it’s delicious. The point is to make something delicious, and if it’s gorgeous too, that’s your bonus! To be honest, I have never seen anyone crimp the edges as nicely as Anthony, and that includes the world’s pie masters! I certainly can’t crimp as well and that didn’t stop me from creating a restaurant based on pie (and fried chicken)!
AU: I got my skills from my Momma. She was a Ceramics Major in college, and maybe it’s just in my DNA?! Either way, high praise coming from you—Thanks!!
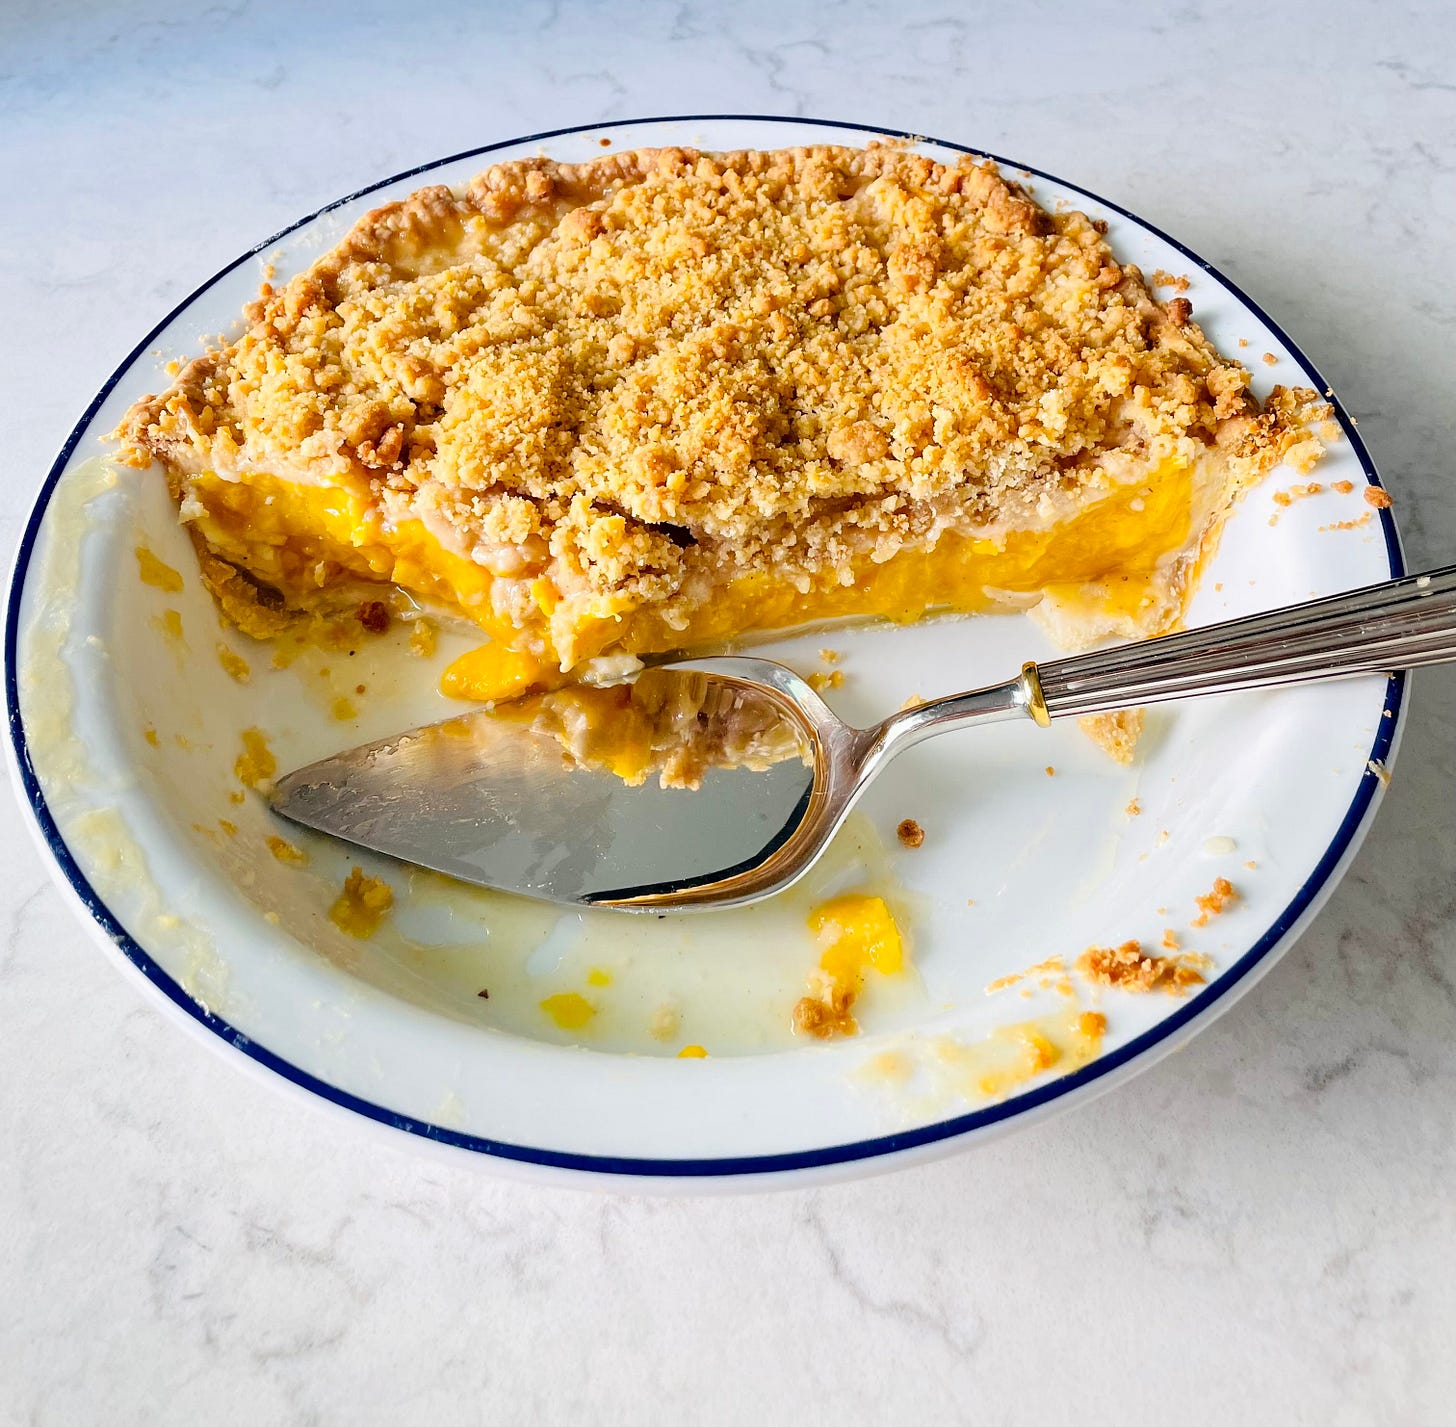
EK: When I make fruit pies, I love a pre-cooked filling like Anthony made because you know what the texture is going to be once the pie is baked. But I also love a fresh fruit, a.k.a., raw fruit pie. It’s not as neat or refined, but it tastes soooo homemade.
If you use fresh fruit—or frozen uncooked fruit—there is a bigger variable based on the water/juice content of the fruit. The amount of liquid in the fruit can create a juicy pie that leeches a little—or a lot—of extra juice. I think that the extra juice is delicious and I like a wet (as opposed to dry) pie. I also prefer a pie without a lot of flour or cornstarch.
EK: Almost all the pies that you purchase in the grocery store or in bakeries use an industrial “Clearjel” pie thickener that completely gels all the juices so that you can cut a very clean slice of pie.
This is not the case if you use very little binder which can be flour, tapioca, cornstarch or the Clearjel. I am not a fan of too much thickener. I embrace the imperfect, and enjoy the delicious natural flavor. But if you like a perfect clean slice of pie, you should use them. These days, you can buy Clearjel online and use it at home.
AU: One other thickening method we should probably mention, is tossing the raw fruit with sugar, letting it release its juice, and straining that juice into a saucepan. Then you simmer the fruit juice until it becomes thickened and syrupy. Add it back to the fruit, and you’ve got your pie filling!
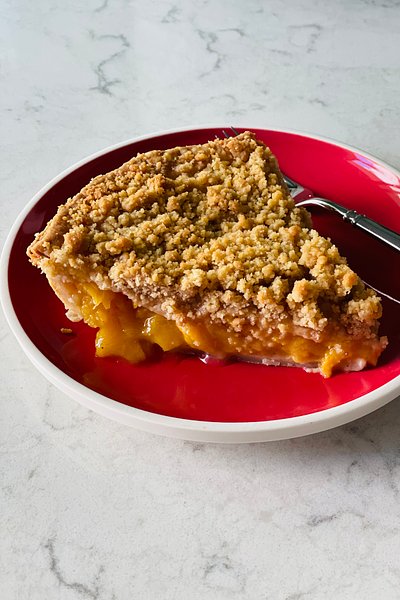
EK: I am also a huge fan of crisps and crumbles, and prefer a crumb topping on my fruit pies. When I have a sweet buttery crumb topping, I make the fruit filling with less sugar because the combination of the crumb topping and the fruit filling has the perfect amount of sweetness.
In a fresh fruit pie with a crumble topping there are 3 elements:
The pie crust - I like to blind bake it, so it stays extra crispy and sturdy enough to hold the fruit filling.
The filling - whether you like it loose and juicy or firmer, the fruit’s texture should be soft, but with some bite to it.
The crumble topping - this can be buttery, nutty, and a place to experiment with different spices.
If you don’t like crumb topping for some reason, you can add a top crust to your pie like Anthony did.
Once all the parts are made, pie making is more of a craft project than anything else. Before I start my pie, I create a game plan around the main elements of the pie.
Make the pie crust. Follow Anthony‘s instructions above or make your own favorite piecrust. I often make piecrust in advance and keep it in the freezer until I feel like it’s pie time.
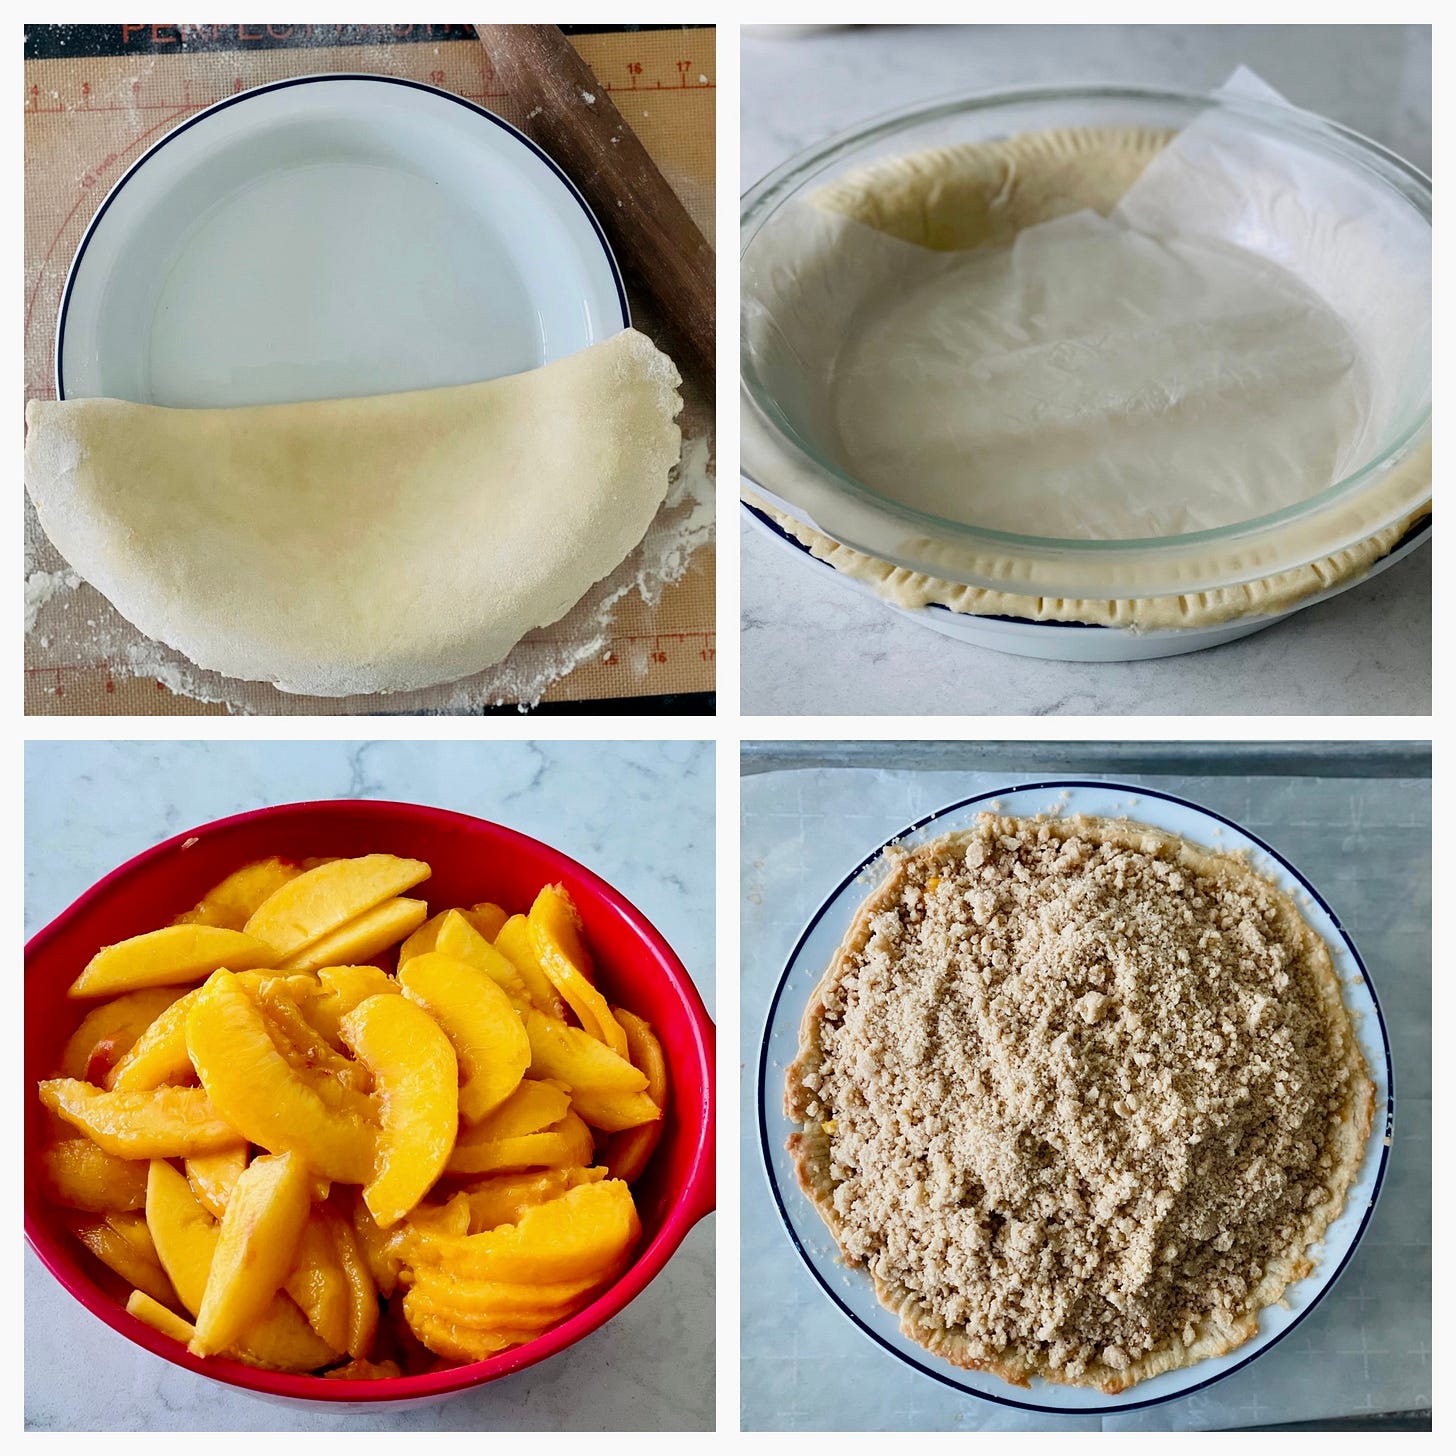
Four Steps to Making the Pie, l to r: Fold the pie dough in half to fit your pie pan. If you don’t have pie weights, you can use this restaurant trick and place a slightly smaller pie plate on a piece of parchment to keep the pie dough from shrinking too much as it blind bakes. Place your fresh fruit that has been tossed with the other ingredients in a bowl that is slightly smaller than the pie plate. When it’s time to add the fruit, all you have to do is empty the bowl upside down and you’ve got your filling in the pie shell. Add crumble topping and it’s ready to bake. Roll out the dough and place it in a pie dish.
Blind bake the crust, if desired
Make the filling. Peel and cut the peaches into slices or chunks. You can also use frozen, unsweetened, peaches, thaw the peaches, and drain any extra juice. Combine fruit with the sugar, cornstarch, lemon juice, and seasonings.
Make the Crumble topping.
Assemble the pie by placing the fruit in the pie crust, and covering the top with the crumble.
Bake the pie for about 45 to 55 minutes or until the peach juices are bubbling and the topping is lightly browned and crispy.
Let the pie cool. Four hours is my minimum. The filling sets up and it is easier to slice. I let it cool on the baking sheet for two hours and then lightly cover it and place it in the refrigerator for another 2 to 3 hours so that it is easier to slice.
Slice and serve. Don’t worry if your slices are less than perfect. They will still taste perfect and you can serve them in a bowl topped with ice cream or whipped cream and no one will know the difference.
SPOTLIGHT ON THE PIE MAMA,
KATE MCDERMOTT
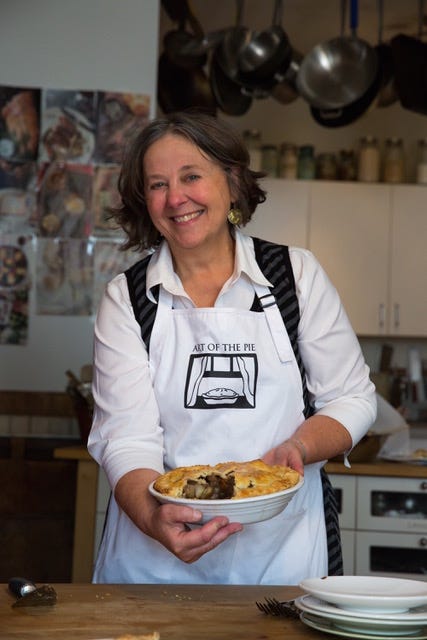
Kate is a pie expert, teacher, cookbook author and writes a terrific substack newsletter. She has written two excellent books on pie, Art of the Pie and Pie Camp and teaches virtual and in-person pie classes.
We asked her for her pie advice, and she gave us advice that is good for baking, cooking and life!
Kate says, “Here are my three rules of pie making and life. They are good year ‘round and the summertime, too.”
Keep Everything Chilled, especially Yourself - If your pie doesn’t turn out, turn it into a casserole dish and call it “a crumble.”
Keep Your Boundaries - Don't overfill the pie pan, or you will have a Clean-the-Oven Pie.
Vent - Let the steam out of your pie and yourself, too.
Check out Kate McDermott's newsletter here!

