SPRING CHICKEN DINNERS
Winner, winner chicken dinner! Chicken is one of the most popular weeknight meals in America, and with good reason… it’s fairly quick-cooking, easy to prepare, and can take on many different flavor profiles. So today we’re sharing the basics of grilling chicken and giving you a symphony of sauces to dress up that bird (whether you cooked it yourself or bought a rotisserie chicken at the grocery store).
GRILLED SPRING CHICKEN 101
EK: Grilling season is here—it’s always here for me and Anthony—but I love it even more when the whole country is excited about grilling again!
AU: Even though I live in SoCal (where it’s grilling weather all year round), there really is a sense of community when the rest of the country is getting out the ol’ kettle grill again!
EK: If you are part of the group that is dusting off your grill and cleaning it, or buying a new grill this year, you probably need a refresher on grilling chicken too. Most people think about chicken pieces when they think of grilled chicken, but a whole butterflied chicken is actually the easiest of all—especially when you can buy it already butterflied a.k.a. spatchcocked.
The number #1 mistake that people make when they cook chicken is using the wrong type of heat, or grilling method.
What this means is that people often burn the outside of the chicken while the inside is still raw. (The #2 mistake is putting sweet barbecue sauce on raw chicken and that makes it burn even faster.)
Most people grill all chicken over a direct flame/heat. The only chicken that uses direct heat is a boneless skinless chicken breast—everything else takes longer than 20 minutes and is best grilled using indirect heat. (And, barbecue sauce goes on during the final 10 minutes of the cooking time, no matter what you are making).
The secret to great grilling is a simple one: know which method to use. The difference between the methods is determined by where the food is placed in relation to the fire. Virtually all outdoor cooking can be divided into three cooking methods:
Direct cooking is when foods are cooked with the direct heat of the flame. Foods should be placed directly over the coals or gas burners.
Indirect cooking uses reflected heat to cook, so foods should be placed away from the source of the flame.
Combo cooking is simply a combination of the two methods.
We can address the nitty gritty of the grilling methods in another newsletter, or you can read all about it on my website, but since we are talking chicken, let’s talk about why indirect heat is best.
If you are like me, you like a nice juicy chicken with crispy skin. The best way to make sure that the inside is cooked through and no longer pink and the outside is GBD—golden, brown, delicious—is to cook it with indirect heat at a lower temperature so the inside and the outside are done at the same time.
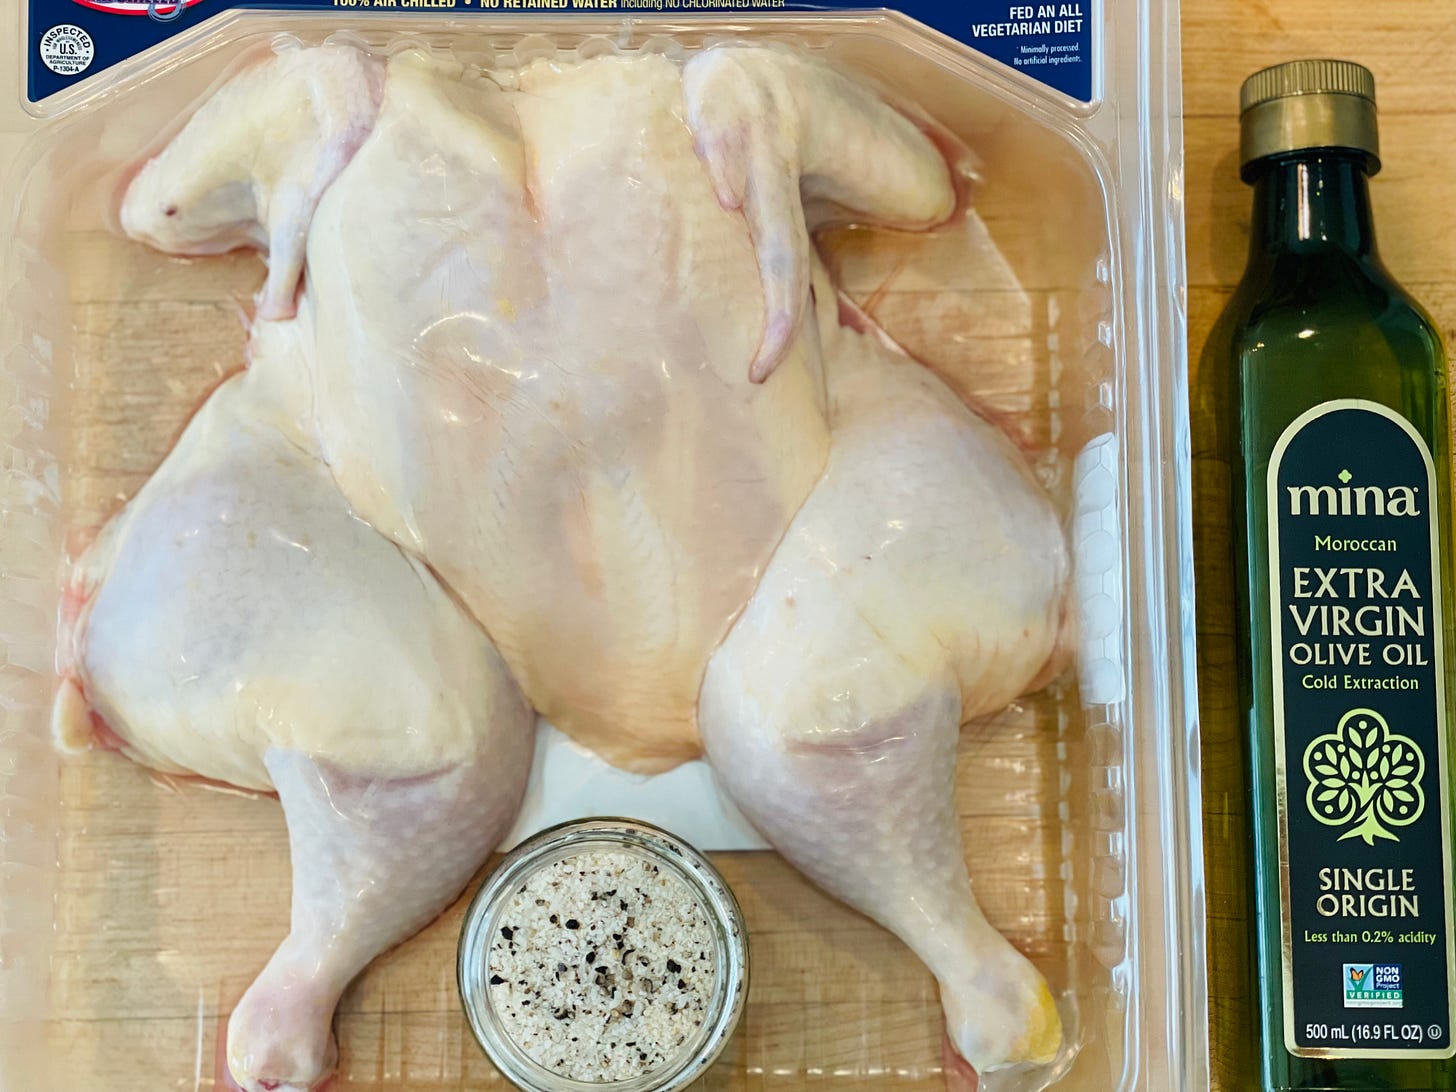
If you buy a good quality chicken, all you need to make it check all the boxes of a great roast chicken is olive oil, salt and pepper. One step up is beer-can chicken which is my favorite roast chicken of all time.
These days you can buy a spatchcocked chicken or you can DIY—scroll through our March 10 Newsletter for a refresher.
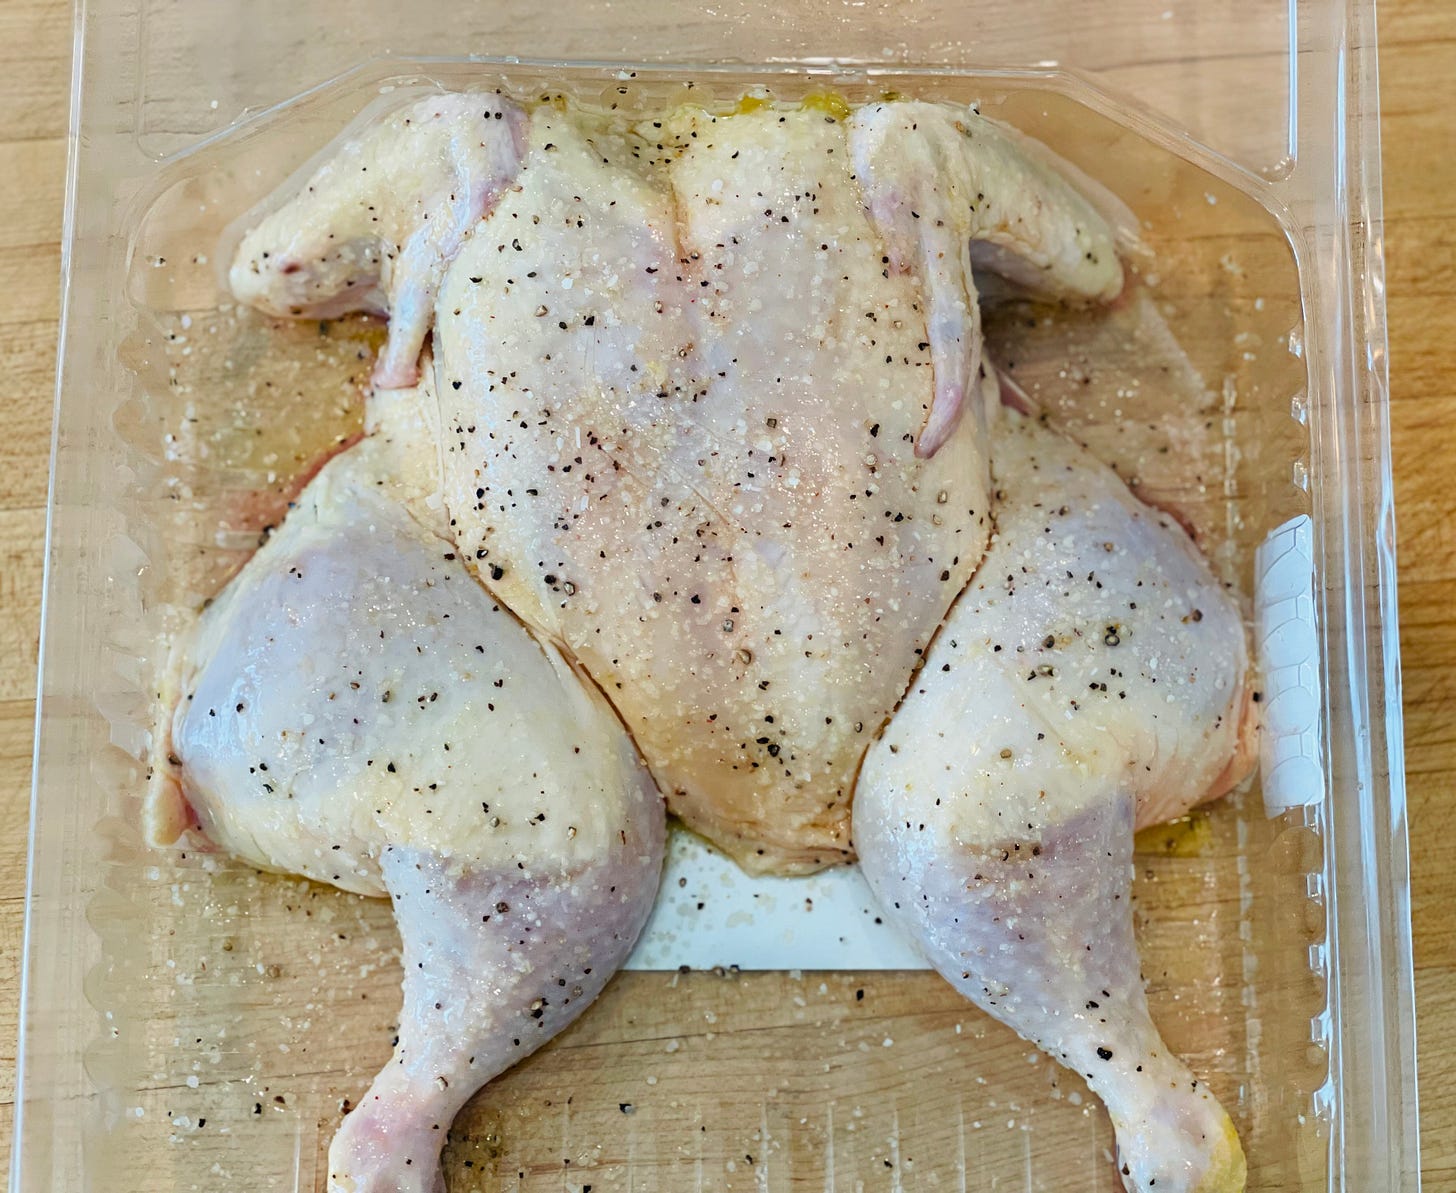
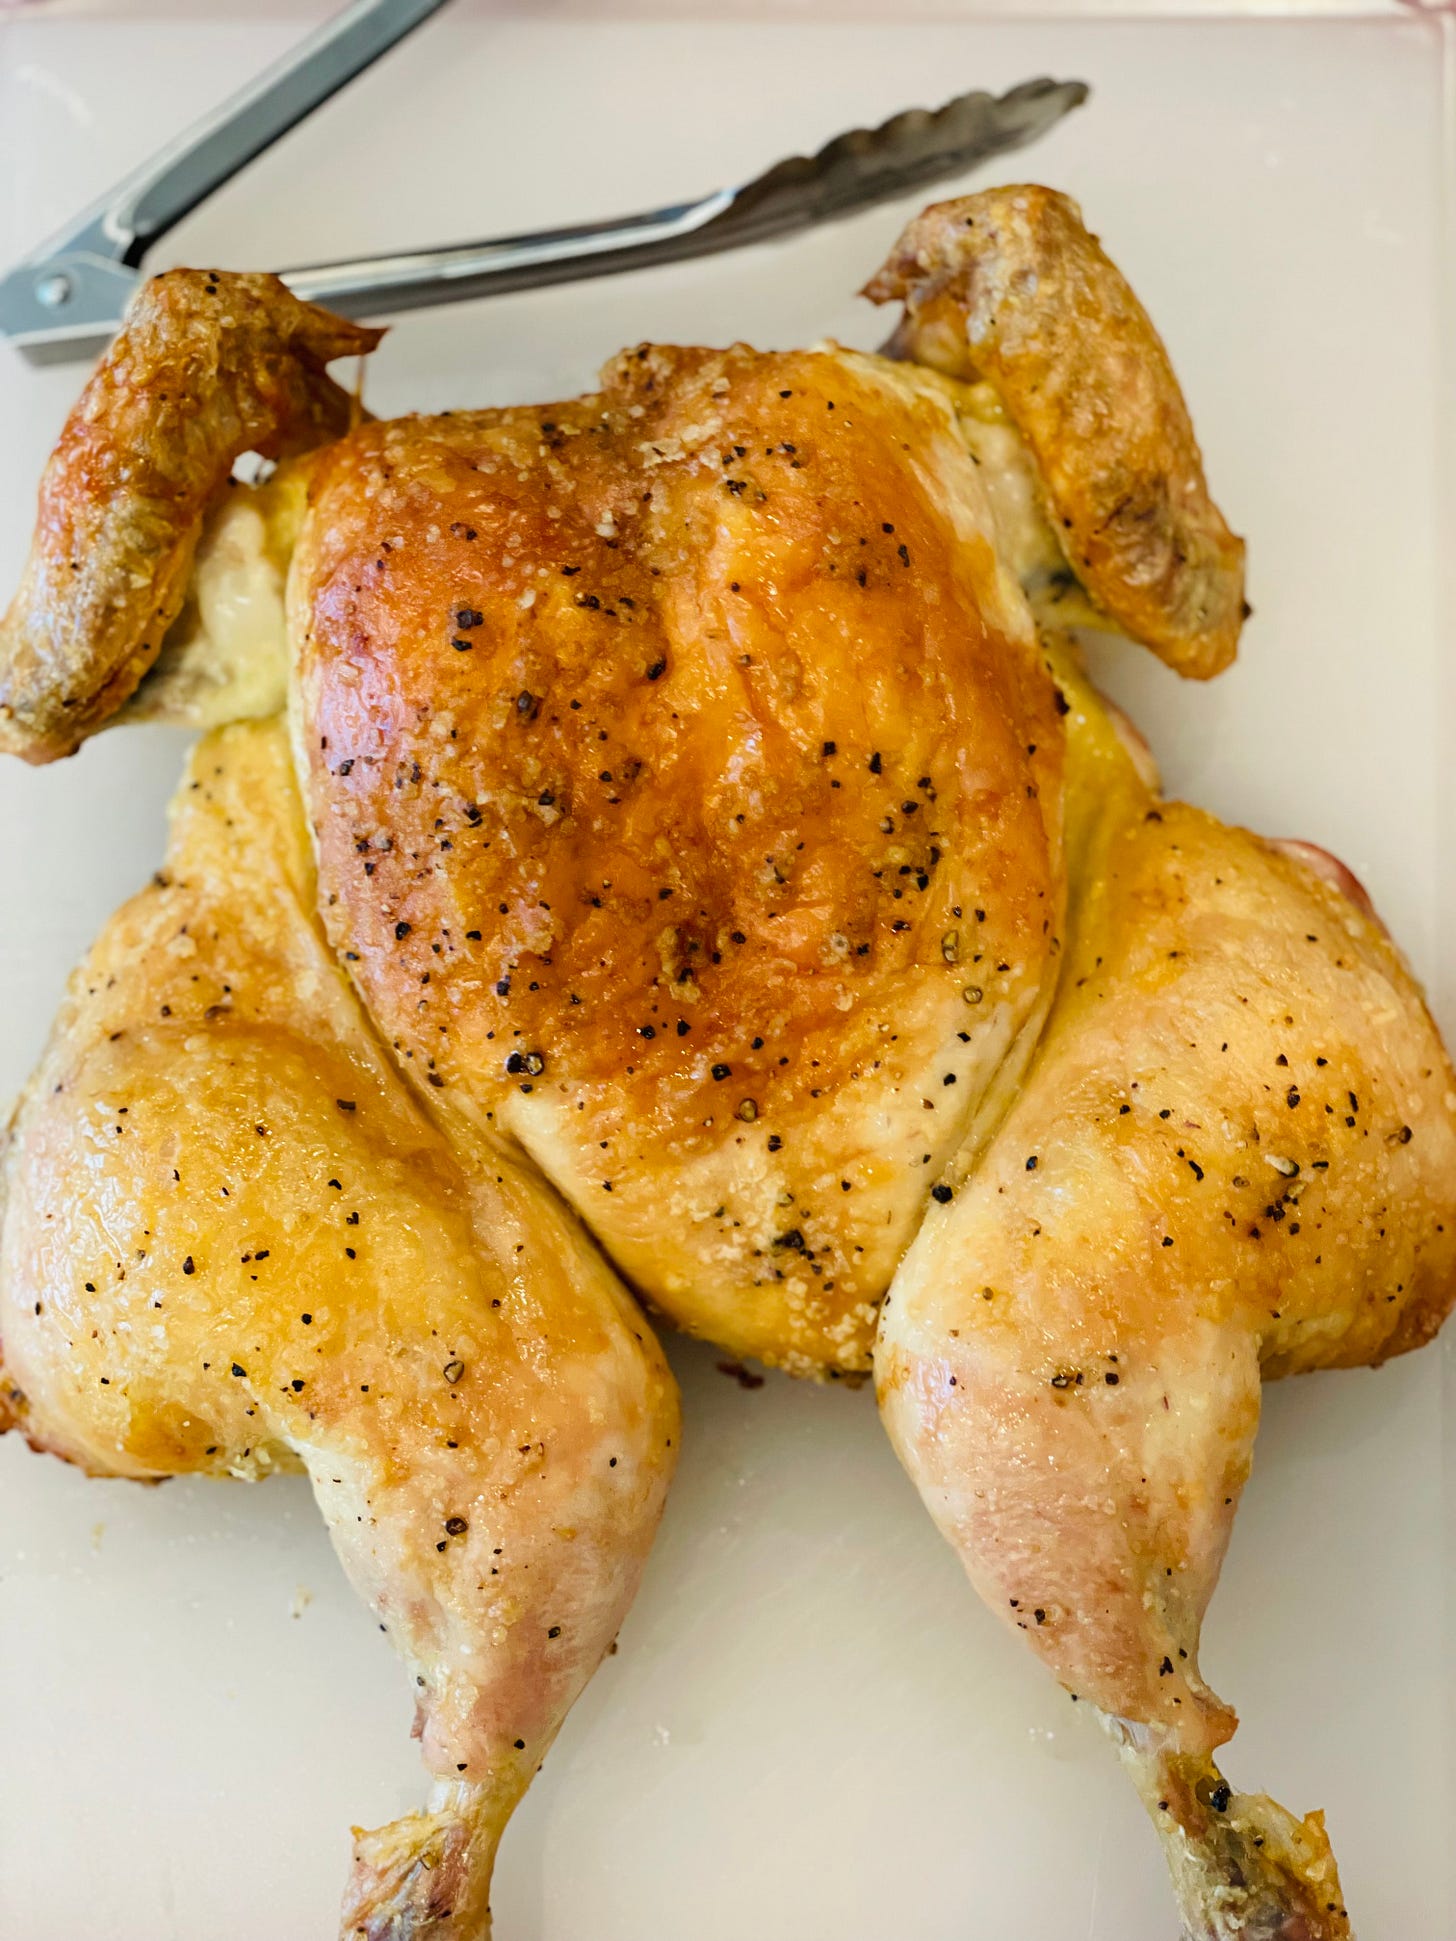
The already-butchered chicken is super convenient and the tray doubles as a prep tray so it is really grill friendly. I brushed the chicken all over with EVOO, and seasoned it with salt and pepper and took it to the grill.
I folded the wings back—it’s called wings akimbo—so that they wouldn’t raise up during the grilling time, but that is personal preference. The grill was preheated with all burners on high, and then I turned the middle burners off. I reduced the heat to medium on the outer burners and I placed the chicken over the burners that I turned off—in the center of the cooking grate.
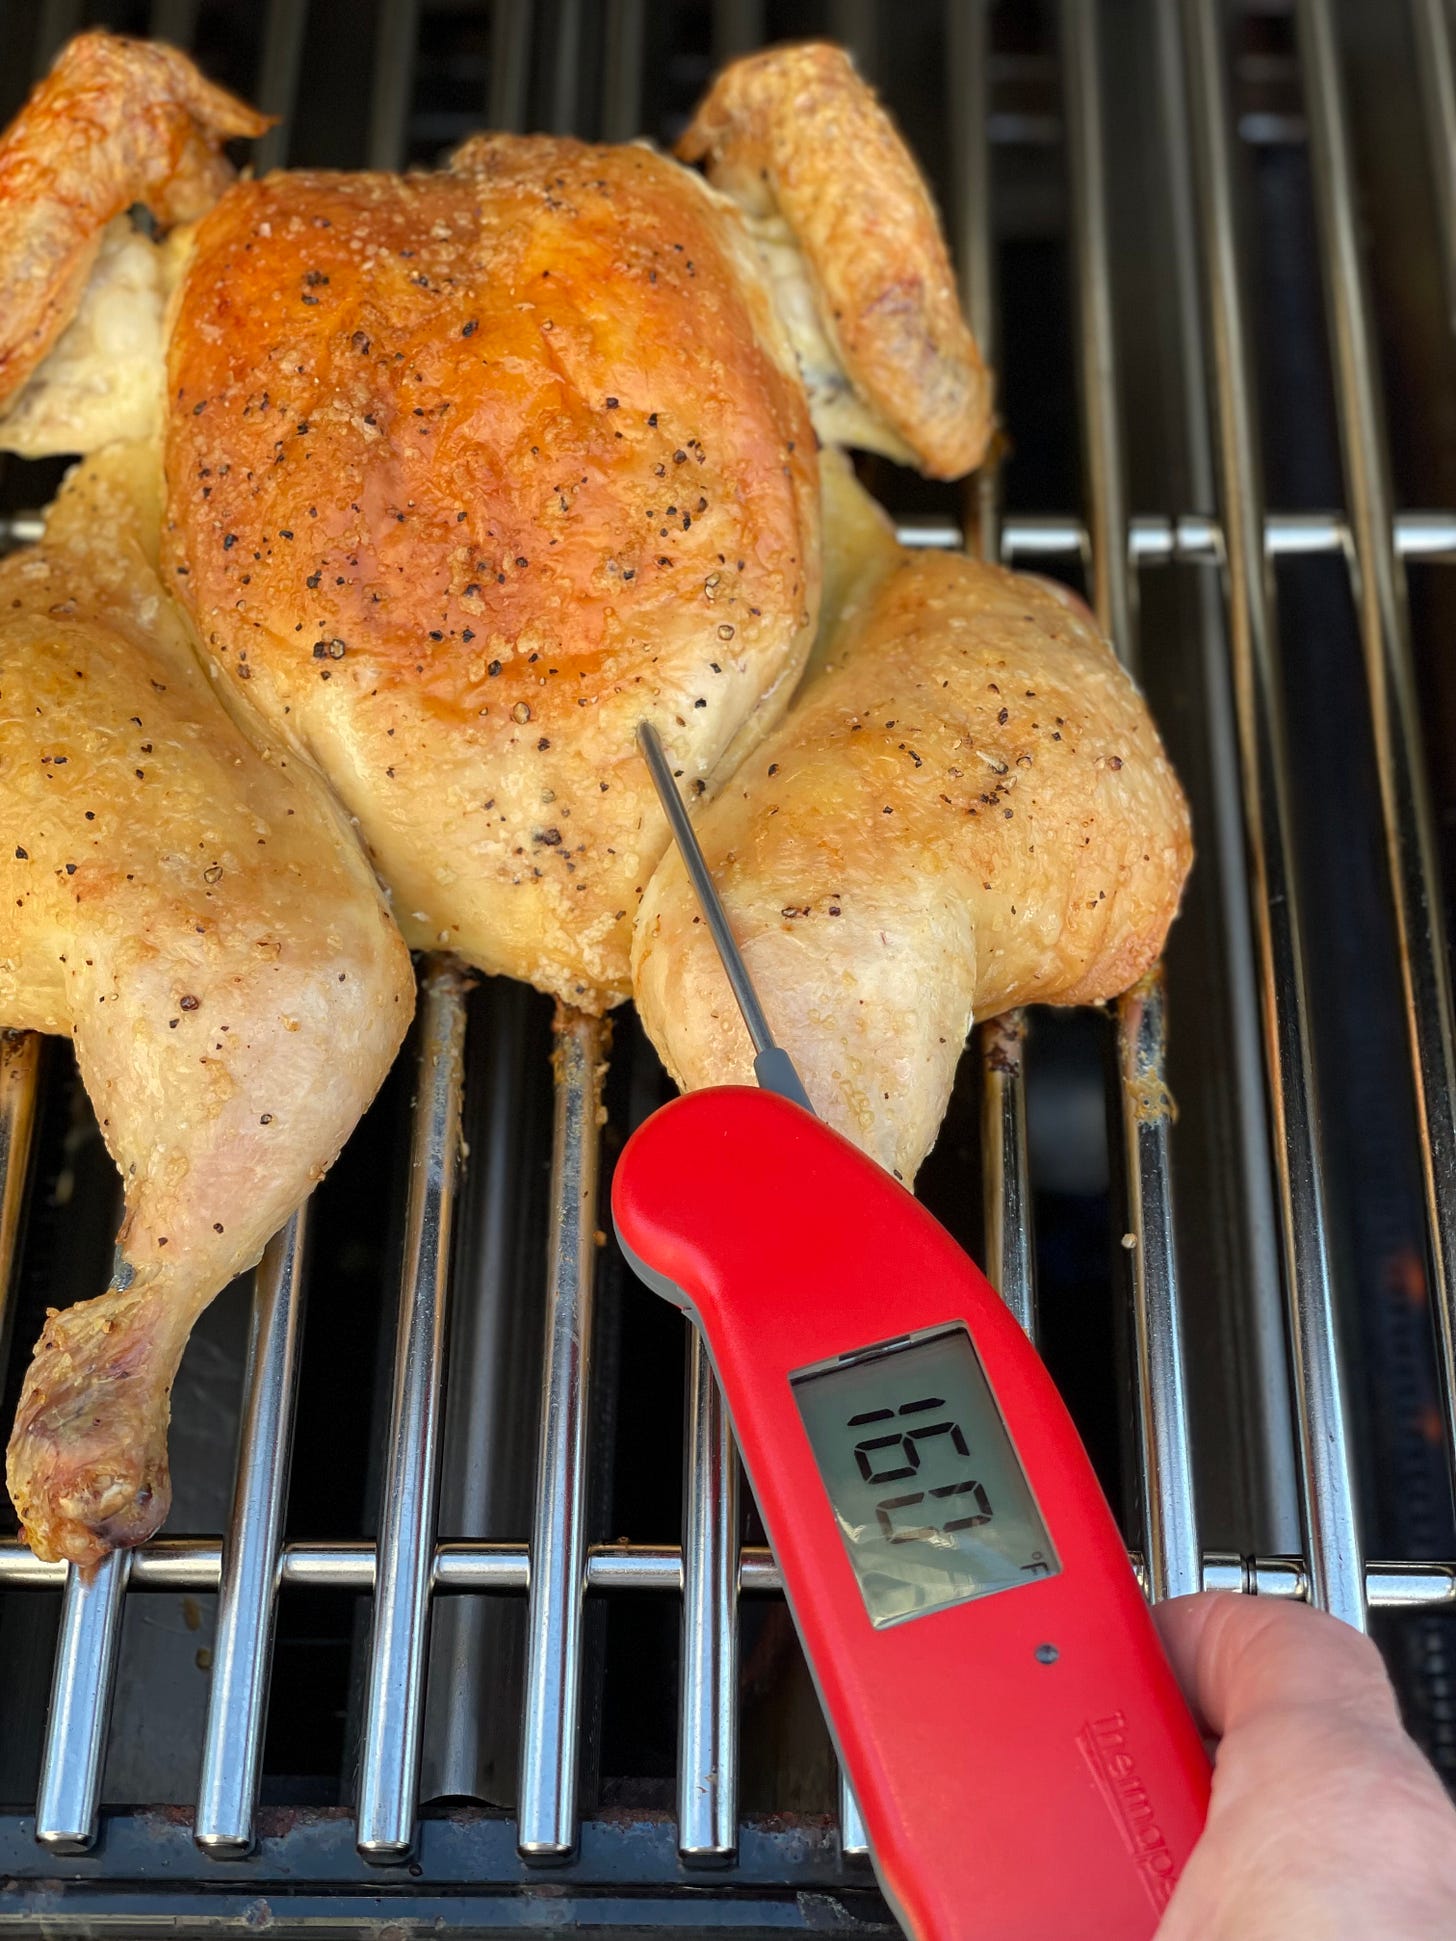
The best chickens are between 3-4 pounds. The larger the chicken, the tougher the meat and the longer it will take to cook. This 3-pound chicken [probably closer to 4 pounds before the backbone was removed] took 45 minutes to grill to GBD perfection! I follow the USDA for doneness 160-165 in the breast/white meat. When the chicken is butterflied and lays flat, the dark meat and the white meat cook at the same time.
Grilled Butterflied Chicken 101
I wrote this recipe for a butterflied chicken, but you can use the same method for bone-in chicken pieces and adjust the timing based on size. I recommend grilling chicken pieces over an Indirect heat so that it is cooked on the inside and golden-brown at the same time. Cooking over Direct heat can create a raw interior and a burned exterior—especially if you put the barbecue sauce on too soon.
Serves 4
Grilling Method: Indirect/Medium Heat
1 whole chicken, 3-4 pounds, butterflied or bone-in chicken pieces
Extra-Virgin Olive oil
Kosher salt
Freshly ground pepper
Remove and discard excess fat from chicken if necessary. Pat dry. Brush lightly with oil. Season with salt and pepper. Place chicken, bone-side down in center of cooking grate. You do not need to turn the chicken pieces.
Grill-roast until breast meat near bone registers 160-165°F and thigh meat registers 180°F, about 45 minutes depending on size. If you don’t have a meat thermometer, cook until no longer pink and the juices run clear. The skin should be golden brown and the drumsticks should be receding from the skin meaning that you can see the bone sticking out a little.
Remove from grill and let sit 10 minutes before serving.
NOTE: If preparing barbecued chicken, season with favorite barbecue rub and brush sauce on chicken during the last 10 minutes of cooking time to prevent burning.
GETTIN’ SAUCY…
AU: Now that Elizabeth has given us the 411 on grilled bird basics, I’m going to share some of my favorite ways to turn your chicken into a FANCY MUTHAPLUCKA!
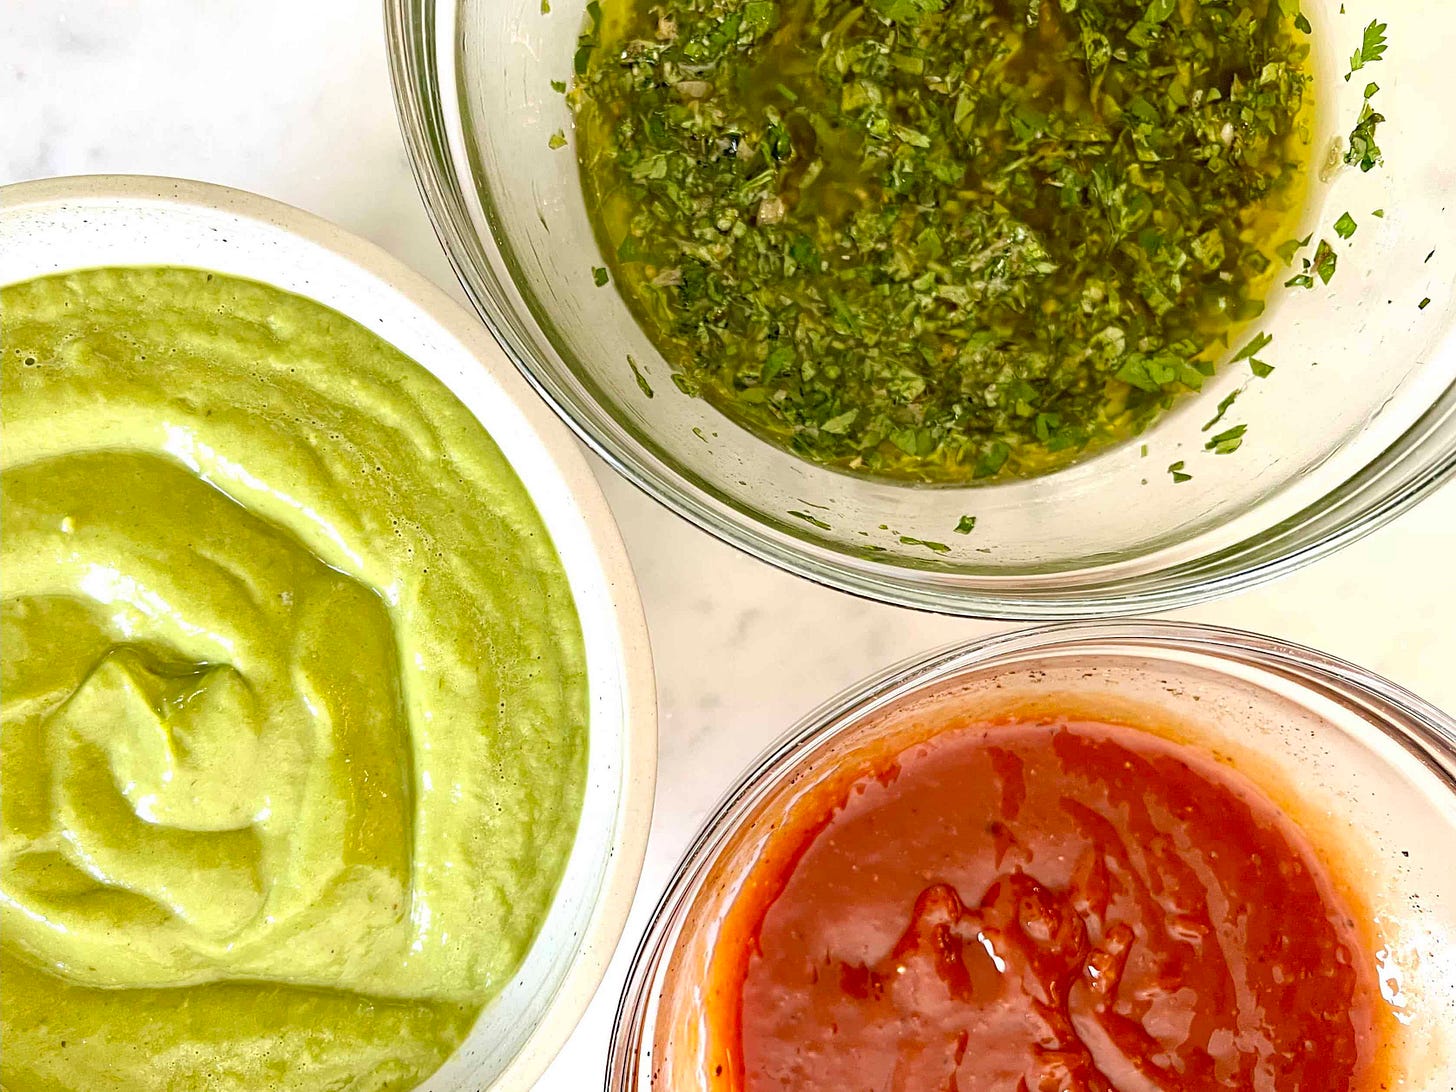
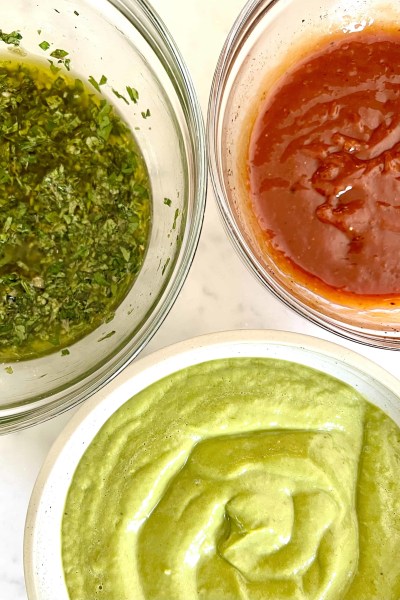
Here are three sauces that will take your chicken game to the next level…
Italian Salsa Verde
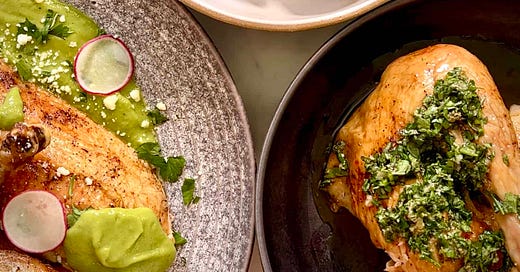
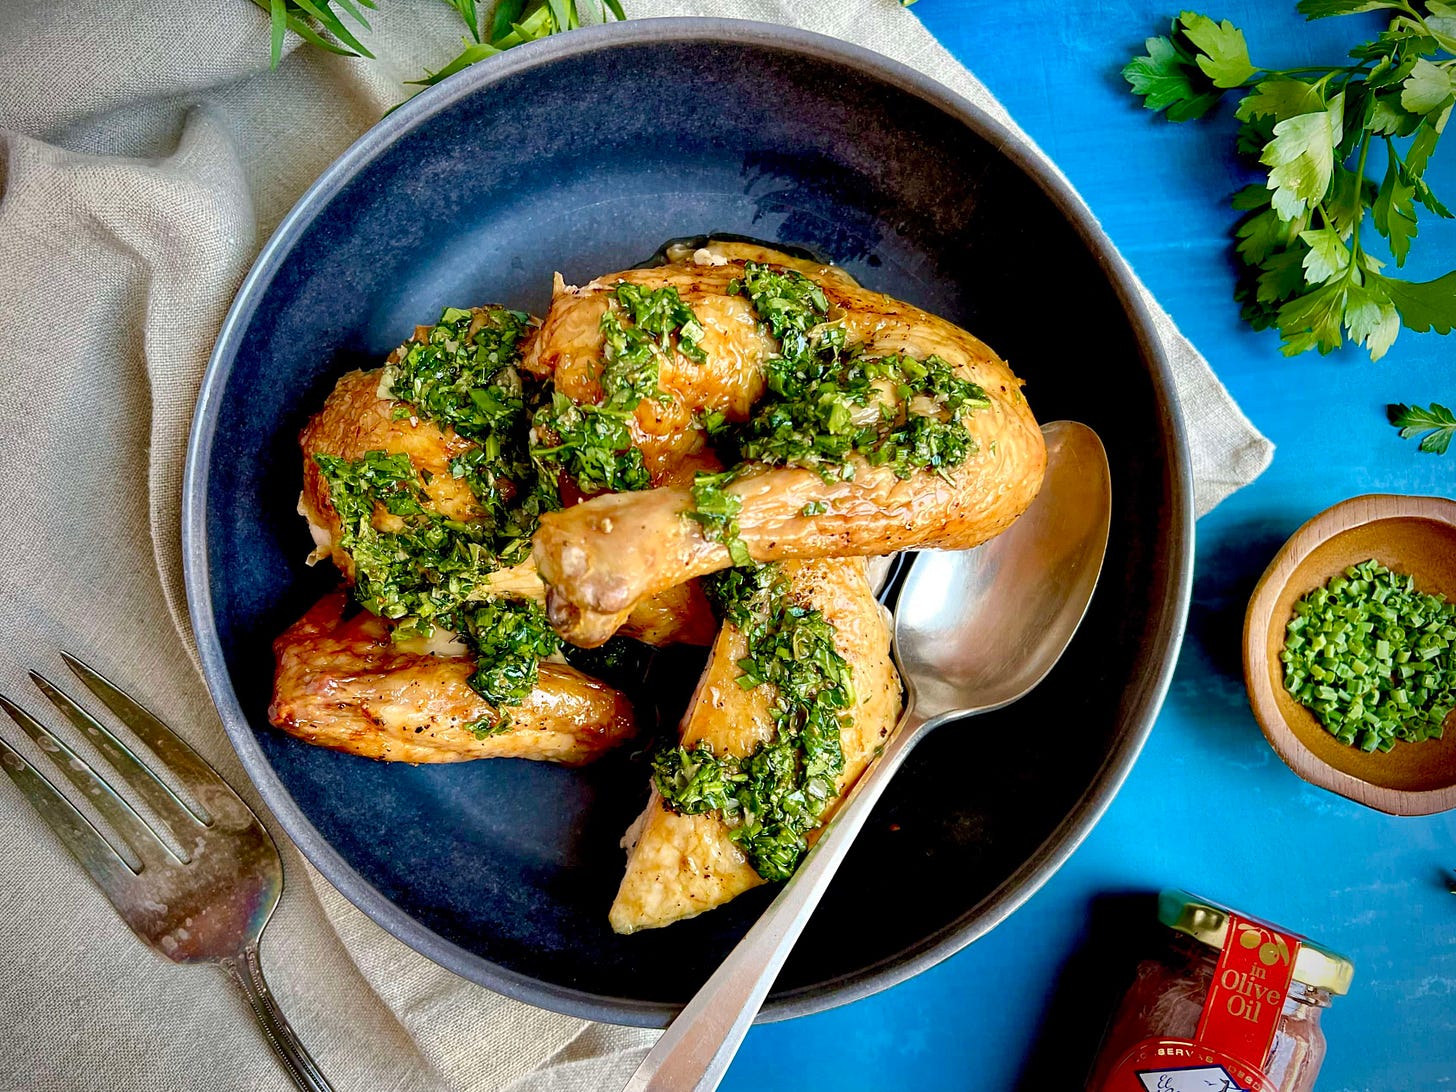
AU: When you hear the words salsa verde you may think of tomatillos and jalapeño peppers… this ain’t that party, babe. This is finely-chopped herbs, capers, anchovies, and really good olive oil that come together to create a bright, herby sauce that I will legit eat with a spoon. The first time I discovered Salsa Verde was at my favorite restaurant in the whole wide world, Barbuto in NYC. Jonathan Waxman’s seasonal Cali-Italian restaurant in the West Village is a temple to simple cooking with incredible ingredients. And rosé. Elizabeth and I have shared many a meal there with loved ones, and it’s like a warm hug every time you walk in. The JW Chicken with Salsa Verde is their signature dish, and here’s the recipe for the sauce (though nothing can compare to being there).
EK: Just the words “salsa verde” brings me back to that iconic restaurant and all the fun delicious lingering times we shared. I’ve had many a great meal at various restaurants, but there was no other restaurant that felt like you were both at home and spending an evening out. Add the crunchy smashed-and-fried rosemary Barbuto potatoes to the chicken, and there’s my desert island meal!
Italian Salsa Verde
Ingredients:
1 Tablespoon capers
2 anchovy filets
3 cloves garlic
1 cup extra virgin olive oil
¼ cup fresh parsley, chopped
¼ cup arugula, chopped
¼ cup basil leaves, chopped
¼ cup fresh cilantro, chopped
1 Tablespoon tarragon leaves, chopped
1 scallion, thinly sliced
1 Tablespoon fresh sage, chopped
1 Tablespoon fresh rosemary, chopped
Kosher salt and freshly ground black pepper
Method:
Rinse capers in cold water, then drain. Soak anchovies in cold water for five minutes, then pat dry and remove any bones. Using a mortar and pestle (or a small mixer if you’re in a hurry), smash the capers, anchovies, and garlic with 2 Tablespoons of the olive oil until smooth. Transfer to a medium bowl.
Add all the herbs and remaining olive oil. The mixture should be chunky, not oily. Season with salt. Serve atop roasted or grilled chicken.
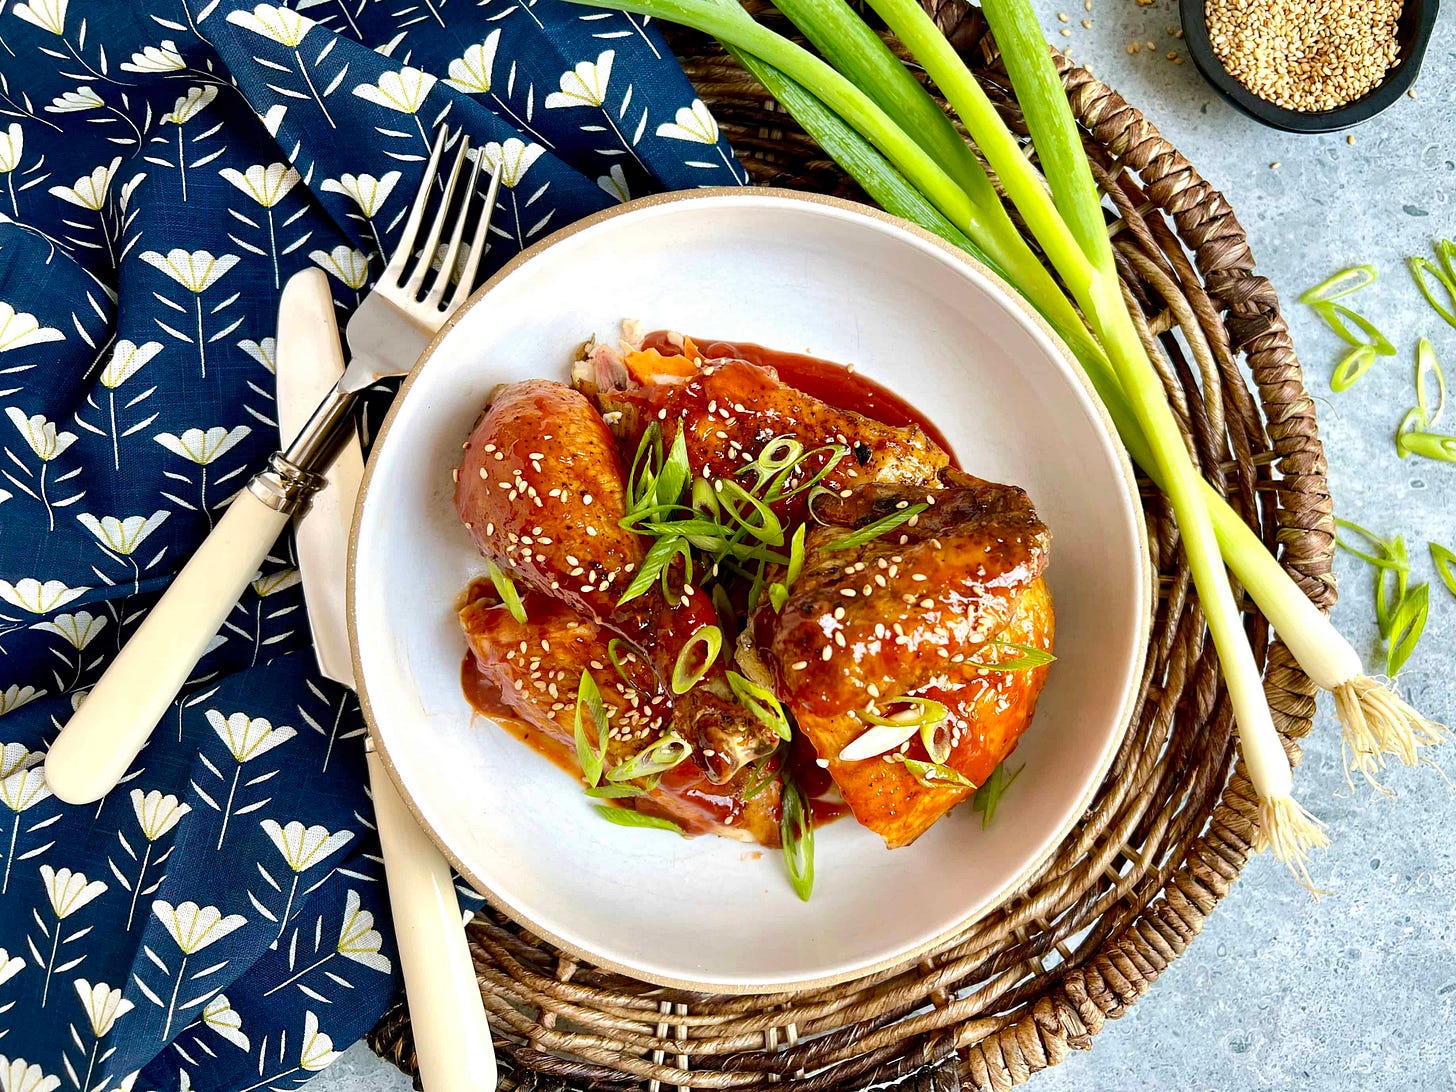
Yangnyeom Sauce
AU: Eric Kim has recently become one of my favorite new food writers and recipe developers. I can’t wait to get my hands on his new cookbook, Korean American. In the meantime, I fangirl every time he has a recipe in the NYT Cooking section. This Yangnyeom sauce (Pron: YANG-nyum), he says, is the glossy coating to a style of Korean fried chicken (known as Yangnyeom Chicken). It’s a combination of ketchup, soy sauce, rice vinegar, gochujang, and strawberry jam (!!!). It’s addictive in a sweet/spicy/savory way, and I will be putting it on everything from chicken to shoe leather henceforth.
Yangnyeom Sauce
Ingredients:
½ cup ketchup
2 Tablespoons gochujang
2 Tablespoons rice vinegar
2 Tablespoons maple syrup
1 Tablespoon strawberry jam
1 Tablespoon soy sauce
1 Tablespoon finely grated garlic
Freshly ground black pepper
Method:
In a small bowl, or liquid measuring cup, whisk the ketchup, gochujang, rice vinegar, maple syrup, strawberry jam, soy sauce and garlic until well combined. Season to taste with pepper.
Use immediately or refrigerate in an airtight container for up to 1 week. This is great as a dipping sauce for any kind of chicken, especially fried, but also brushed over a whole bird after it’s been roasted/grilled. Or toss it with crispy tofu or stir-fried vegetables in the last few seconds of cooking.
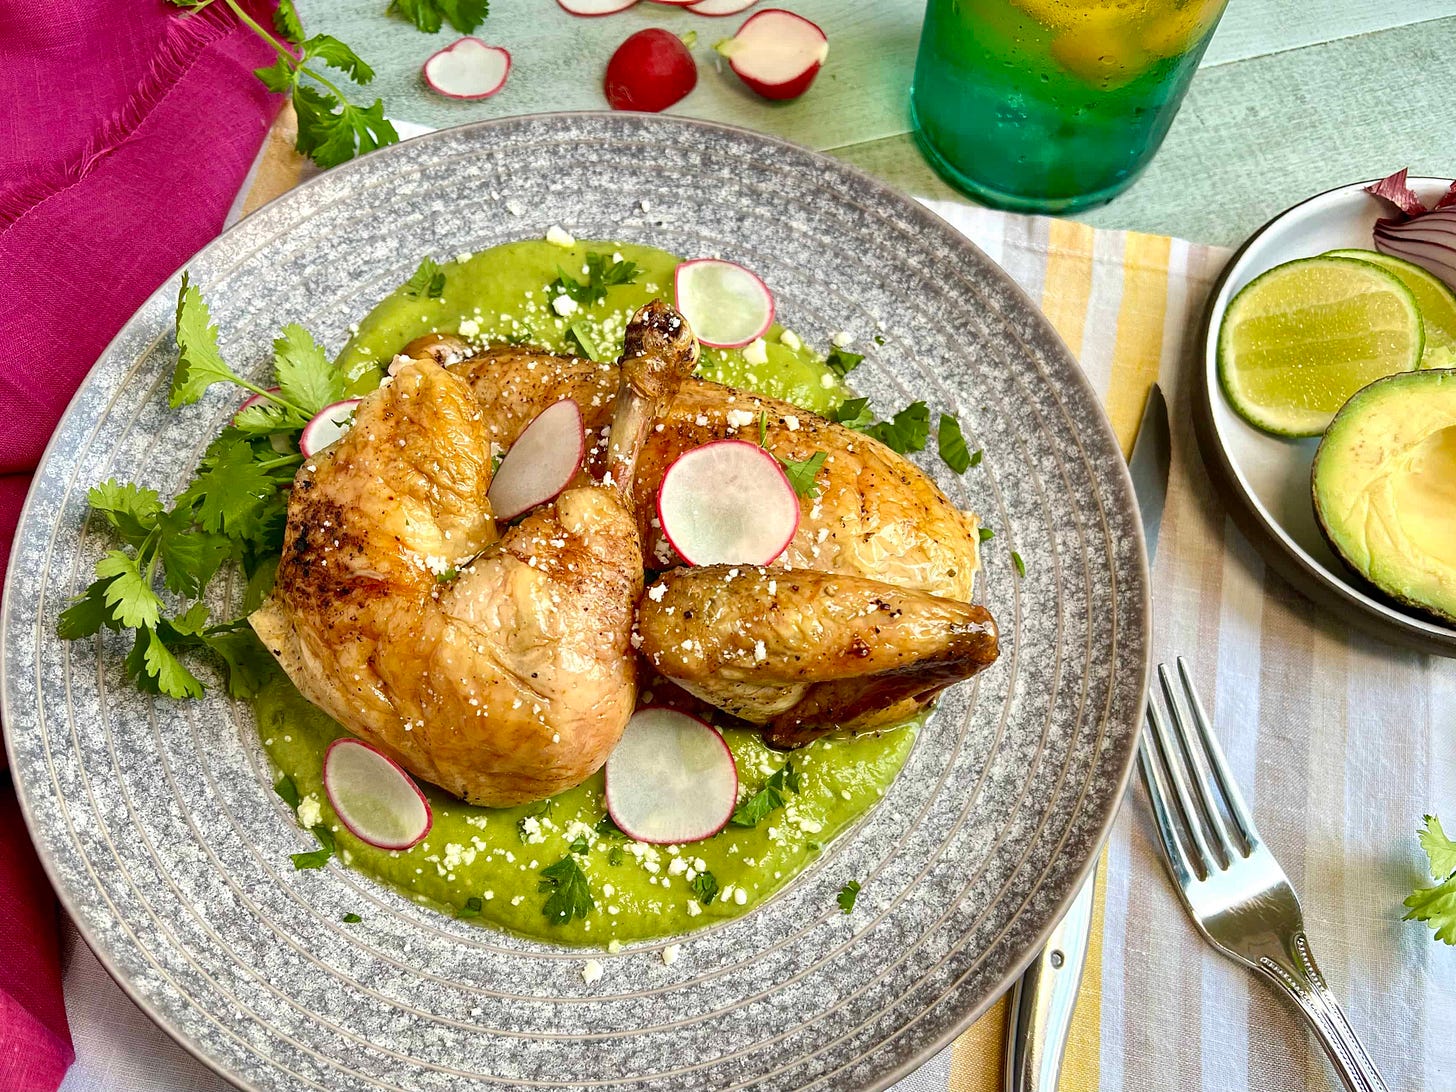
Avocado Salsa
AU: You know salsa means sauce, right? This is probably the salsa you were expecting earlier, but it’s a shortcut version! Take your favorite tomatillo-based jarred salsa (I happen to love Rick Bayless’ Frontera brand), an avocado, some cilantro and lime… combine them in a blender or food processor. TaDa! You’ve got a creamy, dairy-free sauce that will dress up your chicken dinner. It’s also delish with tortilla chips, or any other grilled meat or seafood.
EK: This is my favorite salsa! The first time I had it, I was in Houston so I always refer to it as “Houston Salsa.” I wrote a recipe in Steak & Cake for skirt steak kabobs and my version of avocado salsa verde—a.k.a. green sauce—but now that Anthony has shown me the way to dress up Frontera Tomatillo Salsa, I don’t think I’ll ever make it from scratch again!
Avocado Salsa
Ingredients:
1 (16 ounce) jar of tomatillo salsa
½ bunch fresh cilantro
1 haas avocado
Juice of 1 lime
½ cup water (more or less, depending on desired consistency)
Salt to taste
Method:
Pit and remove the flesh from the avocado. In a blender, combine salsa, cilantro (tender stems are fine here), avocado, lime juice and anywhere between ¼ cup to ½ cup water.
Blend to desired consistency, adding more/less water as needed to drizzle. Season with salt to taste, and enjoy.
That’s it for this week! As always, if you make our recipes, tag us on the ‘gram (@kitchensitch & @elizabethkarmel), and use the hashtag #whats4dinner. Happy cooking!!

