SNACKS FOR DINNER
When hot weather hits, all rules are out the door... Chimichurri wings and perfect tomato toasts are your tickets to warm summer evening nirvana!
It’s HOT out there, y’all! But it’s also Tomato Season, and what better way to enjoy Summer’s sweethearts than by making Anthony’s favorite tomato toast? And Elizabeth is whirring up a batch of chimichurri in her blender and slathering it onto some chicken wings that are sure to dazzle with every succulent bite!
YOU SAY TOMATO… YADA YADA YADA
AU: I will be the first to admit that I go crazy for tomatoes this time of year. I will eat them nonstop, and will not apologize for it. There’s something about a really great bite of tomato that makes your eyes roll to the back of your head. I don’t know if it’s because it takes me back to the first time I ever tried Pan con Tomate (with Iberico ham, natch), or that it reminds me of walking with my grandfather through his garden with a salt shaker, picking perfect tomatoes off the vines, and eating them like apples. Whatever the sense memory is, I love it. I can’t get enough of it.
EK: This may be my favorite post this summer. I am also obsessed with tomatoes and I can’t get enough of them, ever!
AU: One can’t help but enjoy ripe, juicy tomatoes in a myriad of ways: a BLT, a fresh no-cook pasta sauce, a tomato pie, a classic caprese salad, or simply sliced with a drizzle of olive oil and flakey sea salt.
Point is, there are countless ways to enjoy perfect Summer tomatoes, but my all-time favorite—and probably my husband, Josh’s, too—is in the form of a simple Tomato Toast.
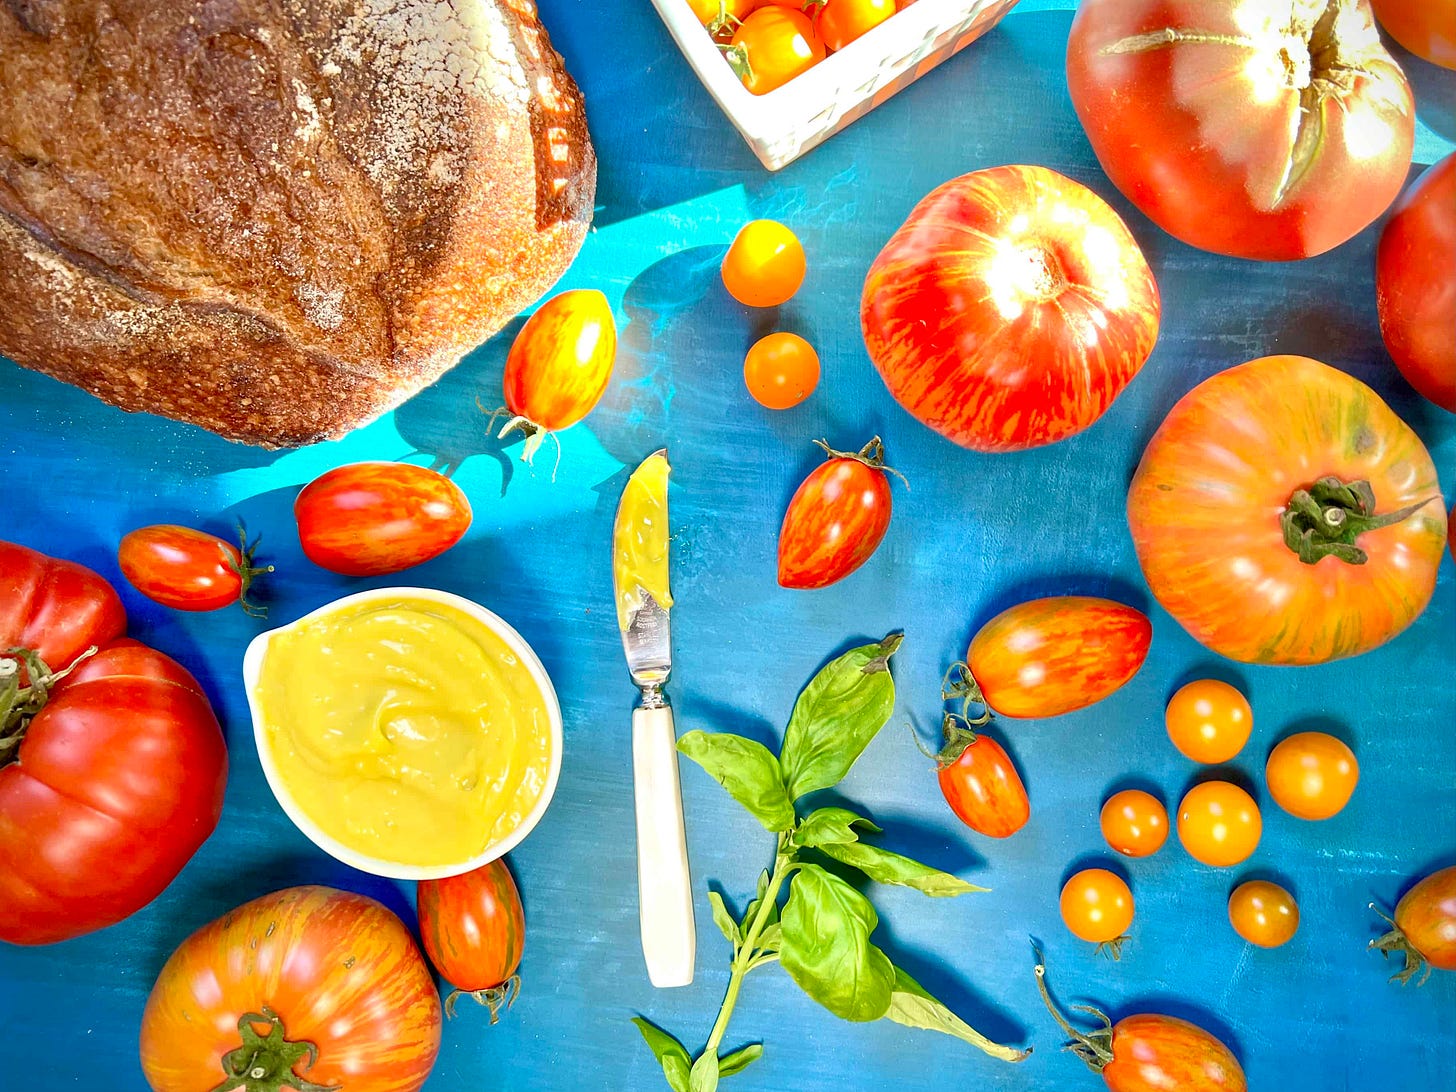
AU: Like all “simple” things (I’m putting on my Ina Garten hat), you have to get the very best quality items you can find. This dish can be comprised of any number of ingredients, but the must-haves are…
Bread
Spread
Tomato
Really good olive oil & Flakey salt
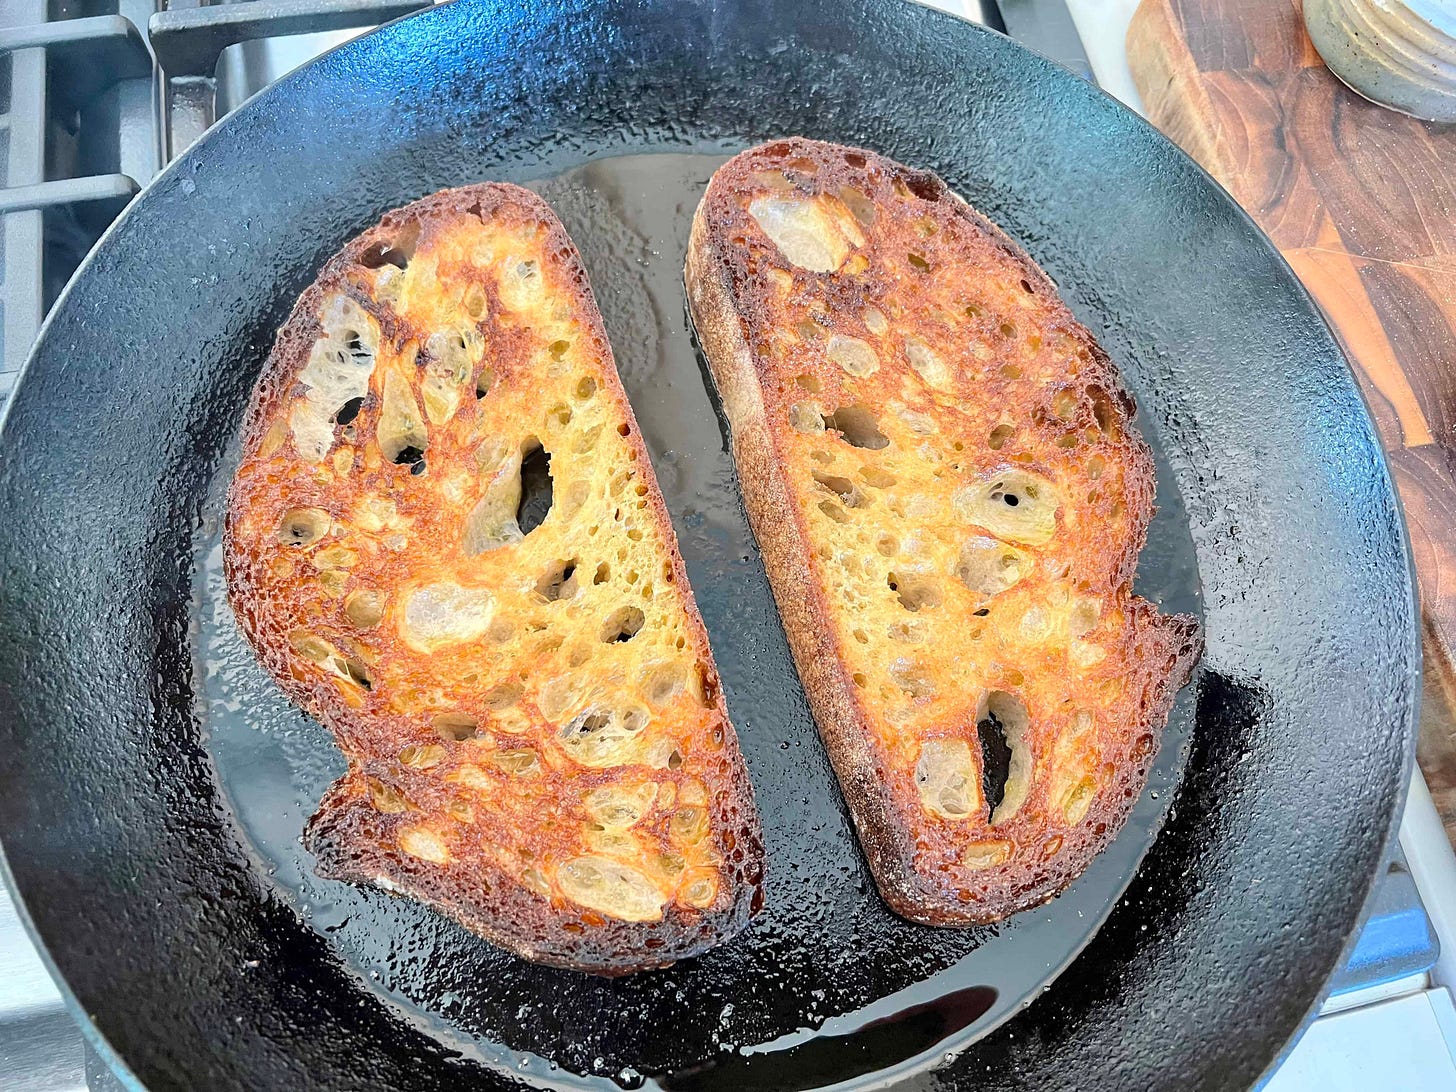
Let’s start with the bread… Any bread will do, but I urge you to seek out a crusty loaf with a nice chew, and an open structure (aka lots of holes in the doughy interior). I’m lucky to have incredible options in LA (Bub & Grandma’s, Clark Street Bread, Proof Bakery), including bread from San Francisco’s Tartine (which I’m using here). If you’re in NYC, I used to love love love She Wolf Bakery and Hot Bread Kitchen. We will not be toasting this bread… we will be frying it in a generous amount of olive oil. This accomplishes two things: One, you don’t have to turn on your oven in the heatwave; Two, you get this crispy-meets-soft-meets-crispy texture to the bread that makes for the perfect bite!
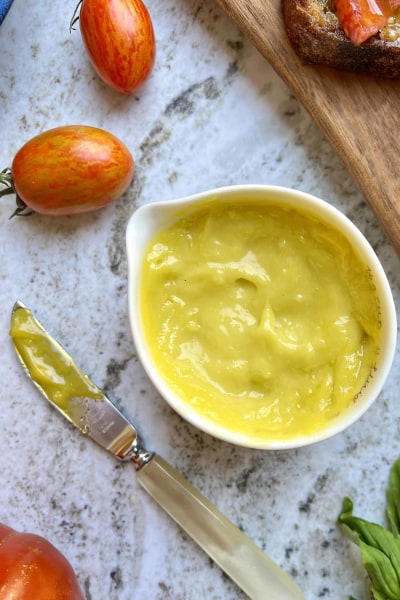
Next up is the spread… I will not begrudge anyone for simply using a good mayo, or a schmear of fresh ricotta (really, any dairy would be good—goat cheese, whipped feta, labne, crème fraîche). But I love love love this Easy Aioli and make it constantly (recipe follows). It’s great for sandwiches and toasts, but it’s equally good as a dip for fries, crudités, and anything else. Originally hailing from Provence, real Aioli consists of garlic, olive oil, salt, and lemon juice. This is EASY Aioli, and it is more like a garlicky mayo, tbh. If you’ve never made your own mayo, try this Easy Aioli first. I promise you’ll never go back. Recipe follows below.
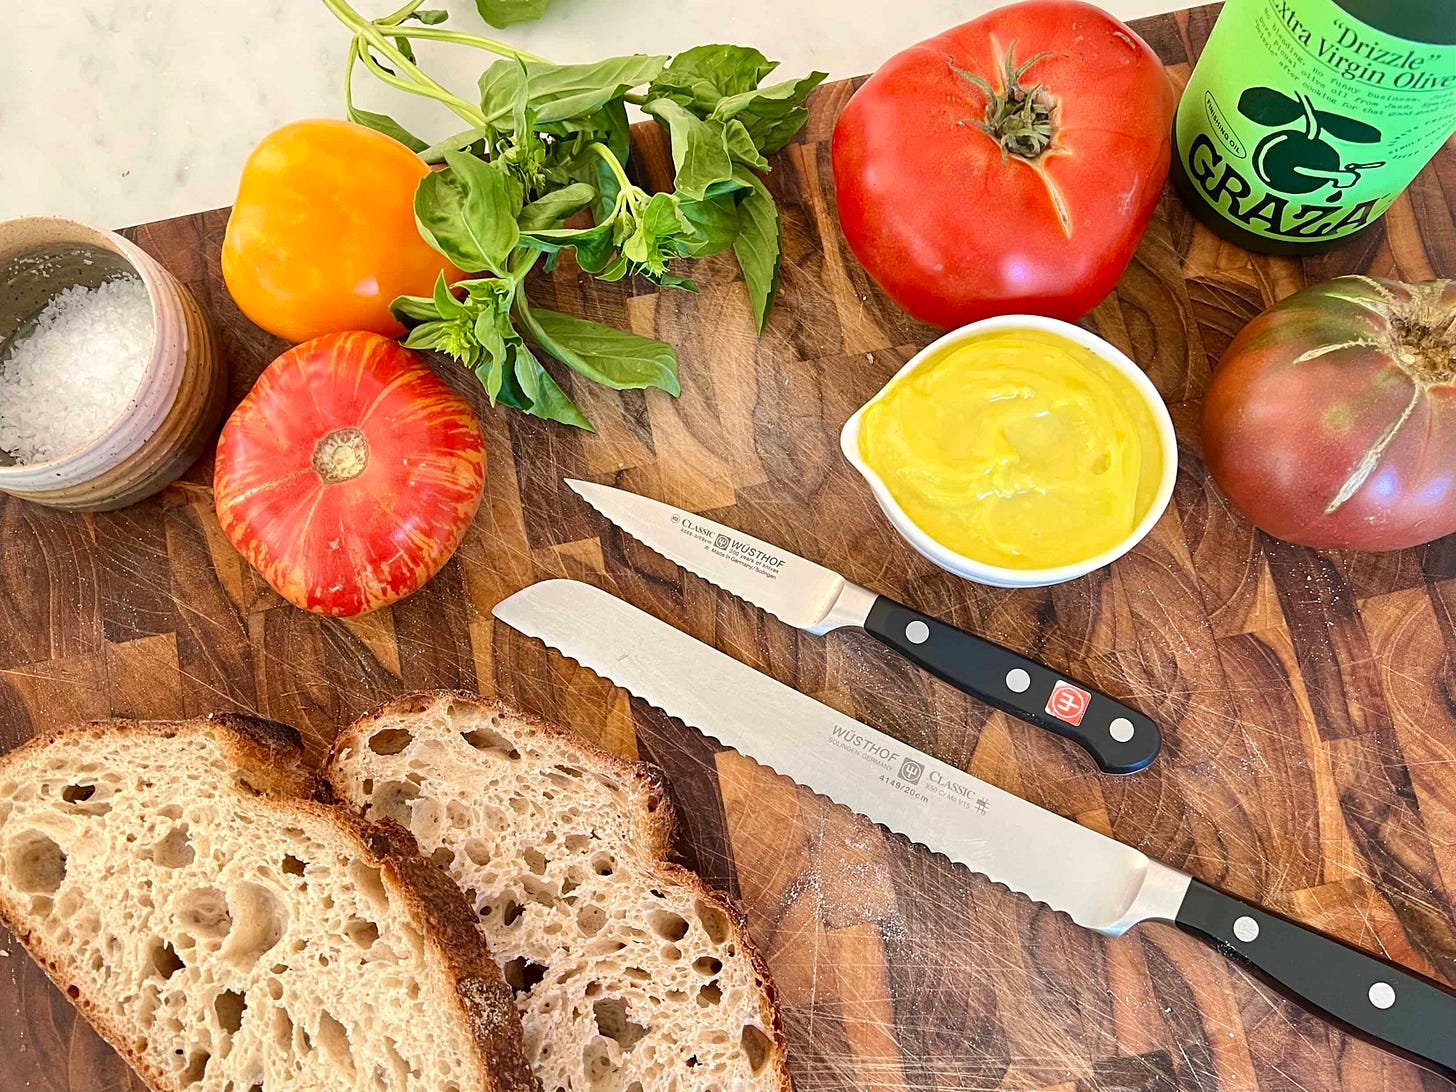
Now it’s time for the star of the show—the tomatoes! I mean, this part is kind of self-explanatory, no? Get really good tomatoes. The best you can find. They should feel almost like vegetable water balloons and smell super tomato-y. Get different colors, shapes, sizes. Do a tomato tasting and see how varied the tomato family is. The important thing is to slice them evenly with a serrated knife—I like to go about 1/4-inch slices. If you’re someone who likes to cut them in chunks or wedges, do your thing! I find that slicing enables me to inhale my food faster, and that’s precisely why I do it that way. Hot tip: I absolutely love this serrated paring knife. It is great for tomato prep (and stone fruit, berries, etc.). I honestly don’t know how I ever lived without it!
THE FINISHERS: Really good olive oil and flakey sea salt are NON NEGOTIABLE. You can literally do whatever you want with every other component of a tomato toast, but please do not skip these two very important finishing details. They take your snack from “oh wow, that’s good” to “HOLY F#&%*NG SH!T, THAT’S GOOD!” Use a really fruity, peppery finishing olive oil. Not the kind you’d cook with, the kind you drizzle over finished dishes. As for flakey sea salts, I love the classic Maldon and I especially love the big, crunchy flakes from Jacobsen Salt Company. I always add some fresh basil, as well, but any fresh herb like chives, parsley, tarragon, mint, dill, or scallions would be great. Though it doesn’t need it, feel free to let your freak flag fly by topping with capers, red onion, bacon, blue cheese, or prosciutto!
Putting it together:
Cut your bread into about 1/2” thick (maybe a tiny bit less) slices. This, to me, is the perfect way to ensure that crunchy-then-soft-then-crunchy texture.
Heat a heavy-bottomed skillet (cast-iron is great here) over medium-high. Once the pan is hot, add a generous amount of olive oil to fry the bread. Add enough olive oil to create a thin layer on the bottom of the pan (about 1/8”), so that every nook and cranny of the bread gets crispity crunchity. Once oil begins to shimmer, lay in your bread slices and cook on one side until it’s as brown as you like it. I like to go a little darker, because I think the slightly charred bits add a nice flavor. Flip, and continue cooking ‘til the bottom side crisps up. Periodically press the bread slices down with a spatula while they’re frying to ensure they get contact with the bottom of the pan.
Let the bread cool slightly before smearing on a generous amount of aioli (recipe follows). Sprinkle with some chopped basil, if using.
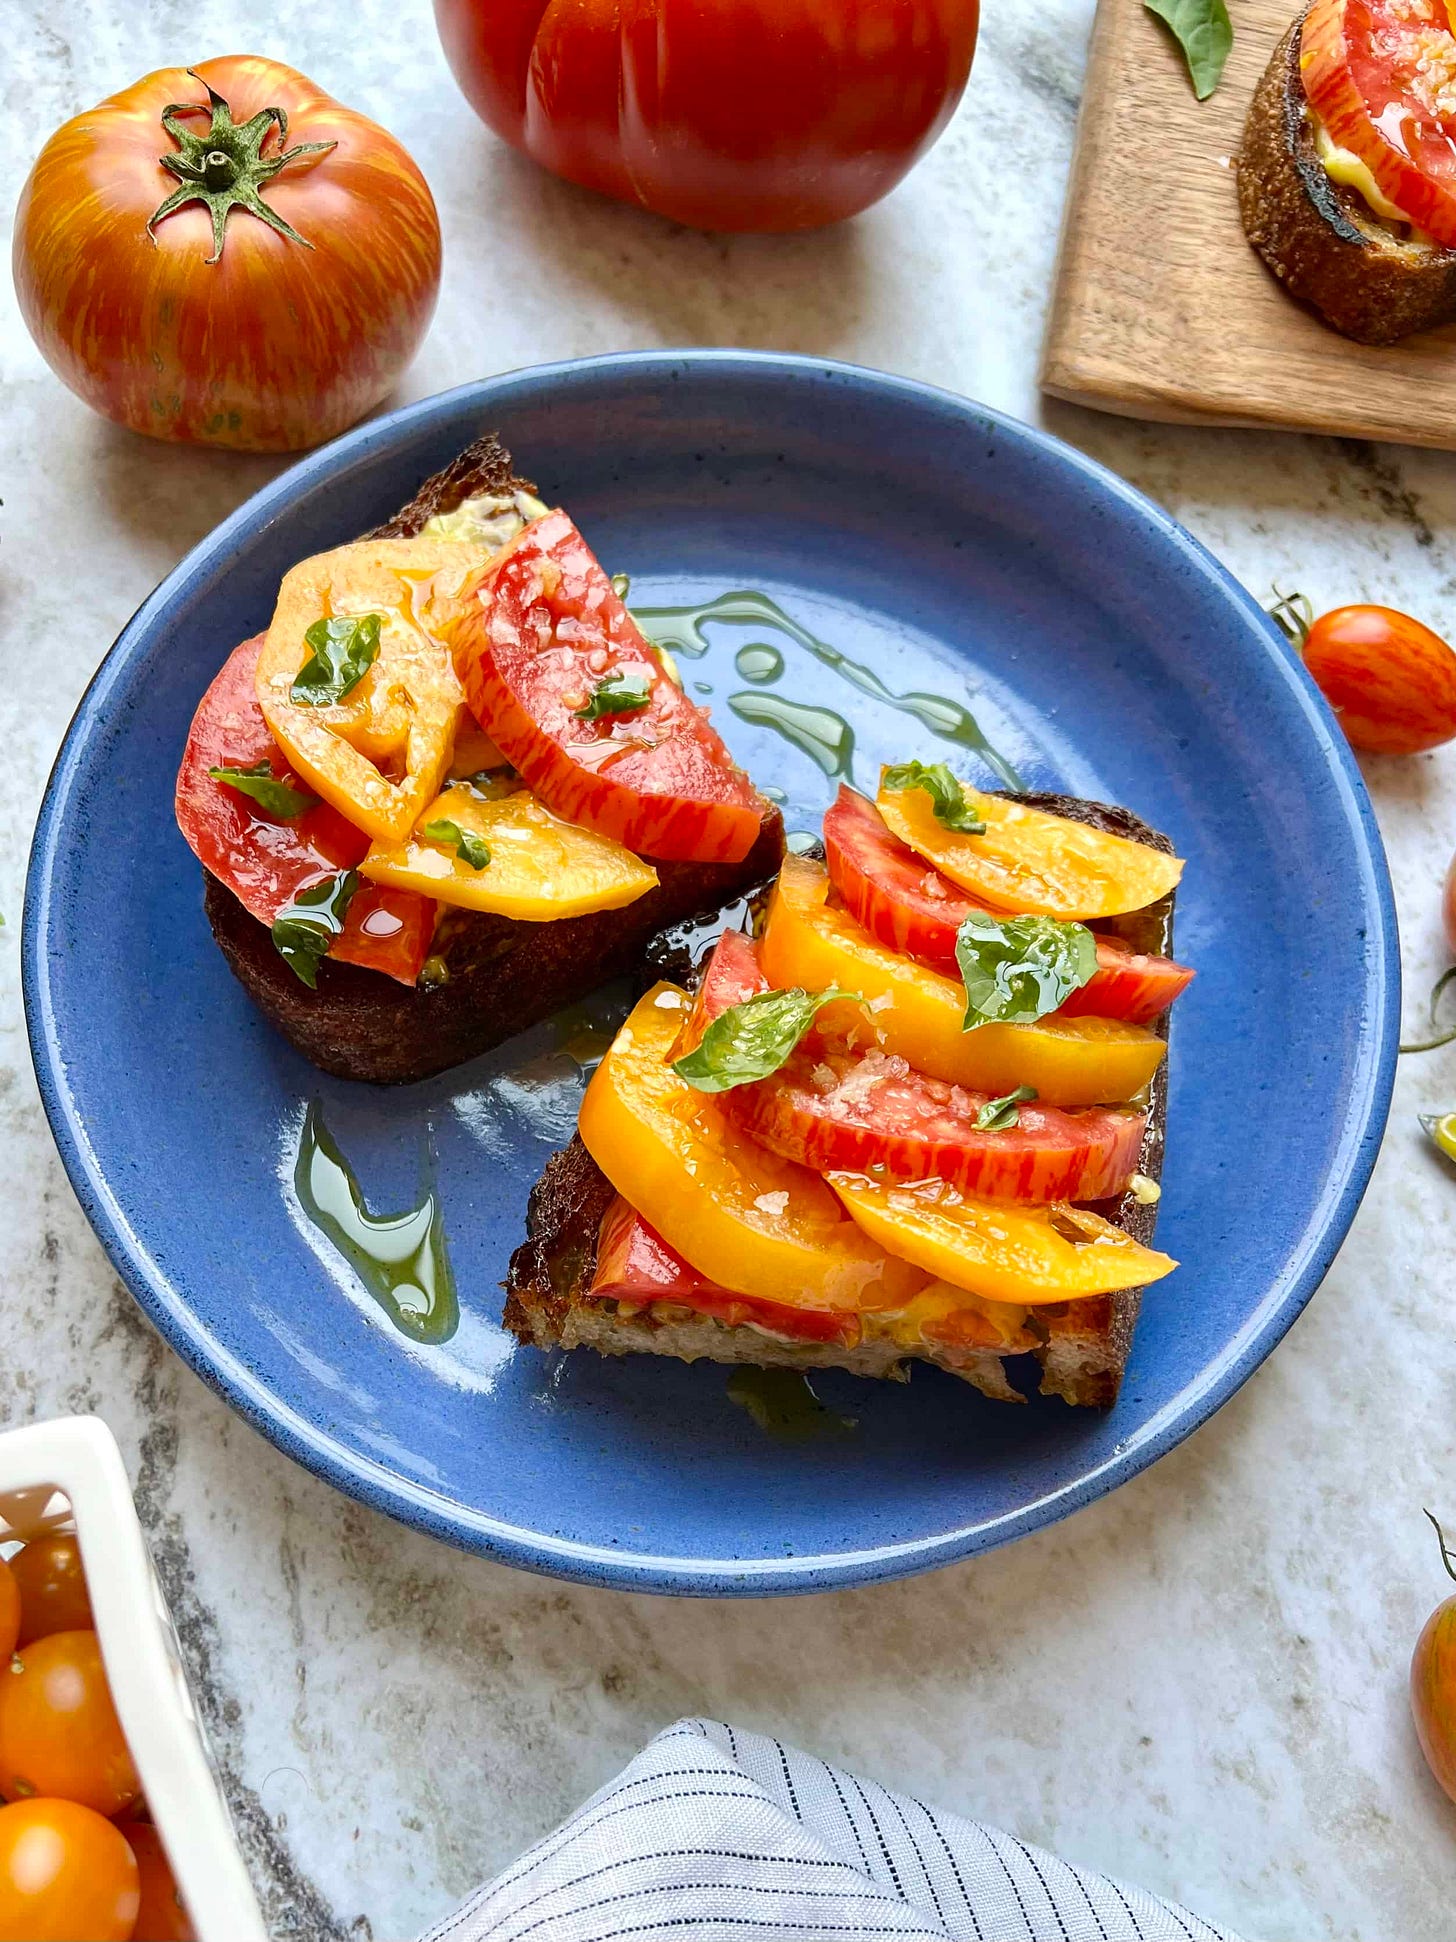
Core tomatoes with the tip of a paring knife (cutting around the stem), then cut in half from pole-to-pole. Laying the flat side down on the cutting board, gently saw/slice the tomatoes with a serrated knife into 1/4” planks. You can go thicker if you like—it’s all a matter of preference—but I think 1/4” or a fraction more is the perfect size to shingle tomato glory onto your perfectly fried bread and aioli. So shingle away, alternating colors, if you’re feeling sassy.
If you’re using any other toppings like herbs, capers, red onions, etc… Now’s the time to add them.
Drizzle tomato toasts with your very best olive oil, and sprinkle with flakey salt. Cut toasts into manageable-sized pieces and devour with plenty of napkins on hand for all that tomato juiciness!
Easy Aioli
Aioli, mayonnaise’s garlicky sister, is a delicious emulsion that makes sandwiches, french fries, and crudités better. Purists will argue that REAL aioli only contains garlic and oil. So this is “Easy Aioli,” and it can be made by hand, or with a handheld immersion blender. Either way, do not be tempted to add the olive oil with the rest of the oil (or to make this entirely with olive oil), because it will taste bitter. I prefer to whisk this together by hand, because I think it makes a thicker, creamier emulsion.
Makes 1 cup
Ingredients:
3 medium garlic cloves, finely grated, minced, or pressed through a garlic press
¼ teaspoon kosher salt (Diamond Crystal)
1 tablespoon freshly squeezed lemon juice
2 large egg yolks
1 teaspoon Dijon mustard
¾ cup neutral oil (like Grapeseed, Vegetable, or Canola)
¼ cup extra virgin olive oil
Whisking by hand:
Finely grate, mince, or press garlic cloves through a garlic press. If you have a mortar and pestle, transfer garlic to it and add the ¼ teaspoon of kosher salt. If you don’t have a mortar and pestle, pile garlic directly onto your cutting board and sprinkle it with the salt. Using either the mortar and pestle or with the side of your chef’s knife on the cutting board, create a paste with the garlic and salt.
Transfer garlic paste to a medium bowl and add lemon juice. Let sit for 5 minutes to mellow the garlic flavor. Add egg yolks and Dijon mustard. Whisk to combine. While whisking constantly, start adding neutral oil in a slow, steady stream, making sure each drop of oil is emulsified before adding more. Once your emulsion is stable, thick and creamy, whisk in the olive oil in a slow, steady stream.
Immersion Blender:
Combine minced garlic, salt, lemon juice, egg yolks, mustard, and neutral oil in a large jar (or the blending cup that may have come with your immersion blender). Submerge the blades of immersion blender to the bottom of the jar and begin blending. The oil will be sucked down to the bottom of the jar to create a rich, creamy sauce. Once the mixture is completely emulsified and stable, transfer it to a bowl and whisk in the olive oil by hand.
*Notes
Aioli will keep in an airtight container or jar for up to a week in the refrigerator.
CHIMI WINGS WILL MAKE YOU SING!
EK: Chimichurri is one of those multi-purpose sauces like aioli that makes everything taste better. And a Blender Chimichurri takes classic chimichurri sauce to the next level.
AU: I feel like we don’t use our blenders enough (I’m guilty, too). It’s not just a smoothie machine! And making Chimichurri with a blender is probably a heck of a lot easier than chopping everything by hand!
EK: I first learned to make Chimichurri in a food processor and I liked it. It was like a nice chunky, vinegary, garlic, olive oil, parsley-rich “vinaigrette” that was great for flank steak, but not particularly homogeneous.
Take those exact same ingredients, increase the amount of fresh parsley and whirrrrr it all up in a blender, and boom! It’s a sauce of another color! Literally, a dark green emulsified sauce with a flavor unto its own.
Once I started making it with a blender, I started using it to dress all kinds of things like potatoes and, beer-can chicken. But I didn’t really think about using it a marinade until Anthony mentioned that I should try using my “secret” [read: mayo] wings technique with the chimichurri sauce. As soon as he said it, I knew it would taste great. These are not your typical hot-wings wings. They are still wings, with all the things that you love about wings: highly seasoned, crisp, finger food—and a great dipping sauce—but elevated a little.
The herby, garlicky oil & vinegar sauce (a.k.a. chimichurri) is rich, and a bit peppery. And, the acid in the sherry wine vinegar and lemon juice makes it completely balanced and just plain yummy! I could eat cardboard dipped into this chimichurri sauce.
It is a very straight forward recipe and you will find that you already have most of the ingredients on hand.
The only thing that you have to think about is the parsley—which is the main ingredient. I call this The Great Parsley Debate. And, I am firmly on team CURLY PARSLEY.
AU: I have to say… I was shocked when you told me this…
EK: Hahaha! As you probably know, there are two main types of parsley: Curly and Flat-Leaf. The curly parsley is coarse and curly with ruffled leaves, and the flat-leaf is flat and slick and slightly shiny. The main reason that I prefer curly parsley, is taste! The curly parsley tastes fresh, green, and slightly grassy. It brings a fresh, clean, bright flavor to the chimichurri. Flat-leaf parsley has a stronger, more assertive taste, and to me, tastes like cilantro which is polarizing.
The reason that it is a debate, is that chefs tend to favor the Italian Flat-Leaf and think of curly parsley as the less sophisticated, less informed choice—like choosing iodized table salt instead of kosher salt. The truth is that there is a time and place for both, and if you want the best tasting chimichurri, I think the choice is curly!
AU: SHE SAID WHAT SHE SAID. PERIODT.
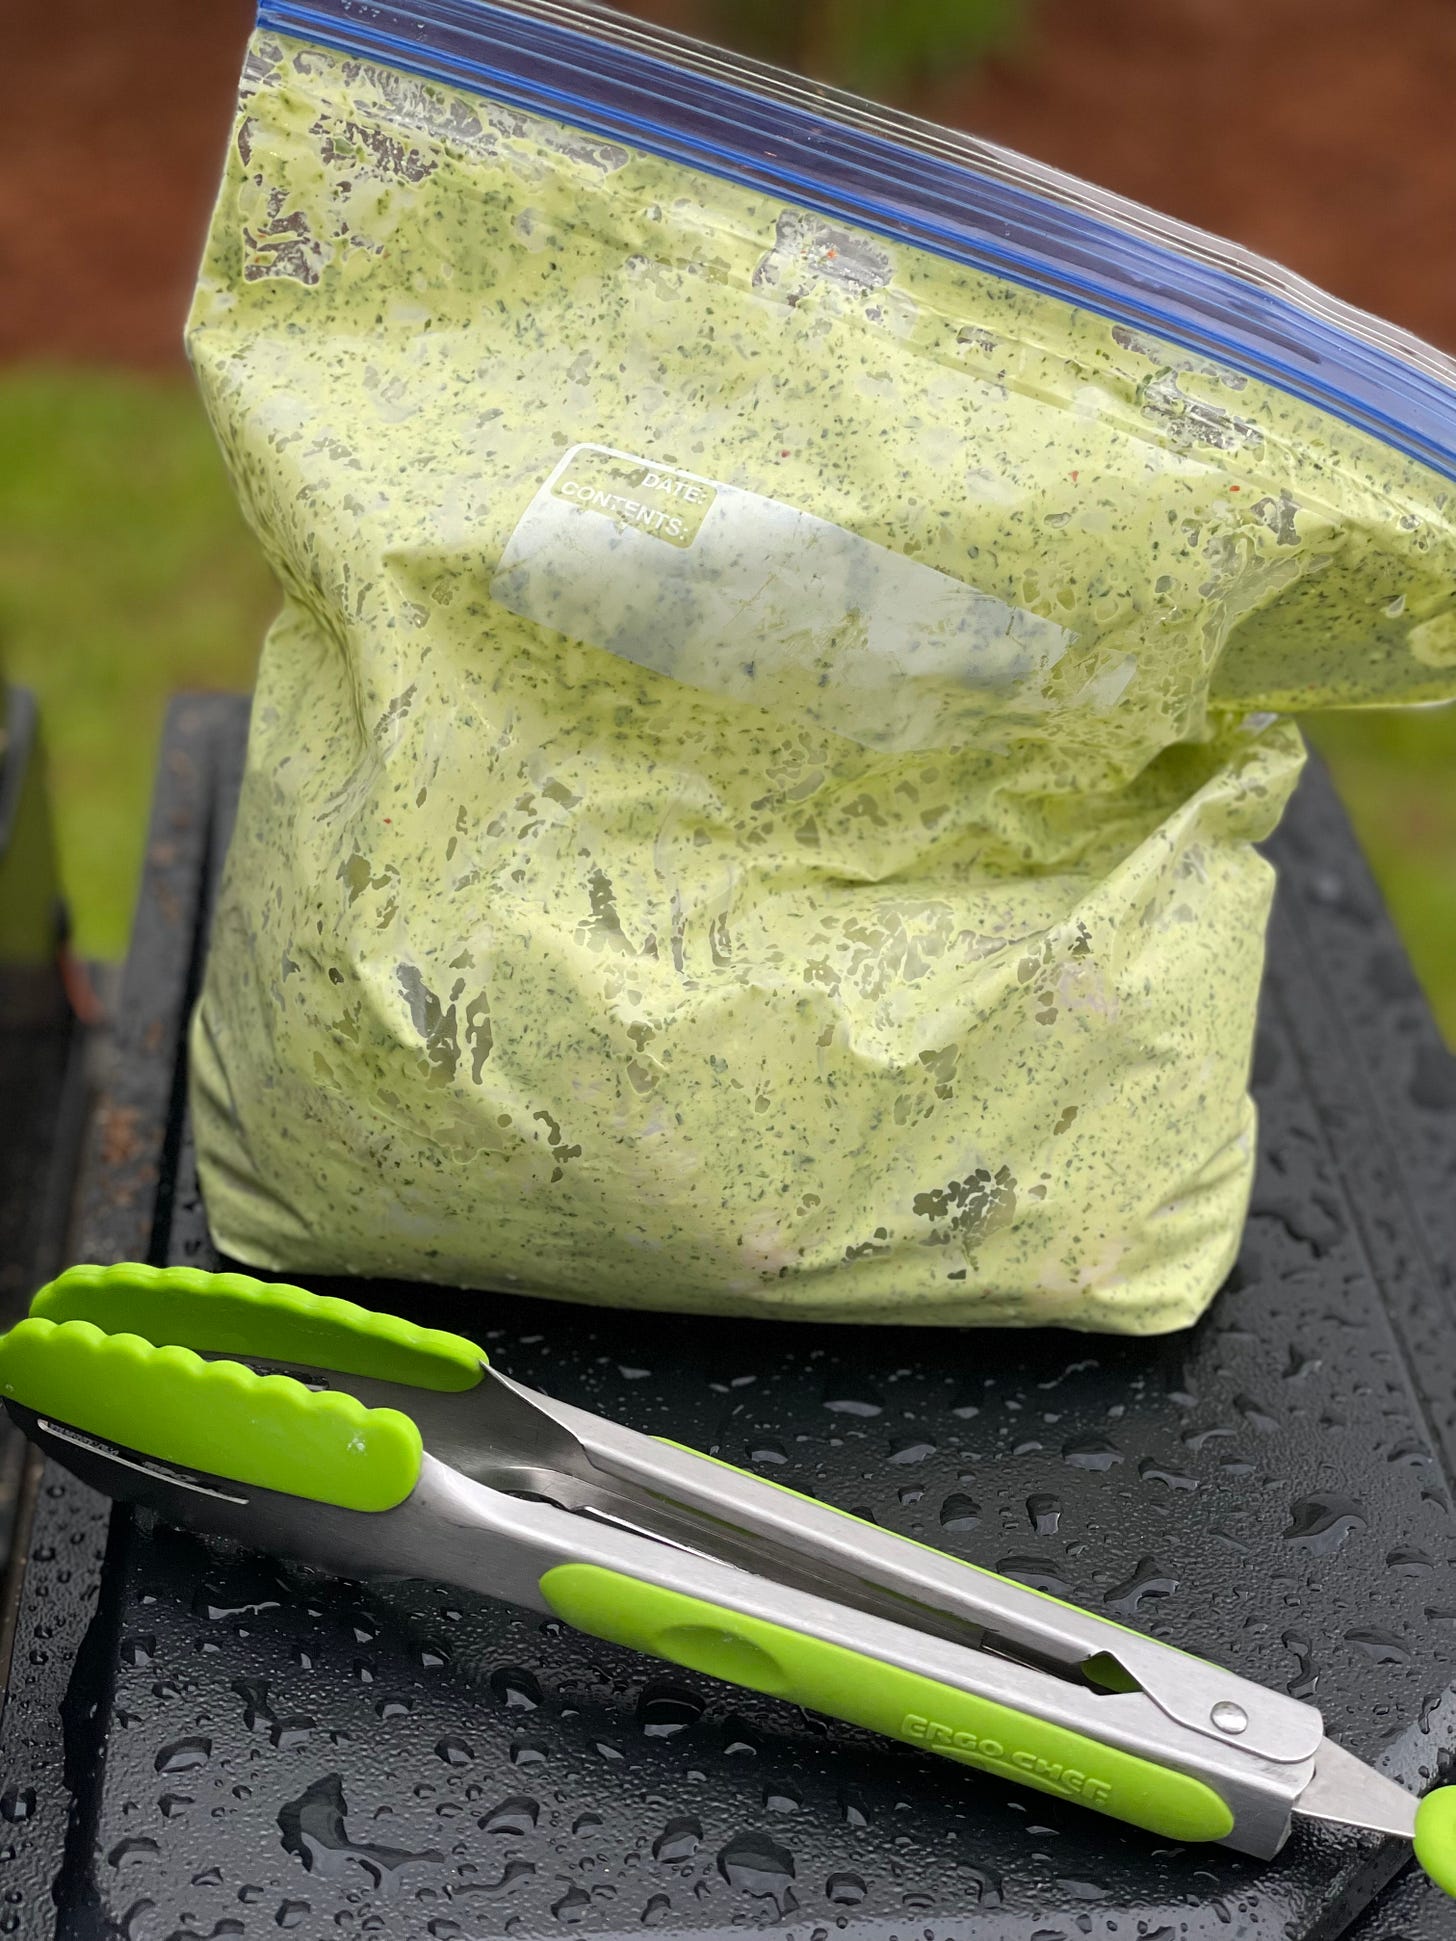
EK: Once you’ve made the chimichurri sauce, the marinade is easy. Use equal parts chimichurri and full-fat mayo. The mayo will help the marinade stick to the wings and will become one with the skin, resulting in a very flavorful, highly-seasoned skin. You need to marinate them for at least 2 hours or overnight. I marinated 2 pounds of wings and drumettes, and used 1/2 cup of each—it was perfect. I didn’t have any waste once I put the wings on the grill, which meant more sauce for dipping!
The chimichurri does give a greenish hue to the wings before they are cooked, but fear not, they brown just like all chicken wings! The chimichurri marinade transforms into a deliciously seasoned coating.
This recipe reminded me that we should play with our ideas on what foods should be—thank you for the reminder Anthony! What I mean is that wings don’t just have to be “hot wings.” Just like any piece of chicken, they adapt very well to all kinds of flavors and this recipe may just start my year of 100 wings!
And, the best part of today’s newsletter is that Anthony’s Tomato Toast and my Chimi Wings go together like Blue skies and sunshine, and make a fabulous summer meal!
Chimi Wings
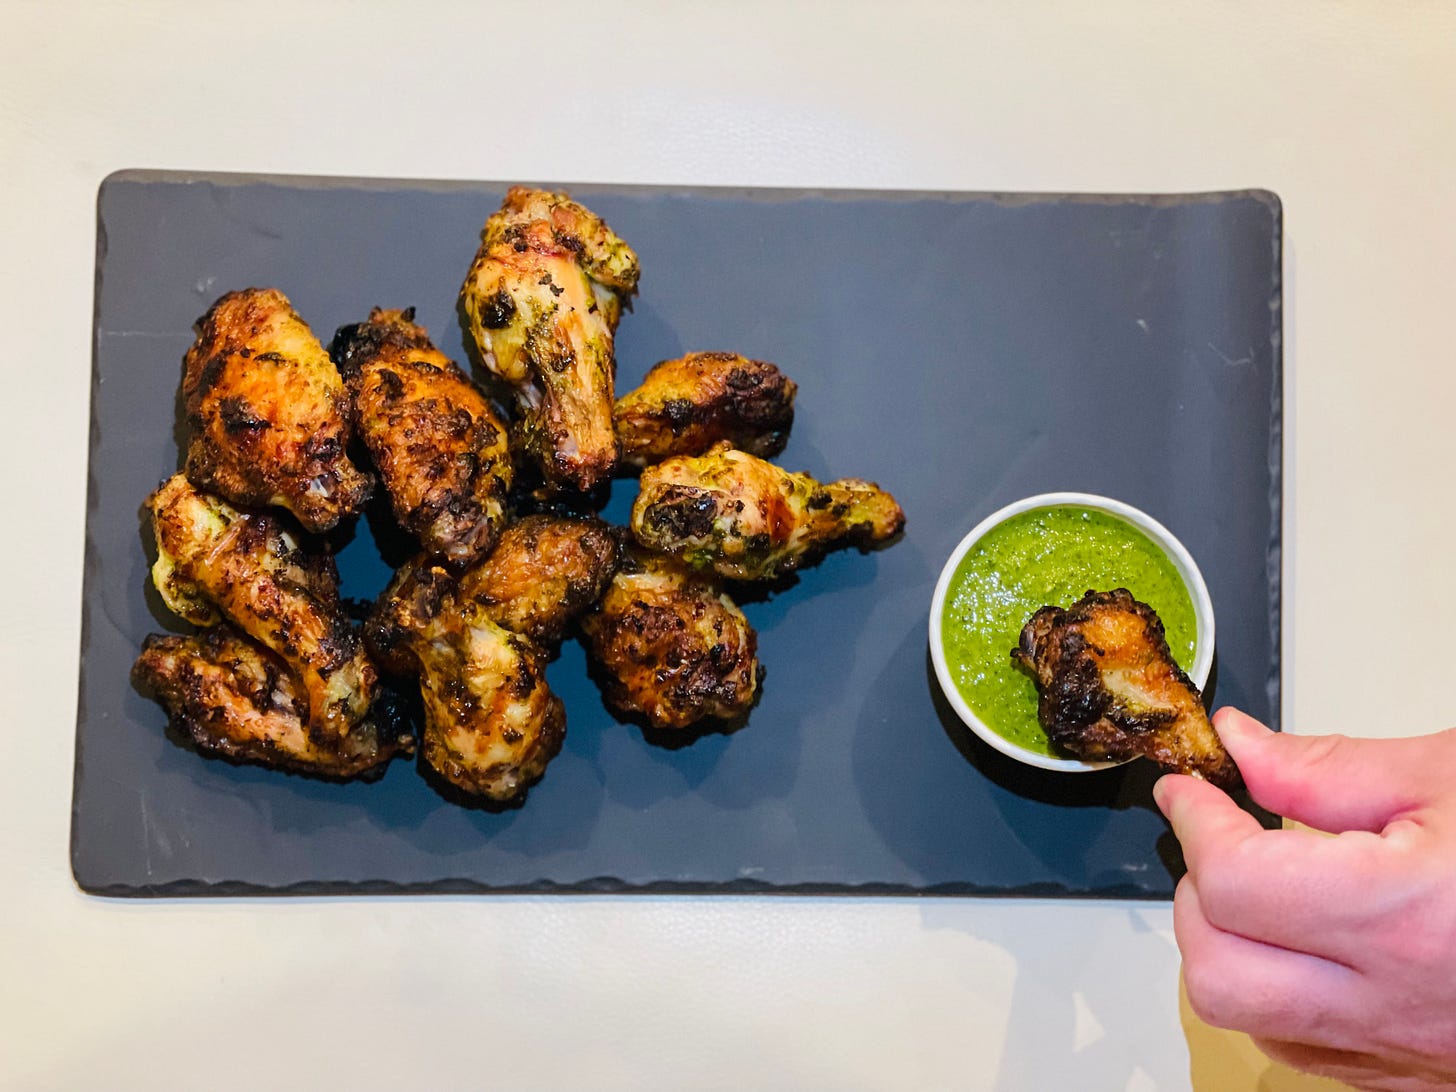
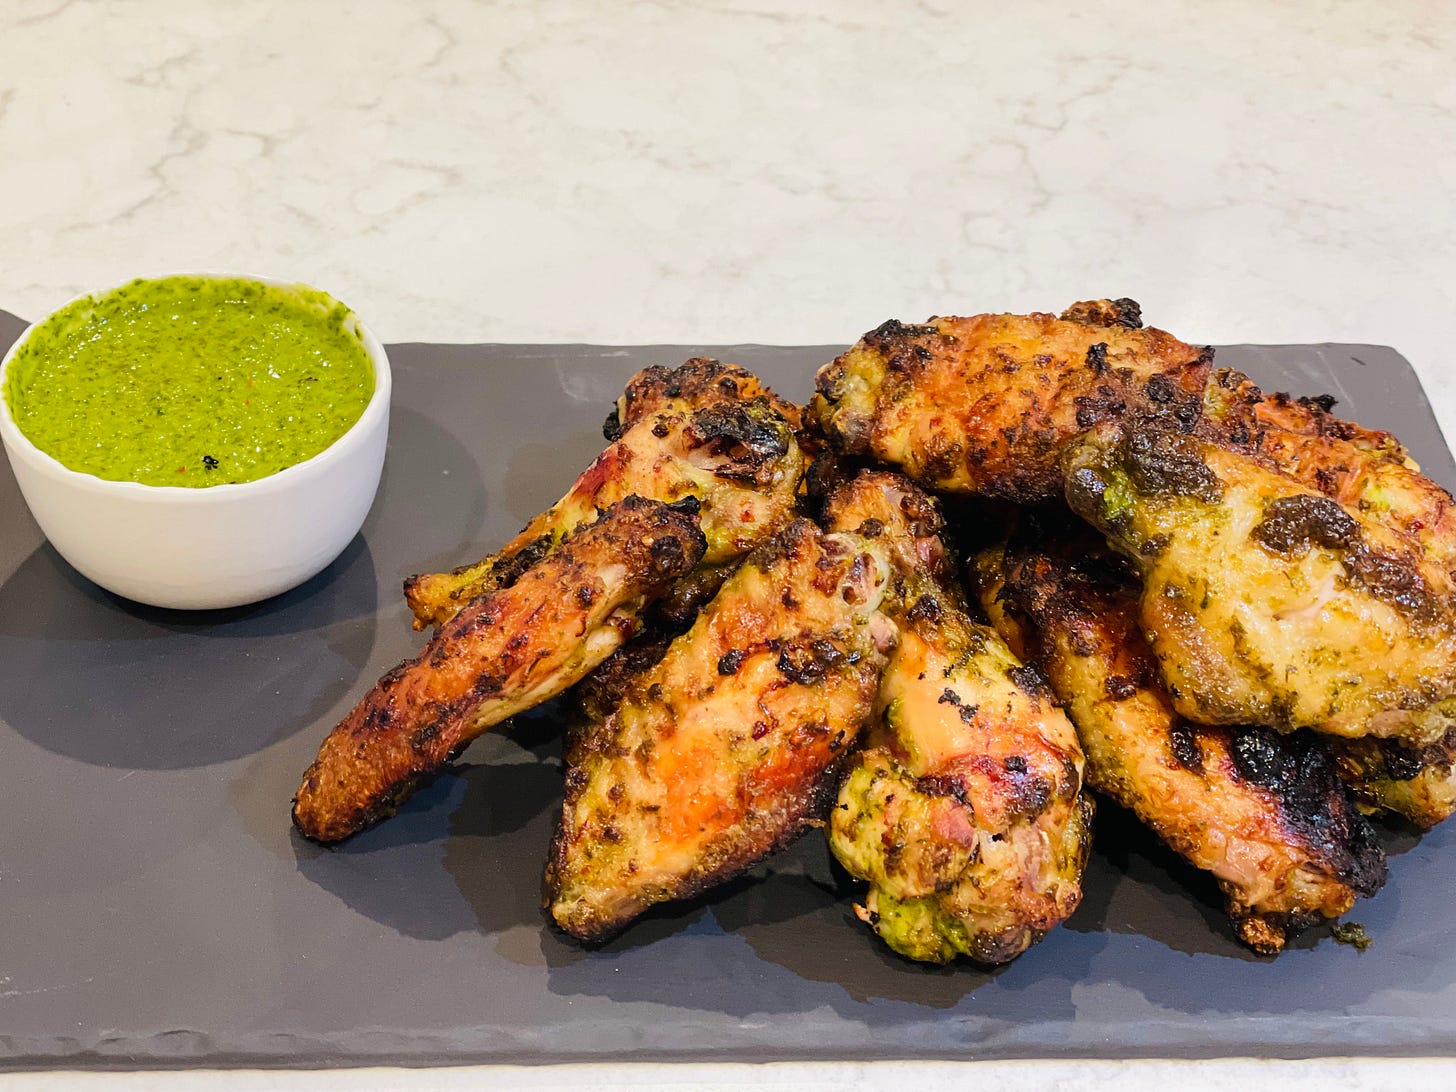
Think hot wings but Chimichurri. Chicken wings are marinated with homemade chimichurri and mayo, and grilled until golden brown delicious! #GBD! The rest of the Chimichurri sauce is your dipping sauce.
Serves 4
Grilling Method: Indirect/Medium-Low Heat
½ cup Hellmann’s (original) mayonnaise
½ cup Chimichurri sauce (recipe below)
2 pounds chicken wings and drummettes
Fine-grain sea salt
Chimichurri Sauce:
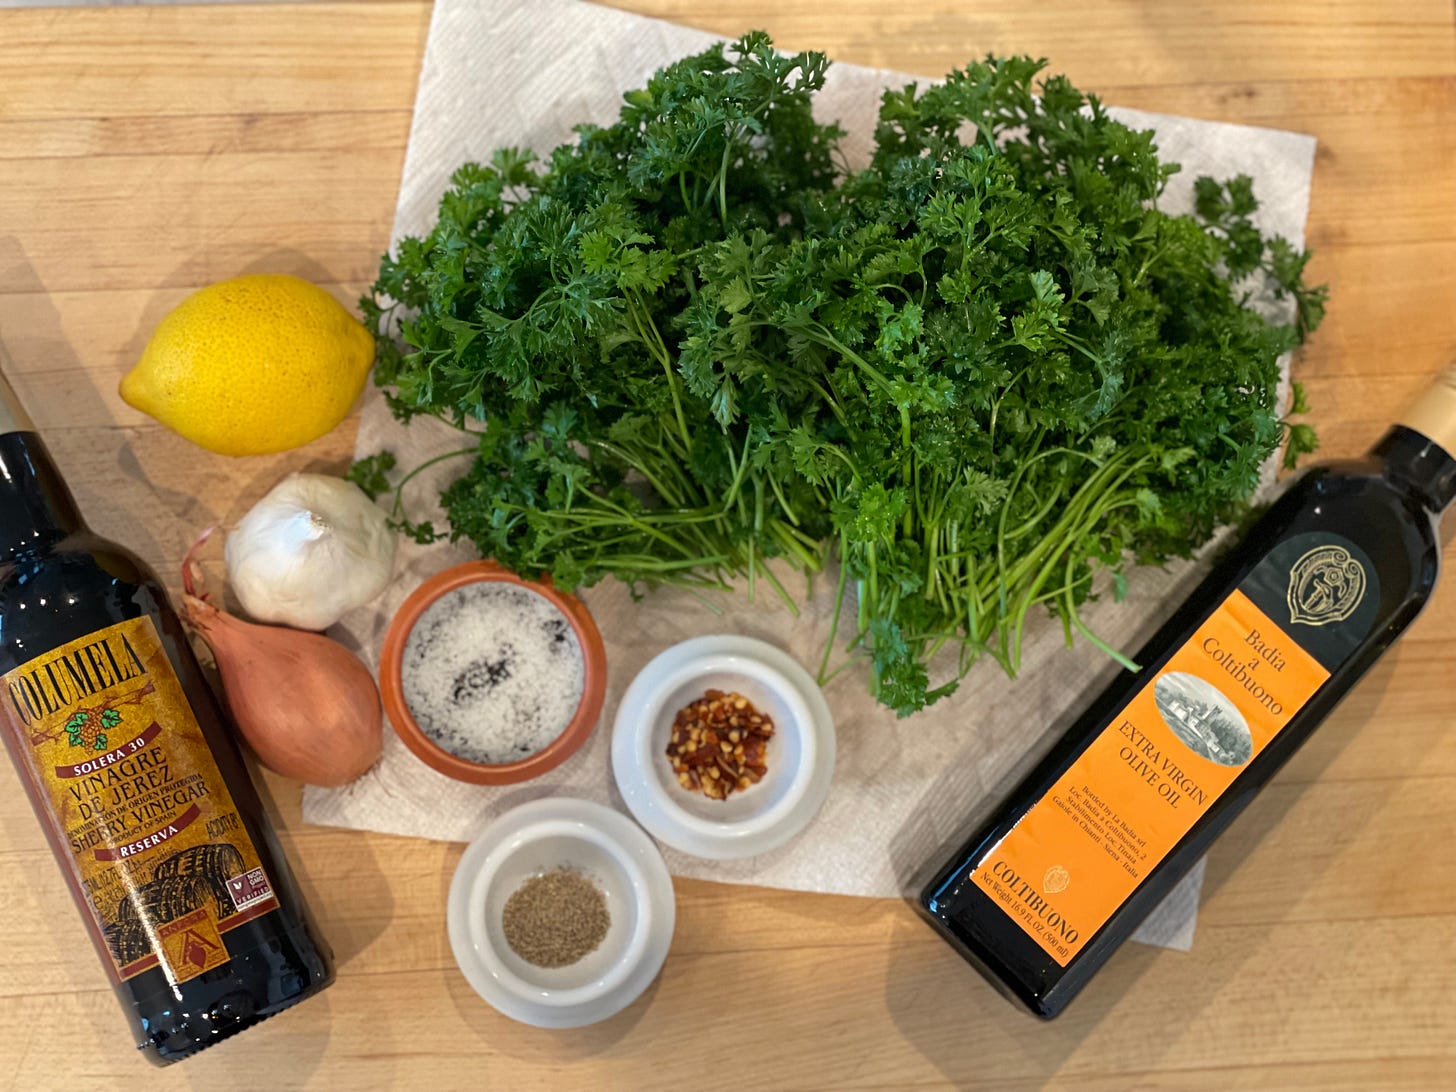
3-5 cloves of garlic
½ teaspoon fine-grain sea salt
½ teaspoon freshly ground white pepper
½ teaspoon Calabrian or American chili pepper flakes
1 medium shallot or onion, roughly chopped
¾ -1 cup of extra-virgin olive oil
3 tablespoons sherry wine vinegar, or red wine vinegar
Juice of 1 lemon, about 3 tablespoons
4 cups tightly packed chopped curly parsley with stems, about one nice big bunch
A least four hours in advance: Make the Chimichurri sauce by placing all ingredients except the parsley in a blender and blend until pureed. Add the parsley a hand full at a time. [Note: Trim the stems but keep them as they have more flavor.] You may need to push the parsley down into the liquid. It will have a beautiful green color and look like parsley “pesto.”
Measure out ½ cup Chimichurri sauce and place into a non-reactive bowl. Add mayonnaise and whisk until well combined. This is your marinade for the wings.
Place in a bowl or large re-closeable plastic bag. Add chicken to the bowl or bag. Seal or cover tightly. Turn chicken occasionally to make sure all surface areas are wet and covered with marinade. Marinate for at least 2 hours covered in the refrigerator or as long as overnight.
When ready to grill, preheat grill with all burners on high. Reduce heat to medium-low indirect heat. Remove from bag or bowl from refrigerator and place wings in the center of the cooking grate over indirect heat. Make sure that each wing or drumette is coated with the marinade. Discard excess marinade.
Place wings directly on the cooking grate and let cook for about an hour. They should be mostly done at this time but not yet brown. Increase the heat and cook for 20-30 minutes or until golden brown.
Be sure to check along the way because these days the size of wings vary a lot and the larger the wigs, the longer they will take to cook. My wings were medium large and took a full 90 minutes. I’ve grilled smaller wings and they only took 60 minutes total.
Close the lid to the grill and let smoke/grill for 50-60 minutes or until the marinade is set and the wings are starting to get crispy on the ends.
Note: You do not need to turn the wings. You will know that they are done when you see crispy bits and the skin has receded from the ends of some of the bones. This won’t happen on all the pieces because of the way they are butchered.
If you want to cook them at the higher indirect temperature the whole time, they will be done a little sooner but be sure to watch them. The slower cooking insures that they are fully cooked, tender and juicy and I think it’s worth an extra half an hour.
Remove from grill, place on a clean platter and let rest for 5-10 minutes.
Sprinkle with sea salt if desired, but they shouldn’t need much as they will already be seasoned from the Chimichurri sauce and the mayonnaise.
Serve with extra Chimichurri sauce for dipping.
That’s it for this week! As always, if you make our recipes, tag us on the ‘gram (@kitchensitch & @elizabethkarmel), and use the hashtag #whats4dinner. Happy cooking!!






What a great and colorful summer post!