Ain’t no party like a PIZZA PARTY, so this week we’re covering all the bases when it comes to America’s favorite Friday night bite! Don’t have a pizza oven?? Don’t worry. We’ve got you!!
PIZZA AT HOME IS AS EASY AS PIE!
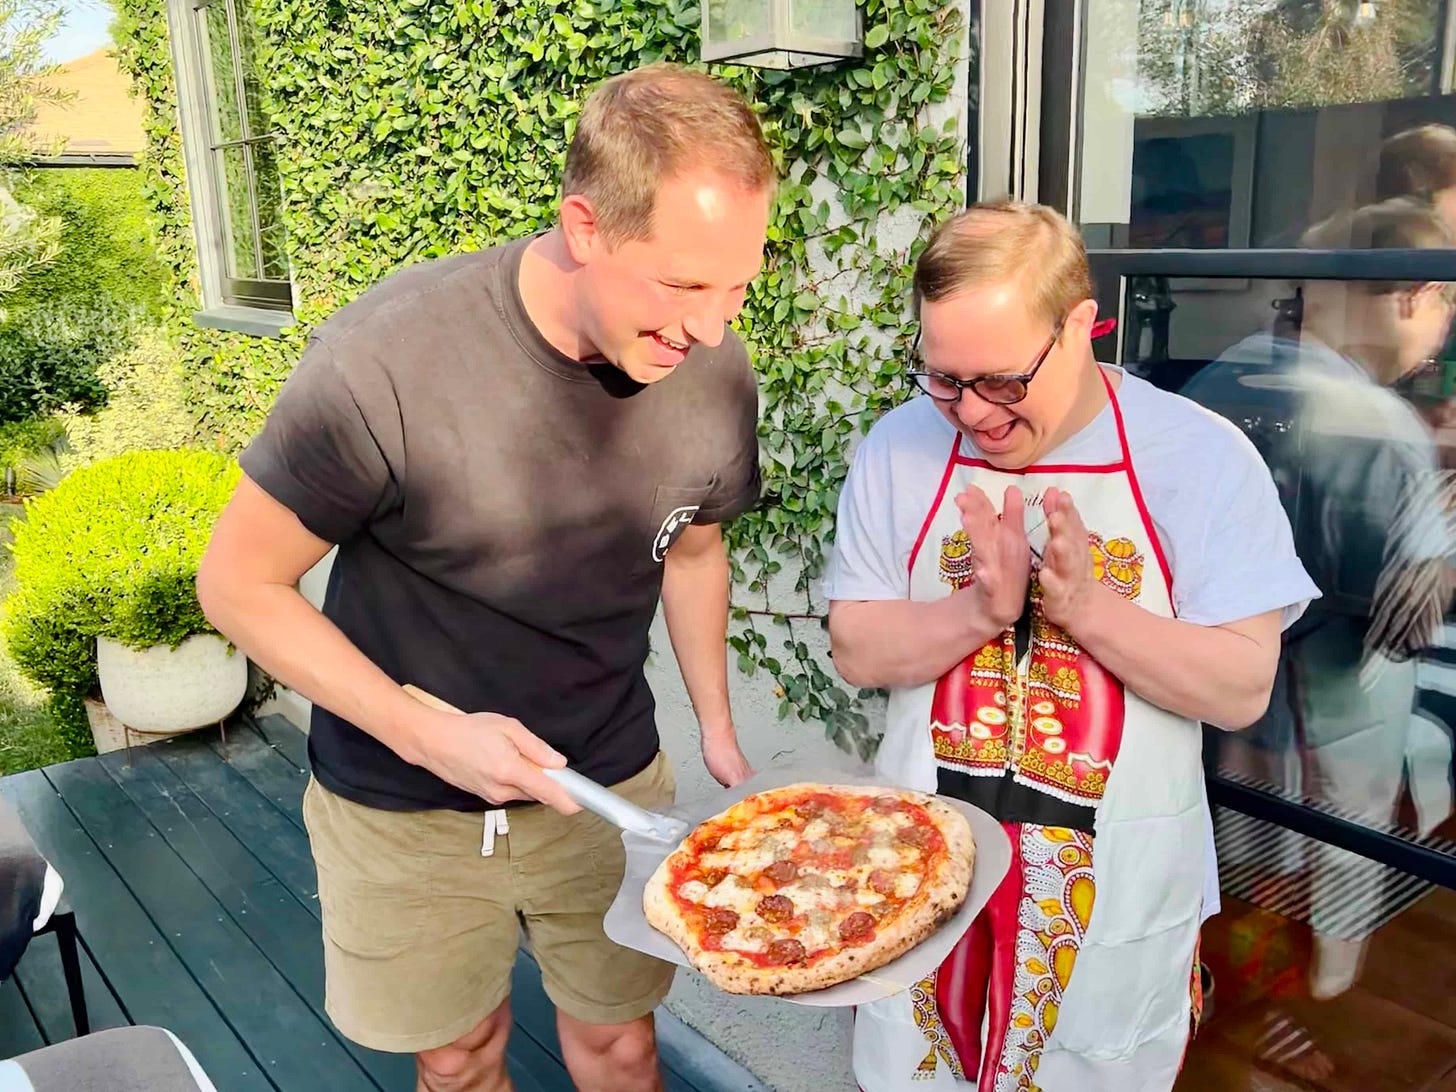
AU: You may remember last week when my big brother came to Los Angeles to visit for his birthday…
My brother Austin constantly likes to remind me that HE’S the “older brother” and that I’M “the baby of the family.” After more than two years (thanks Pandemic!), he finally got to visit California on his own to hang with me and Josh.
Now, Austin is no stranger to getting what he wants (he walks around life like a celebrity—we should all adopt this energy for the rest of 2022, tbh), so his first request was PIZZA.
EK: That was my first request when I came to visit last Summer, too! Your pizzas not only look like the best pizza you’ve ever had, they taste that way, too!!
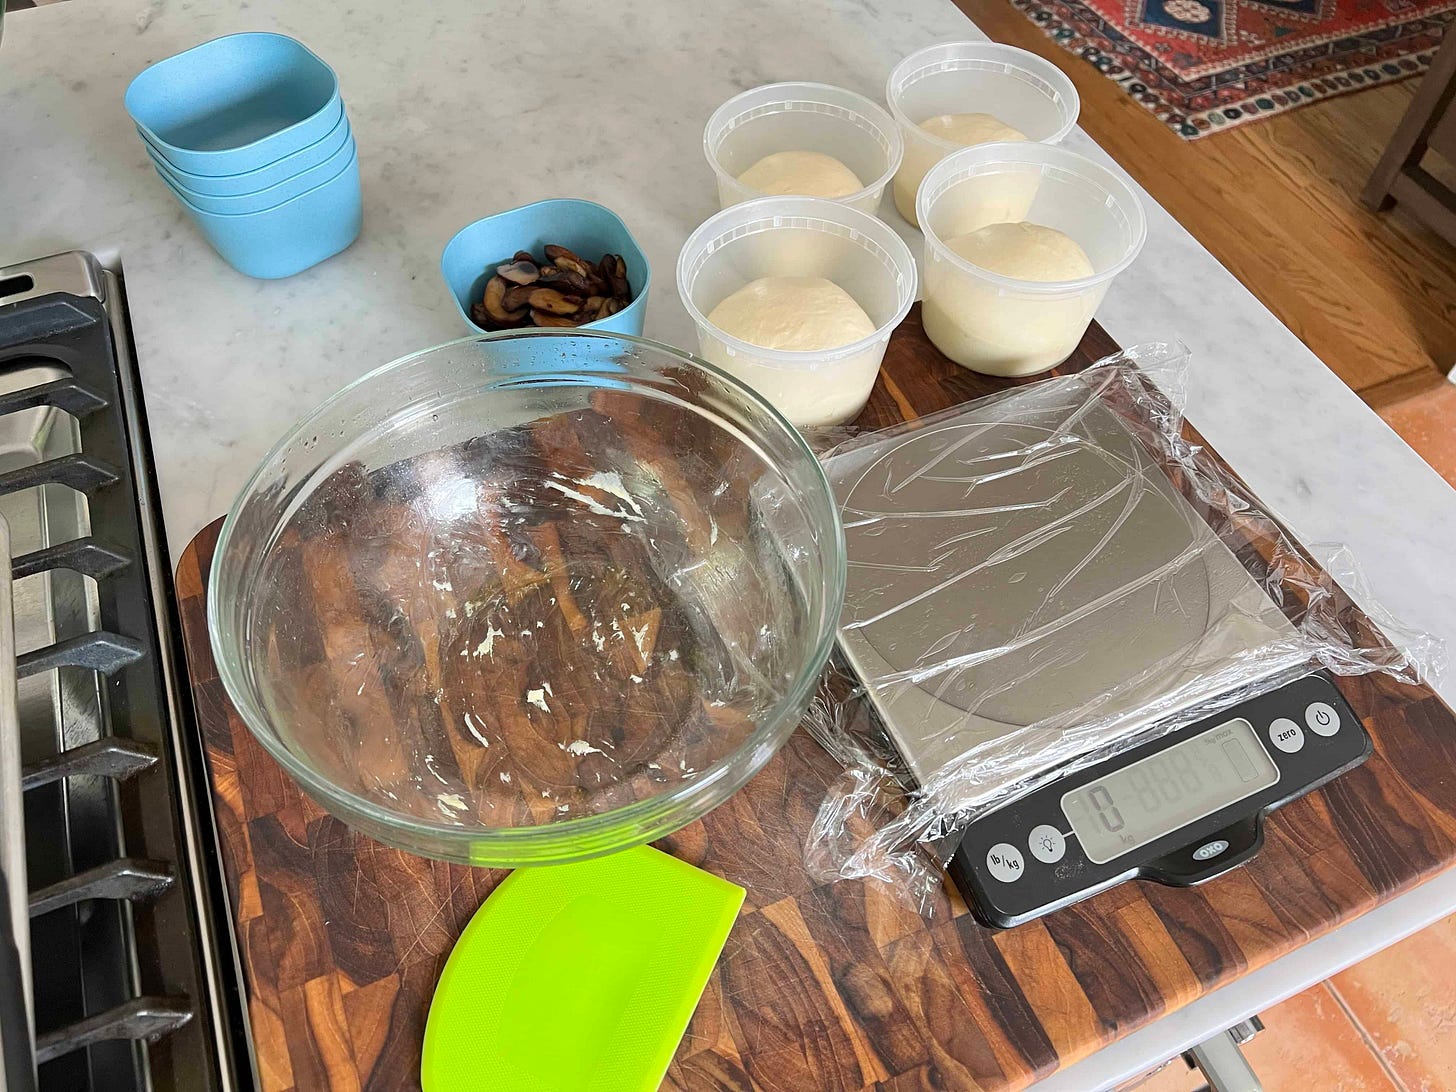
AU: Why thank you, EK! If you haven’t made pizza at home, it’s surprisingly easy after a little practice. My advice: buy some pre-made dough to practice, then once you get the hang of the whole process, start making your own dough—it’s just three ingredients, plus water! A piece of equipment I think is ESSENTIAL to making pizza dough (and baking in general) is a kitchen scale. I love these two scales, one by Oxo and this one by Escali (which comes in lots of diff fun colors).
GO-TO PIZZA DOUGH
There are countless variations of Neapolitan-style pizza dough. You can change the amount of water (hydration %), salt, proving time, and types of flour. This is my go-to recipe that never fails. The result is a light dough that crisps on the outside, with a nice chew. It’s not too hydrated, so it’s fairly easy to handle (great for beginners). I like to use “Type 00 flour” which is a finely milled Italian bread flour that contributes to the tender-yet-chewy crust you want in a pizza. This recipe requires a kitchen scale.
Makes 4 dough balls (300g each)
Ingredients:
727g Type “00” flour
1g Active Dry Yeast
22g Kosher salt (Diamond Crystal)
451g Water
Method:
Combine flour, salt, and yeast in a large mixing bowl (if mixing by hand) or the bowl of a stand mixer. Whisk dry ingredients thoroughly, so they’re well-combined. While mixing with a spoon (if using a stand mixer, attach the dough hook and turn on low speed), slowly pour in water, letting it gradually be absorbed by the flour as you pour.
If mixing and kneading by hand - Stir with a wooden spoon until a dough starts to form. Continue mixing by hand until the dough comes together in a ball. Turn it onto a lightly floured surface and knead with both hands for about 10 minutes, until it is firm and stretchy. Return the dough to the bowl. Lightly coat with olive, and cover with plastic wrap.
If using a stand mixer - Once dough starts to form, keep mixing on Medium-Low speed for 5-10 minutes, or until the dough is firm and stretchy. Lightly coat with olive, and cover the mixing bowl with plastic wrap.
Place the covered pizza dough in the fridge to cold prove for 72 hours. When the dough has roughly doubled in size, remove the dough from the fridge.
Divide the cold-proved pizza dough into 4 equal pieces (they should weigh approx 300g each). Shape each piece into a ball, and place each pizza dough ball in separate oil-coated bowls, deli containers, or on a lightly floured tray. Cover with plastic wrap or a damp kitchen towel and leave to rise for 3-5 hours on your kitchen counter. They should come up to room temperature and double in size. Bubbly dough is a good sign.
To stretch out your pizza bases, place a ball on a lightly floured surface, flour your hands and use your fingertips to press the dough into a small, flat disc. Working from the center, push the dough outwards while spreading your fingers, making the disc slightly bigger. Pick up the dough and gently pinch it all around the edge, allowing gravity to pull it downwards into a 16” circle. Neapolitan-style pizza bases are very thin, so you should be able to see light through the base when you hold it up. Take care when doing this – you don’t want it to tear. Once the dough is fully stretched, lightly flour your pizza peel (I like to use some coarse semolina flour or cornmeal for this) and lay the base on it. If at this point you see any small holes in the dough, gently pinch them back together. Once you’re happy with the base, add your toppings and bake your pie!
*Notes
You’d be surprised how long pizza dough needs to sit out at room temp (at least 3 hours). If while stretching your dough into rounds, it shrinks back, that’s an indication that the dough isn’t ready. Wait at least 30 mins to an hour longer before shaping and cooking.
AU: I tend to mix my dough about three days in advance of when I want to make pizzas. The long, slow, ferment in the fridge imparts an airy texture and better flavor to the dough (without doing any extra work!).
AU: Essentially, you’re going to mix together the dough ingredients (either by hand or in a stand mixer with a dough hook), cover that bowl and pop it into the fridge for a few days, then take the dough out and divide it into balls that will be made into individual pizzas. I’m simplifying a touch here, for brevity, but it’s really that simple!
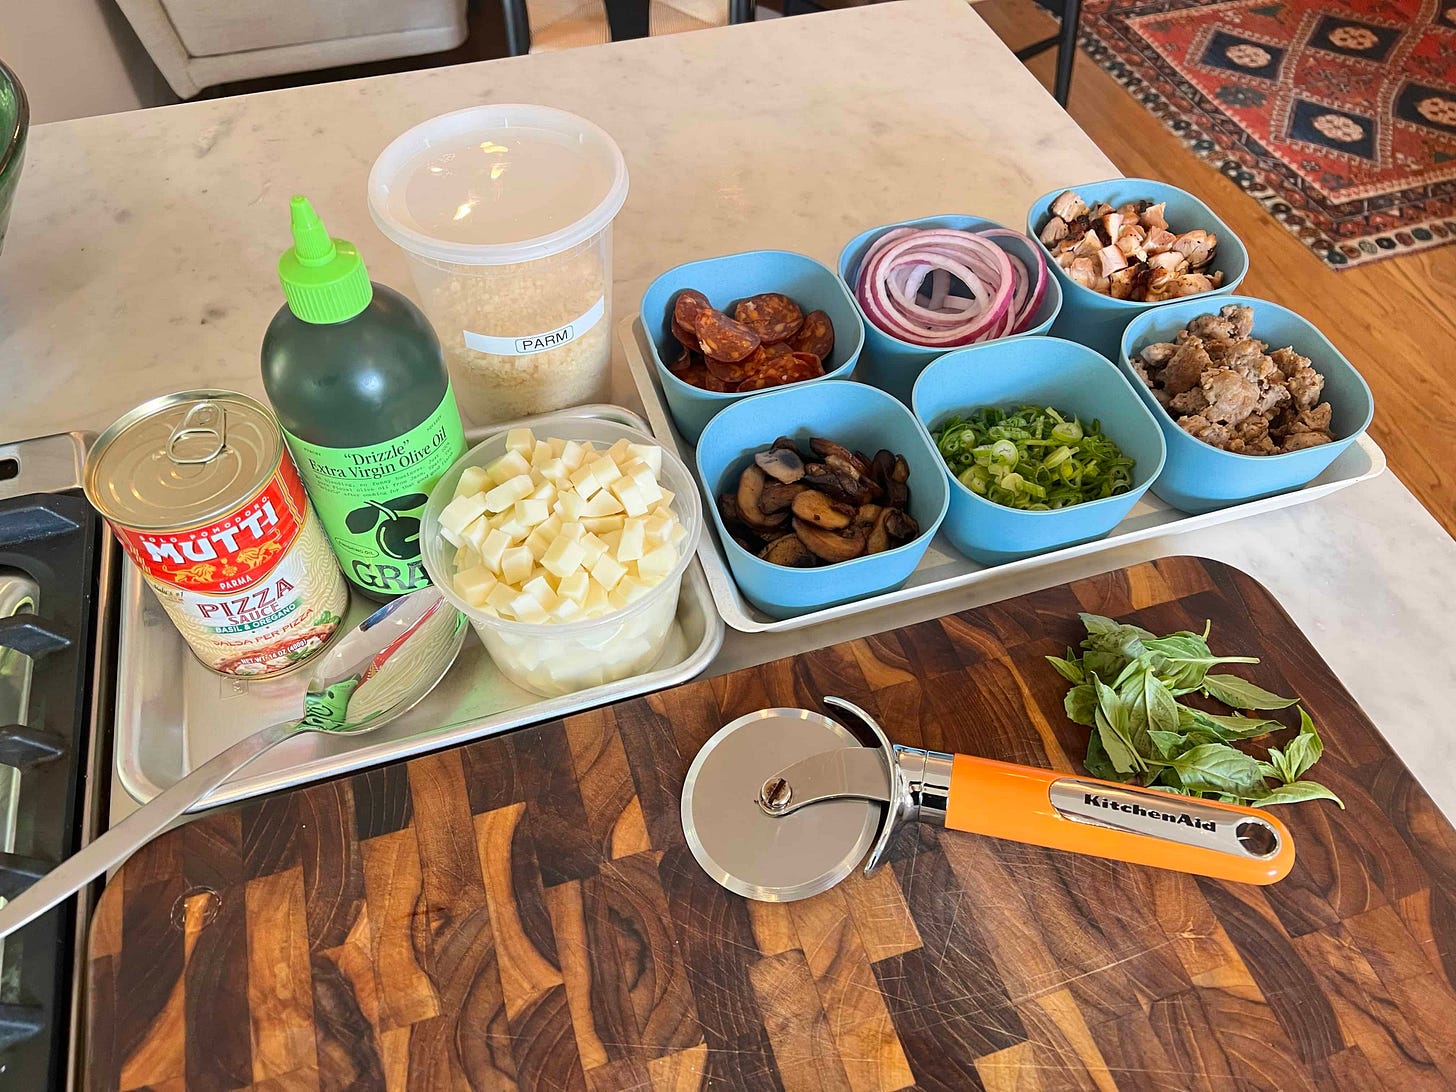
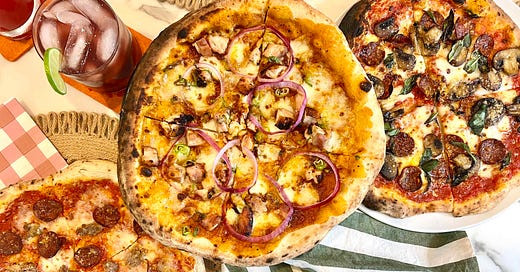
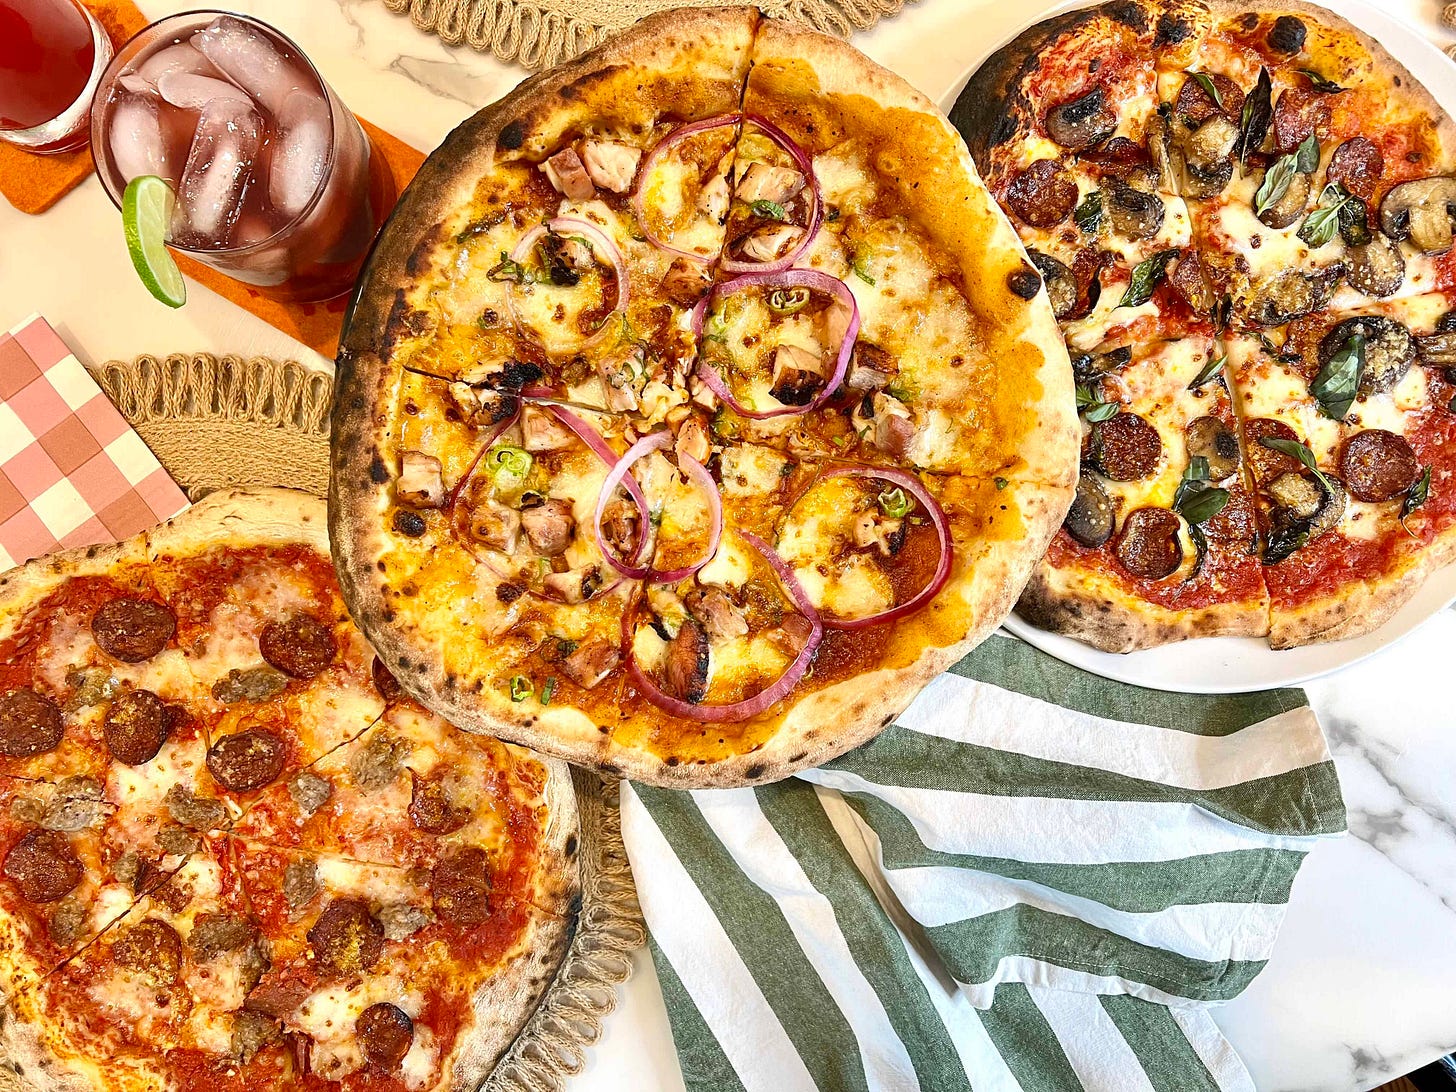
AU: When it comes to toppings, the sky’s the limit! Just remember the golden rule of making pizzas: LESS IS MORE. I did make a CPK-style pizza (that’s California Pizza Kitchen) of BBQ Chicken—but for the most part, I like to keep the toppings simple. You will always use less sauce, and less cheese than you think. I also prefer to use a lower-moisture mozzarella, because it doesn’t leach liquid and make your pizza soggy. Remember, these are Neapolitan style pizzas, so they don’t have the sturdy crust that a NY Style slice does.
Austin requested a meat-lovers pizza with pepperoni and sausage, so I browned up some sausage to put on his. Anything that needs cooking (i.e. raw italian sausage), should be cooked before it goes on your pizza. If you are using raw vegetables like zucchini, peppers, onions, mushrooms, etc. make sure they are sliced thinly enough that they’ll cook through in the short amount of time a pizza spends in the oven.
I love using my gas-powered Ooni Koda 16” pizza oven. It cooks a pie—depending on toppings—in about 2-3 minutes! The key to cooking in it is to preheat the oven with the flame on full blast, so it’s rip-roaring hot (we’re talking 750º-850ºF!). When you launch your pizza onto the baking stone, turn the flame all the way down to the lowest setting. Then it’s just about keeping an eye on the pizza: Once the back crust starts to puff up, and the bottom starts to set, turn your pizza regularly to evenly cook the whole thing (and avoid charring your crust too much). It’s all about proximity to the fire—the closer your pizza is to the flame, the faster it’s going to cook/char.
If you don’t have a pizza oven, or space for one, you can make amazing pizzas in the conventional oven, too! I did this for years in a tiny NYC apartment, using a large ceramic pizza stone… but now I have a new favorite: The Baking Steel. The baking steel can heat up as hot as a pizza oven’s floor, so you’ll get a higher rise on the crust, a fully-cooked-and-crisped bottom, and even some of that elusive “leopard-spotting” that all the pro pizza-makers have on their Neapolitan style pizzas. I have one in my oven right now—it lives there full time, and makes all of my baked goods perfect: cakes, pies, crostatas—you name it.
EK: I also have a Baking Steel. It really does transform your oven!
AU: And speaking of other methods to cook a pizza—Elizabeth and her chef pal Bob Blumer wrote a whole book on PIZZA ON THE GRILL. It’s filled with great ideas, recipes, and techniques to make pizzas on the grates of your outdoor grill!
EK: I don’t have an outdoor pizza oven, but my SPARK charcoal grill turns into a neapolitan-style pizza oven so my goal this summer is to master Anthony’s pizza!
In the meantime, here is a simple primer for cooking pizza on the grill…
Pizza on the Grill
EK: Grilled pizza can be broken into four key components: dough, sauce, toppings, and cheese. Even though grilling the dough is the most crucial step in making grilled pizza, just about any pizza dough can be transformed into a heavenly crust with the help of a generous splash of olive oil, a dusting of coarsely ground corn meal and the heat of your grill. This crust is crispy, crunchy and slightly smoky—a different experience from Anthony’s Neapolitan-style pizza and it is less important to make your own dough.
You can make dough from scratch—and I frequently make it from scratch, but don’t let that be your deterrent. A couple of bucks will buy you a ball at your local pizza joint or grocery store. Bob and I view pizza on the grill as a blank canvas for all your favorite flavors. We encourage you to experiment with fresh, flavorful ingredients for your sauce and toppings, and robust artisanal cheeses that will make you melt as you take a delicious bite!
Here’s the Grill Drill:
Prepare your toppings. (As Anthony mentioned, the short time it takes to grill the pizza will only warm the toppings. Therefore, all toppings must either be edible raw—i.e., cured meats or olives— or be pre-cooked.)
Remove dough from refrigerator and let rise to room temperature. Sprinkle work surface with a handful of coarsely ground corn meal a.k.a. grits [often sold as polenta]. Use a rolling pin or wine bottle to roll out dough thinly—and embrace the resulting organic shape. Brush both sides generously with olive oil.
Preheat your gas grill with all burners on medium high. Transfer your dough, and prepared ingredients to the grill area. On a charcoal grill, it’s helpful to use a cast-iron pizza pan/griddle like this one.
Pick up the dough by the two corners closest to you. In one motion, lay it down flat on the cooking grate from back to front —as you would a tablecloth. Fear not, the dough won’t fall between the grates. Close the lid and cook for about 3 minutes until bottom is golden brown.
Remove the crust from the grill and flip it to reveal the grilled side. Spread the entire grilled surface with sauce, add toppings, and sprinkle with the cheese.
Reset grill to indirect heat by turning off center burner(s), or one side if grill only has 2 burners. Set the pizza back on the cooking grate over the unlit section, close the lid, and let the circulating heat work its magic until the bottom is golden brown and the cheese is bubbly—about 7 to 10 minutes.
Let the pizza rest about 3 minutes to cool the toppings a little and set the cheese. Since the shape will be more organic and closer to a rectangle, we recommend cutting it into 3-inch squares. These squares are easy to pick up and easy to eat.
Here are some fun topping ideas, and a recipe for my favorite summer dessert pizza.
Queen Margarita Pizza - Spread crust with ¾-1 cup crushed tomatoes + 1 crushed garlic clove. Top with 8 ounces of sliced Mozzarella. Finish with fresh basil leaves when the pizza is done. Season with salt and pepper.
Forty Olive and Pimento Pizza - Spread crust with ¾-1 cup crushed tomatoes. Add 40 pitted olives (a mixture of your favorites), a small sliced shallot and 1/4 cup pimentos. Top with 1 1/2 cups grated Manchego cheese.
Blistered Corn, Asparagus & Pesto Pizza - Sauté a cup of fresh or frozen corn kernels, a 1⁄2 cup of chopped asparagus and a 1⁄4 cup of chopped, sun-dried tomatoes in olive oil for 5 minutes. Spread crust with 1 cup of pesto, add contents from sauté pan, and top with 6 ounces of sliced brie cheese.
Fig and Stilton Dessert Pizza - Spread crust with 1 cup of orange marmalade. Add 10 sliced fresh or dried figs. Top with 1 cup of crumbled Stilton cheese. Season with freshly ground black pepper
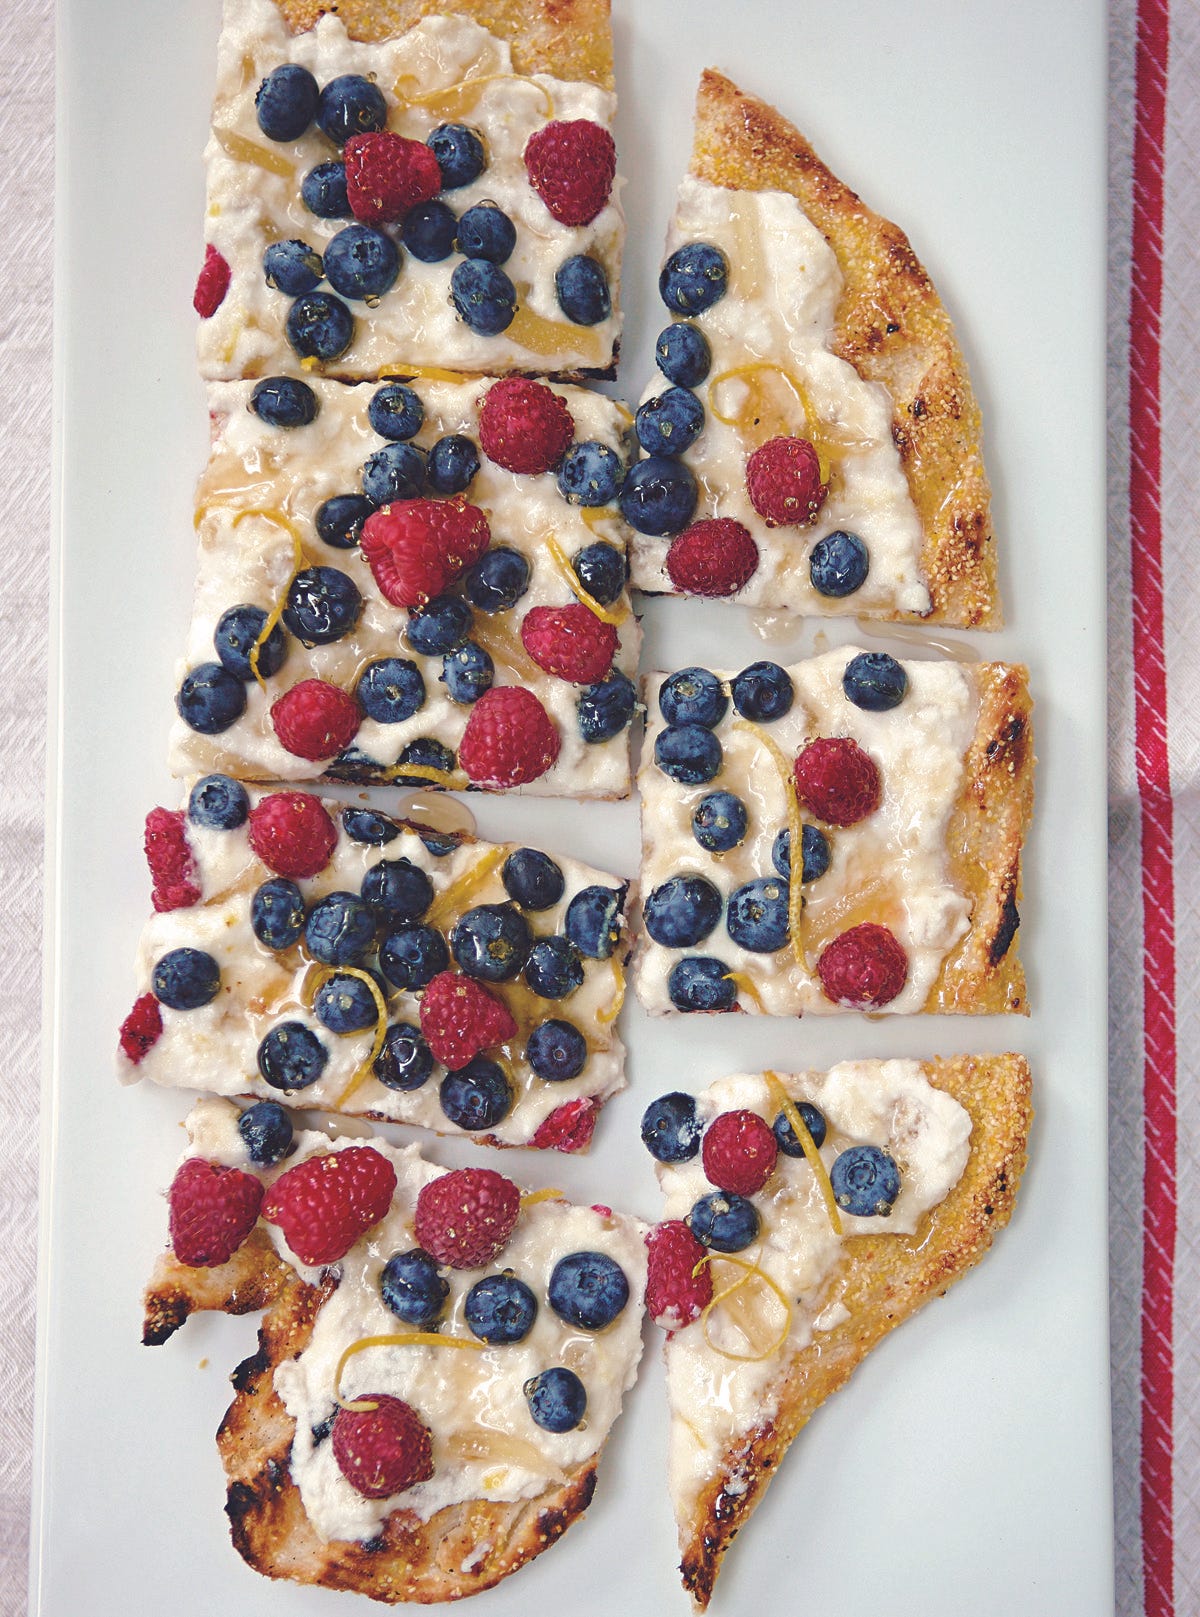
Very Berry Pizza
Fresh summer berries get a new look. This is an unexpected summer dessert that is as pretty as it is tasty. You only grill the crust so it is an easy first-timers pizza to grill and can be done in advance and topped just before you want to serve it.
Serves 2 to 4
1 cup ricotta cheese
½ teaspoon vanilla extract
5 tablespoons sugar
2 tablespoons finely chopped crystallized ginger
Zest of ½ lemon, finely grated with a microplane or zester
2 tablespoons all-purpose flour, for kneading the dough
¾ teaspoon ground cinnamon
1 ball prepared pizza dough, at room temperature
¼ cup uncooked grits or polenta, for rolling the dough
2 tablespoons vegetable oil (such as canola) or nut oil (such as walnut)
½ pint fresh blueberries, picked over
½ pint fresh raspberries, picked over
¼ cup honey
Combine the ricotta, vanilla, 2 tablespoons of the sugar, the ginger, and the lemon zest in a medium bowl. Reserve for topping.
Sprinkle the work surface with the flour. Mix the remaining 3 tablespoons sugar with the cinnamon and knead it into the dough. Set aside until ready to make pizza.
Preheat the grill, roll out and shape the dough, and grill the first side of the crust per the master instructions per gas or charcoal. Use tongs to turn the crust over. Continue grilling until the bottom crust is well browned. (since you’re not melting cheese or warming toppings, you don’t need to switch to indirect heat.)
Remove from the grill and immediately spread it evenly with ricotta mixture. Let you inner artist dictate how you arrange the berries over the top. Finish with a generous drizzle of honey.
Slice and serve immediately.
DRINK THIS Save a few extra raspberries and make your own raspberry lemonade
Recipe adapted from the book. For additional recipes, tips and instructions for making grilled pizza, check out Pizza on the Grill: 100 Feisty Fire-Roasted Recipes by Elizabeth Karmel and Bob Blumer.
AU: So get out there and make some pizzas this weekend! It’s so much fun to get your guests involved—a casual hang, if you will. Have people bring over their favorite bottles of wine, pour ‘em over ice if you want—live your life—it’s Pizza Night!!
That’s it for this week! As always, if you make our recipes, tag us on the ‘gram (@kitchensitch & @elizabethkarmel), and use the hashtag #whats4dinner. Happy cooking!!

