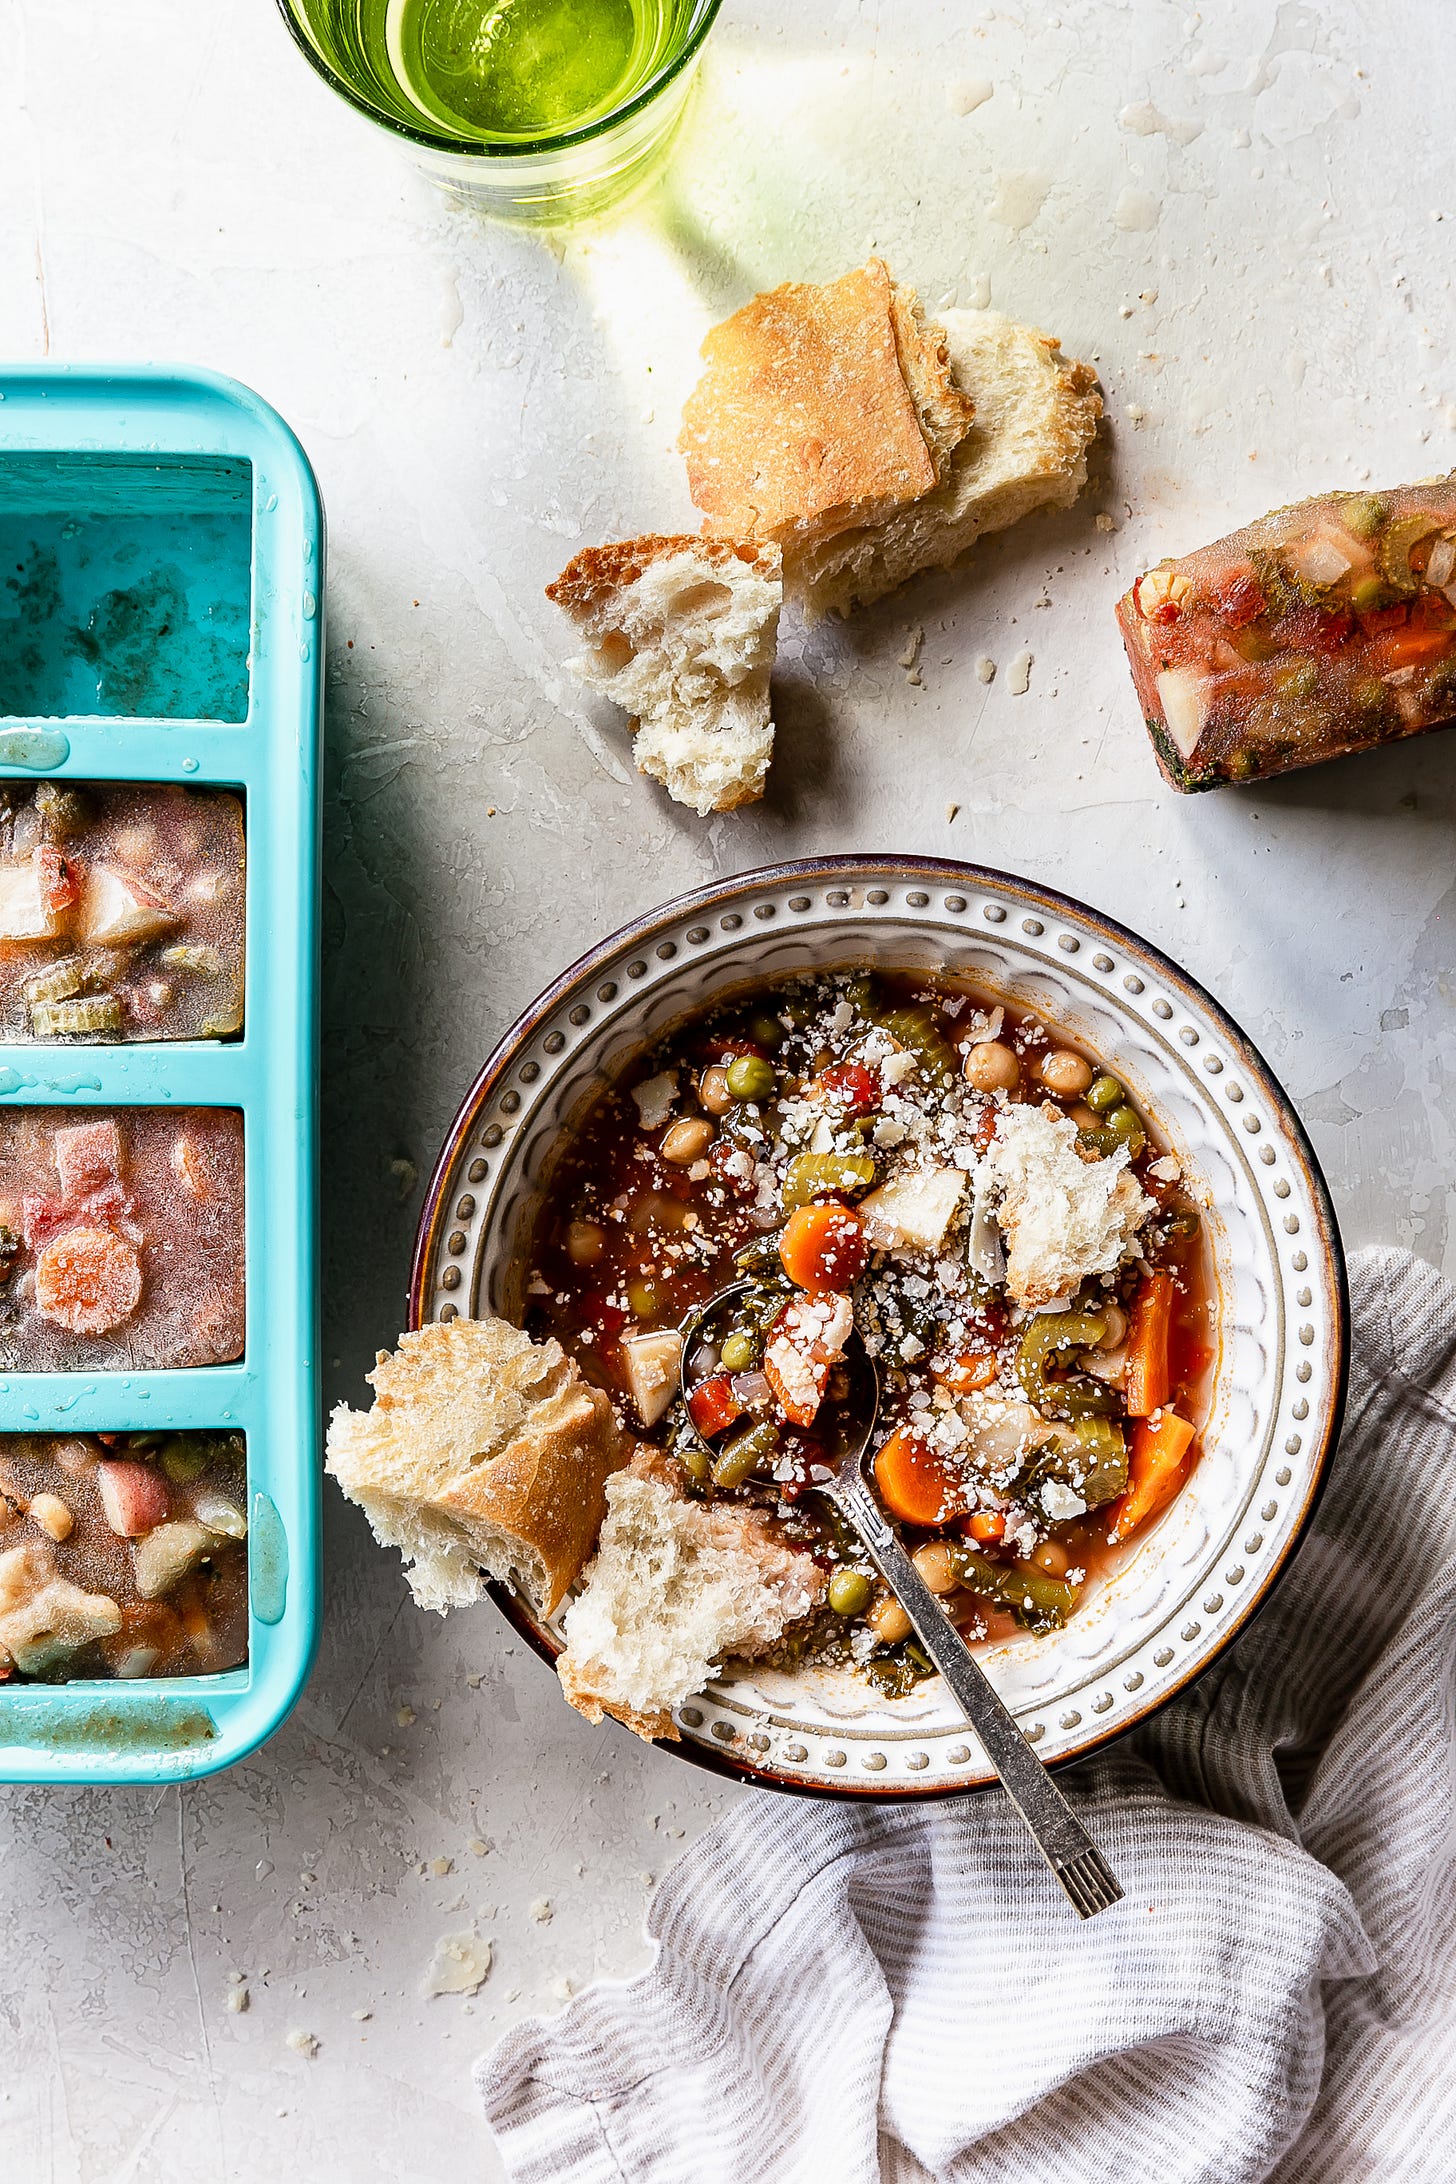
Hello W4D peeps! Hope you’ve had a great start to the Summah! And speaking of Summer, we’re dedicating this week’s newsletter to an often-overlooked tool that is key to extending the flavors of the season: your freezer! Anthony’s goosing up his favorite chocolate chip cookie recipe with a toasty addition, and Elizabeth’s giving her top summer freezer tips. Plus, a giveaway from Souper Cubes!
~ ABOUT US ~
Anthony is an Emmy-Award-winning TV Producer who produced everything from breaking news to lifestyle content at Good Morning America for 10 years and was part of the original team that created The Chew, an award-winning cooking and talk show on ABC.
Elizabeth is a PR maven, chef, food writer, and food and beverage consultant who has worked as a spokesperson and logged many hours on TV. She is also the original “Grill Girl” and the author of 4 grilling cookbooks.
Together, they are the creative team that produce the What’s 4 Dinner? newsletter, culinary productions, partnerships, infomercials, and creative content.
*EXTRA* BROWN BUTTER CHOCOLATE CHIP COOKIES
AU: Typically this is the time of year when we (collectively) are like, “Don’t turn on the oven!” or “This is great for when you don’t feel like heating up the oven…” Well folks, I’m throwing caution to the wind, and instead saying, “Turn down your AC, if you get hot.” The exact opposite of “put on a sweater” (aka my parents’ response whenever I would complain of being cold at home).
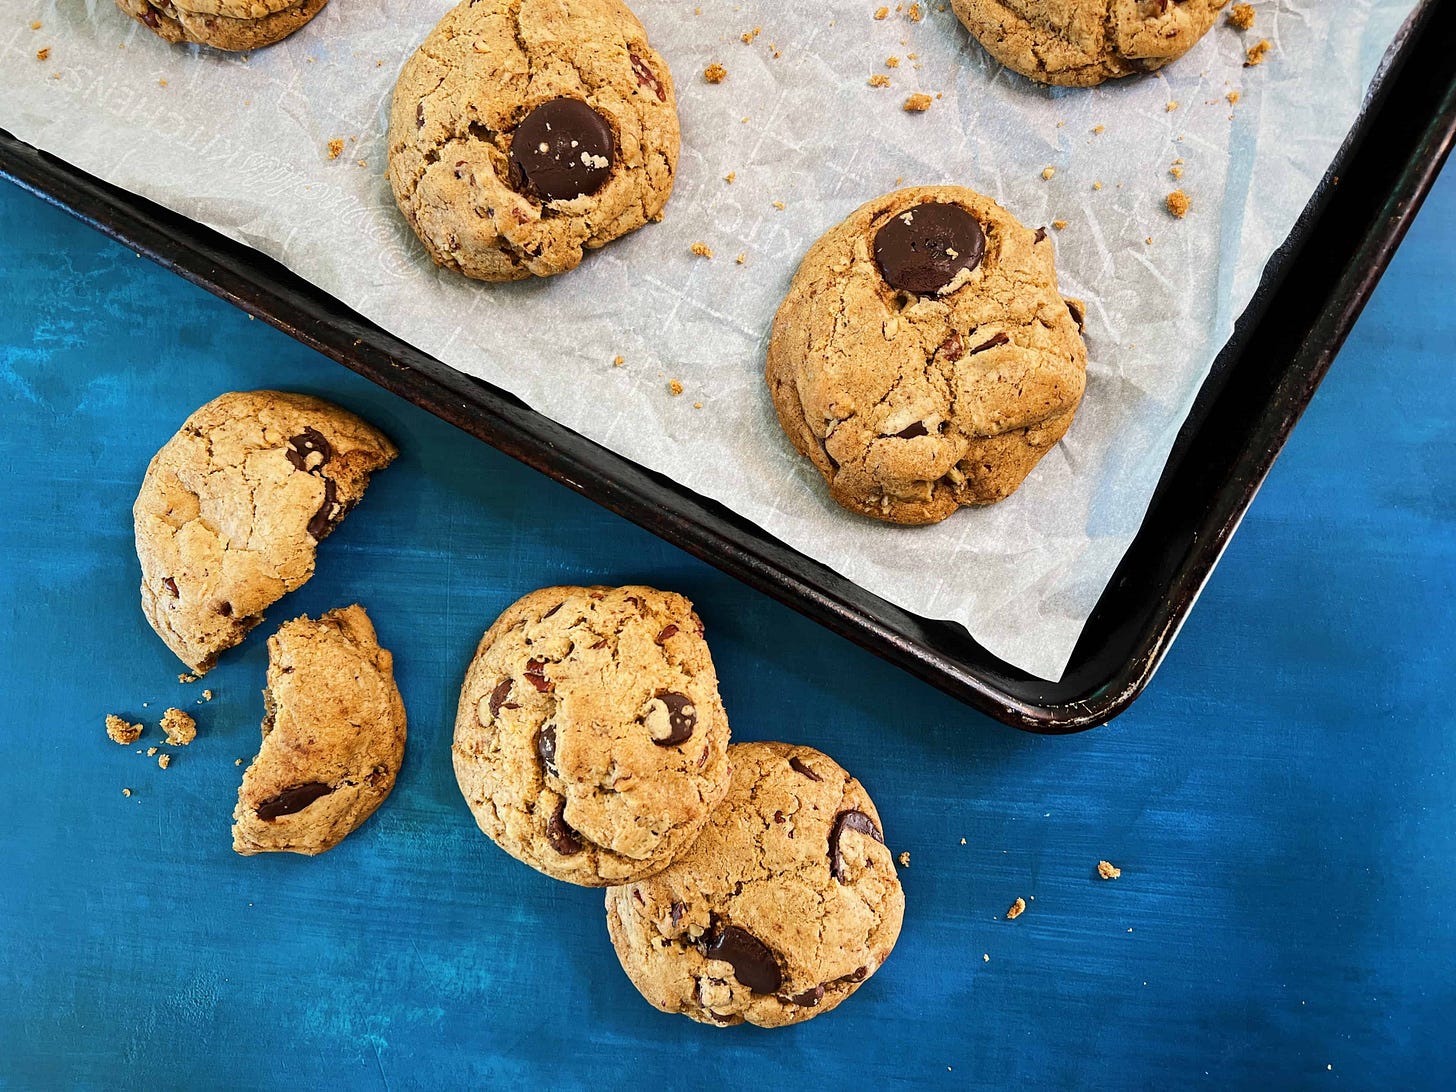
We’re making cookies. And yea, these are the same chocolate chip cookies that I’ve been making for years… except one small addition that makes them foolproof: toasted milk powder. How does this relate to your freezer?? Make the dough ahead of time, and ALWAYS have cookies on demand! BTW, have you ever had a fresh chocolate chip cookie ice cream sandwich?? Summer in a bite.
EK: What a great idea! I love a homemade cookie “chipwich” ice cream sandwich! I am going to make them for my next dinner party. I love that you can make them in advance and wrap them individually, too.
AU: Who wouldn’t want that for dessert? Toasted milk powder is not something you can buy in the store (yet?! should this be my retirement plan??). It is exactly what it sounds like: milk powder that has been toasted. But what is that really??
AU: Let’s back up and talk about brown butter. Butter is essentially an emulsion comprised of fat, milk solids, and a little water. Brown(ed) butter is simply butter that has been cooked until the water evaporates, and the fat and milk solids separate. The milk solids within the butter will turn brown, resulting in a complex nutty, toasty flavor.
Brown butter is one of the best flavors there is… It’s obvi great in baked goods, but also in savory applications, too. Every year at Thanksgiving I make a brown butter winter squash with lemon, chives, and hazelnuts. The crowd loves it!
EK: I love a savory brown butter! I especially like to toast pecans or hazelnuts slowly in butter until the butter and the nuts are brown, and pour that “sauce” over freshly grilled fish, like swordfish and trout. It’s a quick and easy way to get all the delicious flavors of a Meunière sauce on your fish.
AU: I literally just did that this weekend, Elizabeth!! So good. Circling back to the toasted milk powder… when you toast dry milk powder, you are essentially creating those tasty lil “butter caviar” flecks in brown butter, without using butter. This means you can add that roasty-toasty brown butter flavor without adding more fat or liquid to your recipe!
Case in point, this past New Year’s Eve, my pal Sam used this technique to give his Mini Brown Butter Lobstah Rolls some extra brown buttah flavah! (They were divine, btw).
Here’s how you toast dry milk powder.
First, you’ll probably find two options at the store: Nonfat Dry Milk Powder and Whole Milk Powder. Both work, but the whole milk version will add extra flavor (bc fat = flavor).
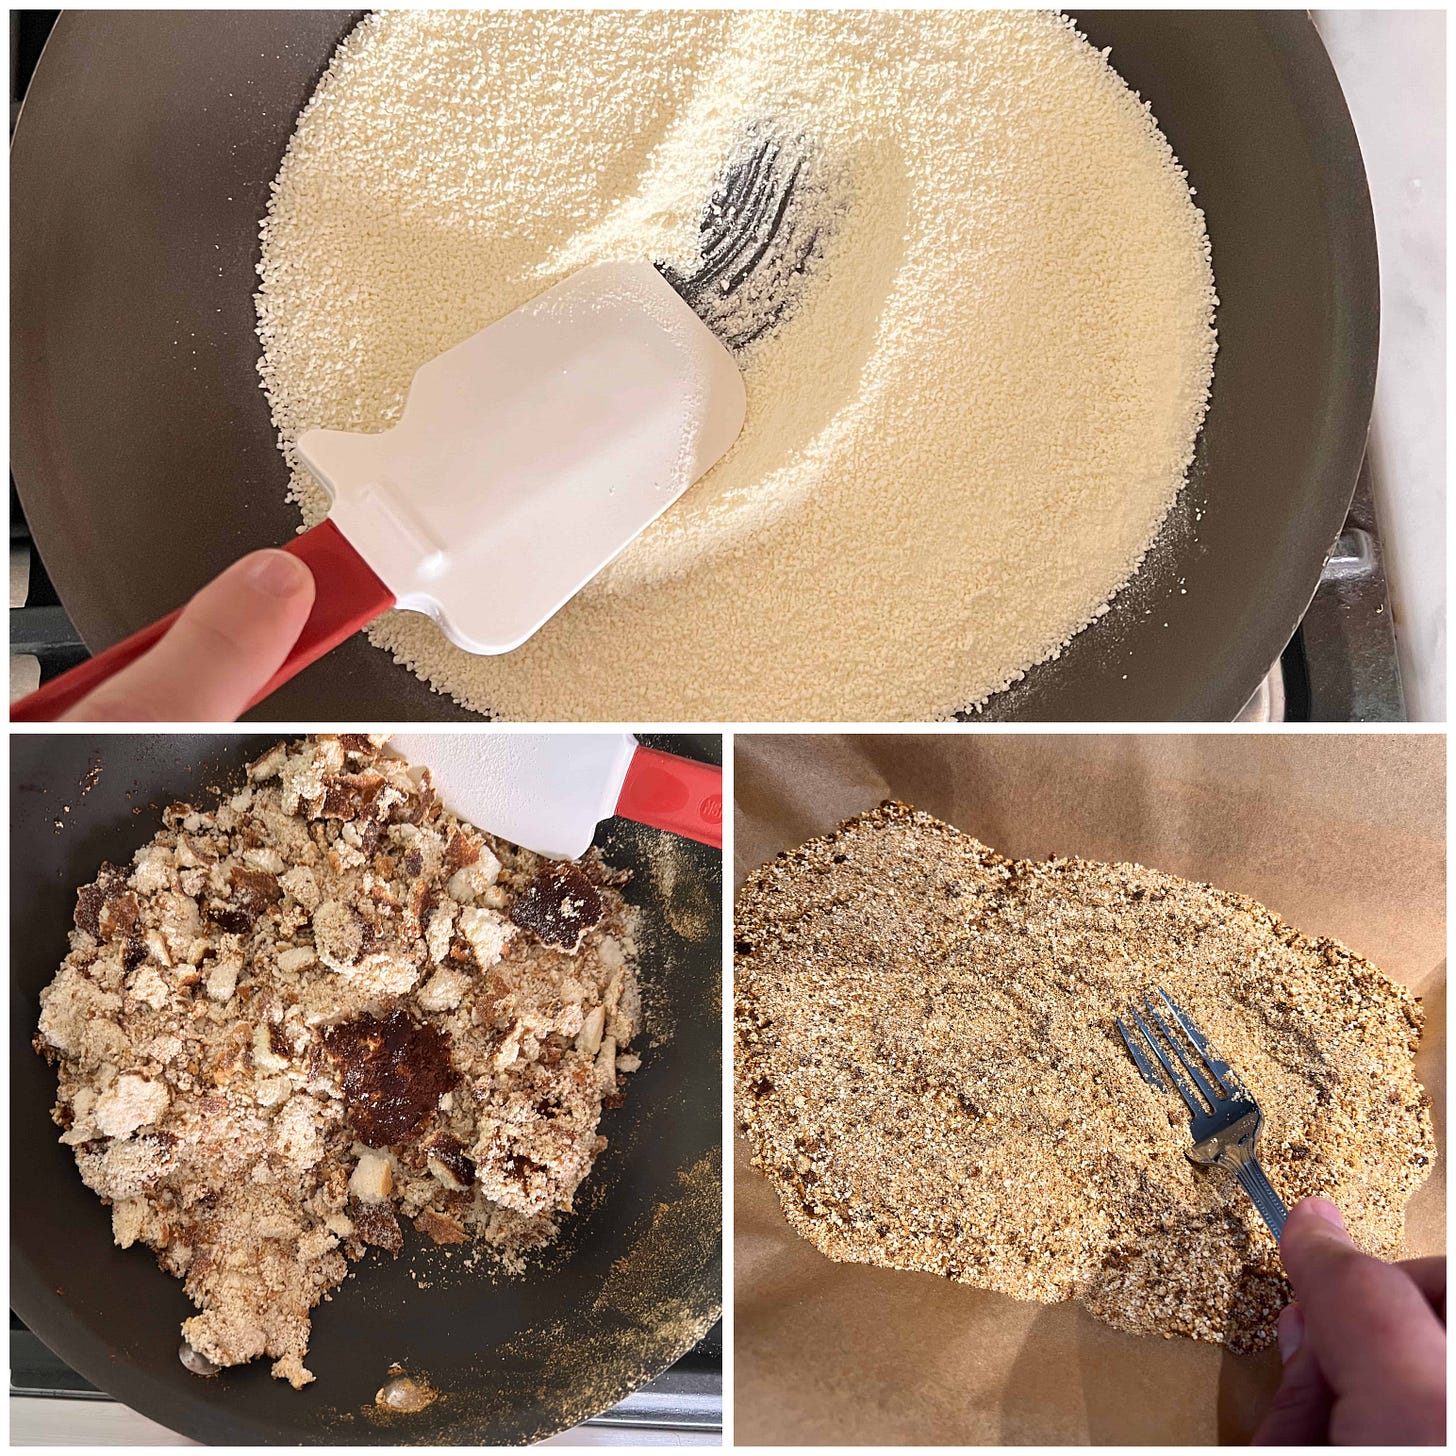
STOVETOP: I first tried toasting the milk powder in a dry stainless steel skillet. DO NOT DO THAT. It almost instantly began to stick and clump. I didn’t want to waste the milk powder, so I scraped it all up and blitzed it in the food processor. It’s still usable, but let’s avoid the headache, shall we? You can toast it over medium-low heat in a dry nonstick skillet, stirring constantly, for 5 minutes. I did this, too. It was still a little “hectic” to say the least. The milk powder almost immediately clumps and then you worry you’re going to burn those clumps, and some of the milk powder doesn’t even toast. Once you dump everything out of the pan and break it up with a fork, it’s fine—the color is like store-bought breadcrumbs (with some pieces darker than others).
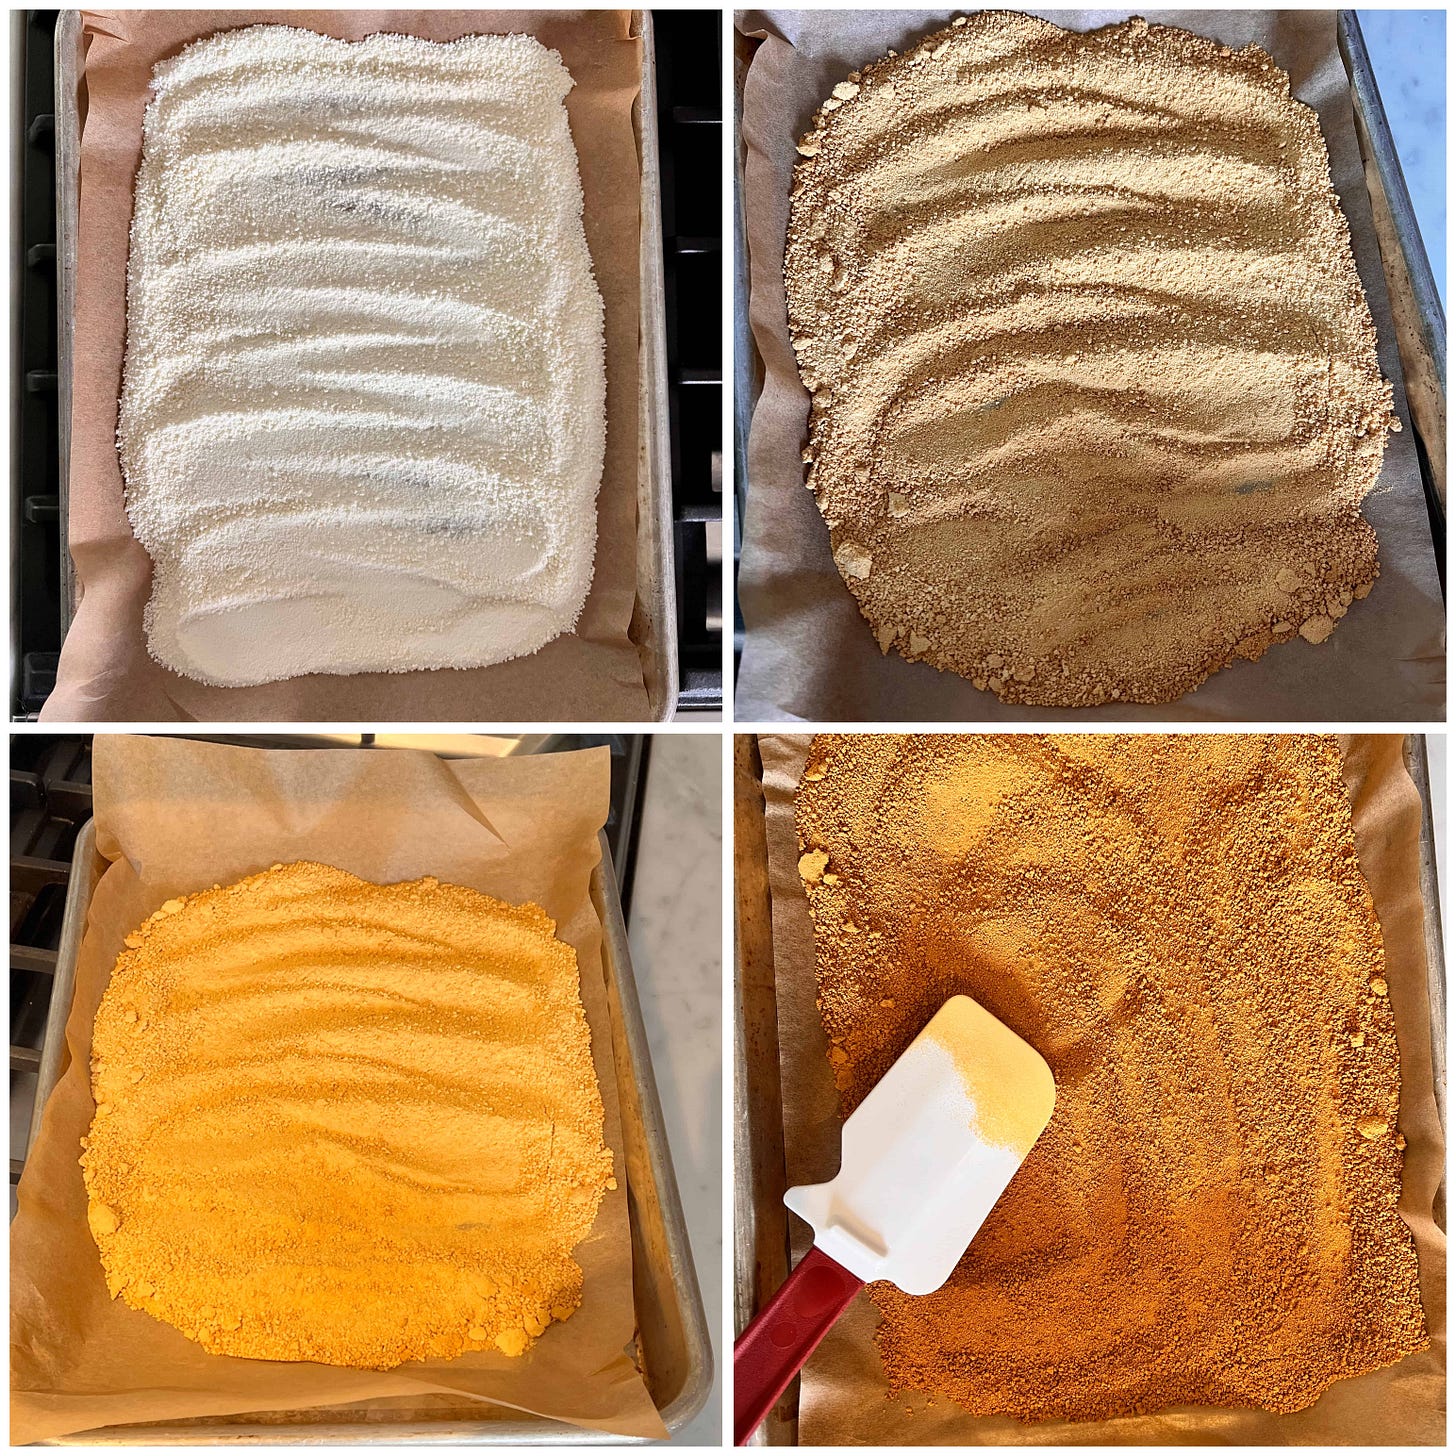
OVEN: If you’d like a more hands-off and EVEN approach, you can spread the dry milk powder in a single layer on a rimmed baking sheet that’s been lined with parchment paper. Toast in the oven at 325ºF for about 35-45 minutes, stirring every 5 minutes or so. As it toasts, the dry milk will go from creamy white, to bright yellow, to a Dorito orange! Also, make sure you’re not toasting on a CONVECTION setting… the fan in your oven should be off (unless you like cleaning powdered milk from the inside of a hot oven). I especially like this method because lifting the parchment paper helps you corral the milk powder (avoiding anything that may look like a scene from Scarface). Let the powder cool completely and then transfer to an airtight container/jar. It will keep almost indefinitely (like 18 months - 2 years).
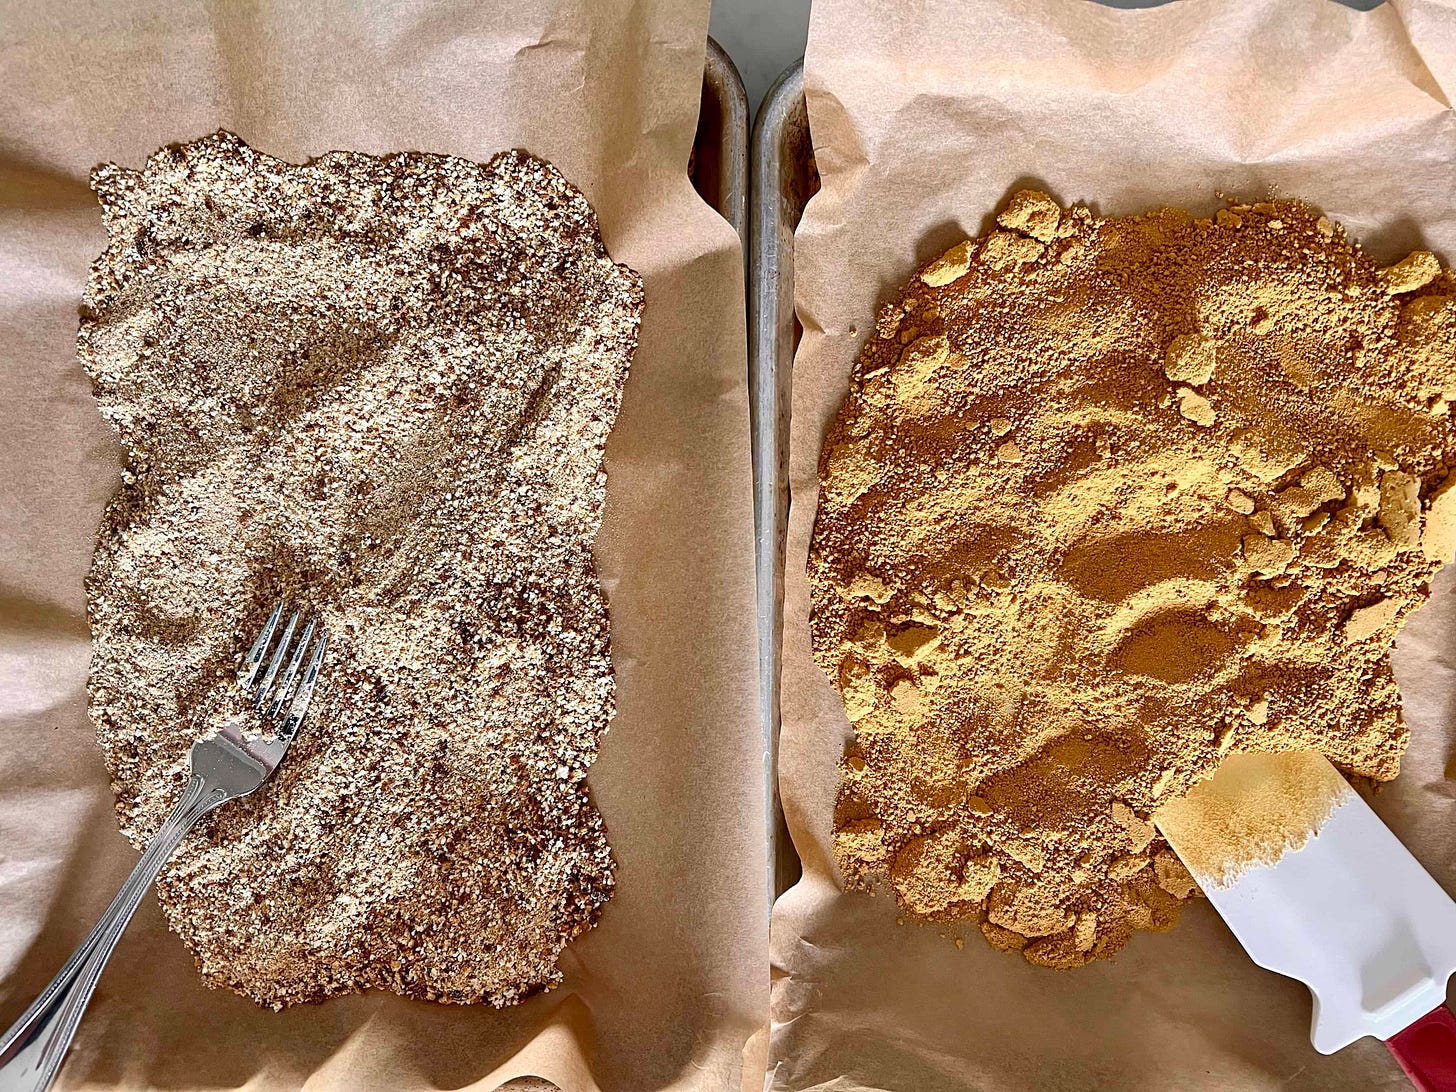
AU: As you can see, the results couldn’t look more different! But when I tasted them, they were pretty similar in flavor. The low-and-slow oven method edges out the stovetop method by an inch in terms of flavor. If you like a frenzied Jackson Pollock painting, go with the stovetop method. If you’re more of a “happy trees” Bob Ross kinda person, the oven is for you.
I MADE TOASTED MILK POWDER. NOW WHAT? MAKE COOKIES!
AU: While the toasted milk powder really sings in dishes with a subtle flavor profile (think sugar cookies, snickerdoodles, tres leches cake, rice crispy treats, etc.), you can “supercharge” the brown butter in my chocolate chip cookie recipe by adding 1/4 cup of toasted milk powder to the wet ingredients.
I recently made my 10-Year Chocolate Chip Cookies and wow does it make them extra tasty!! You probably won’t be able to put your finger on why, but they’re just butterscotchier, and toastier! And if you’d like to see me DIP AND DUNK while making these cookies on national television, feel free to watch the old GMA clip here. I still cannot watch myself on television, so let me know how I did???
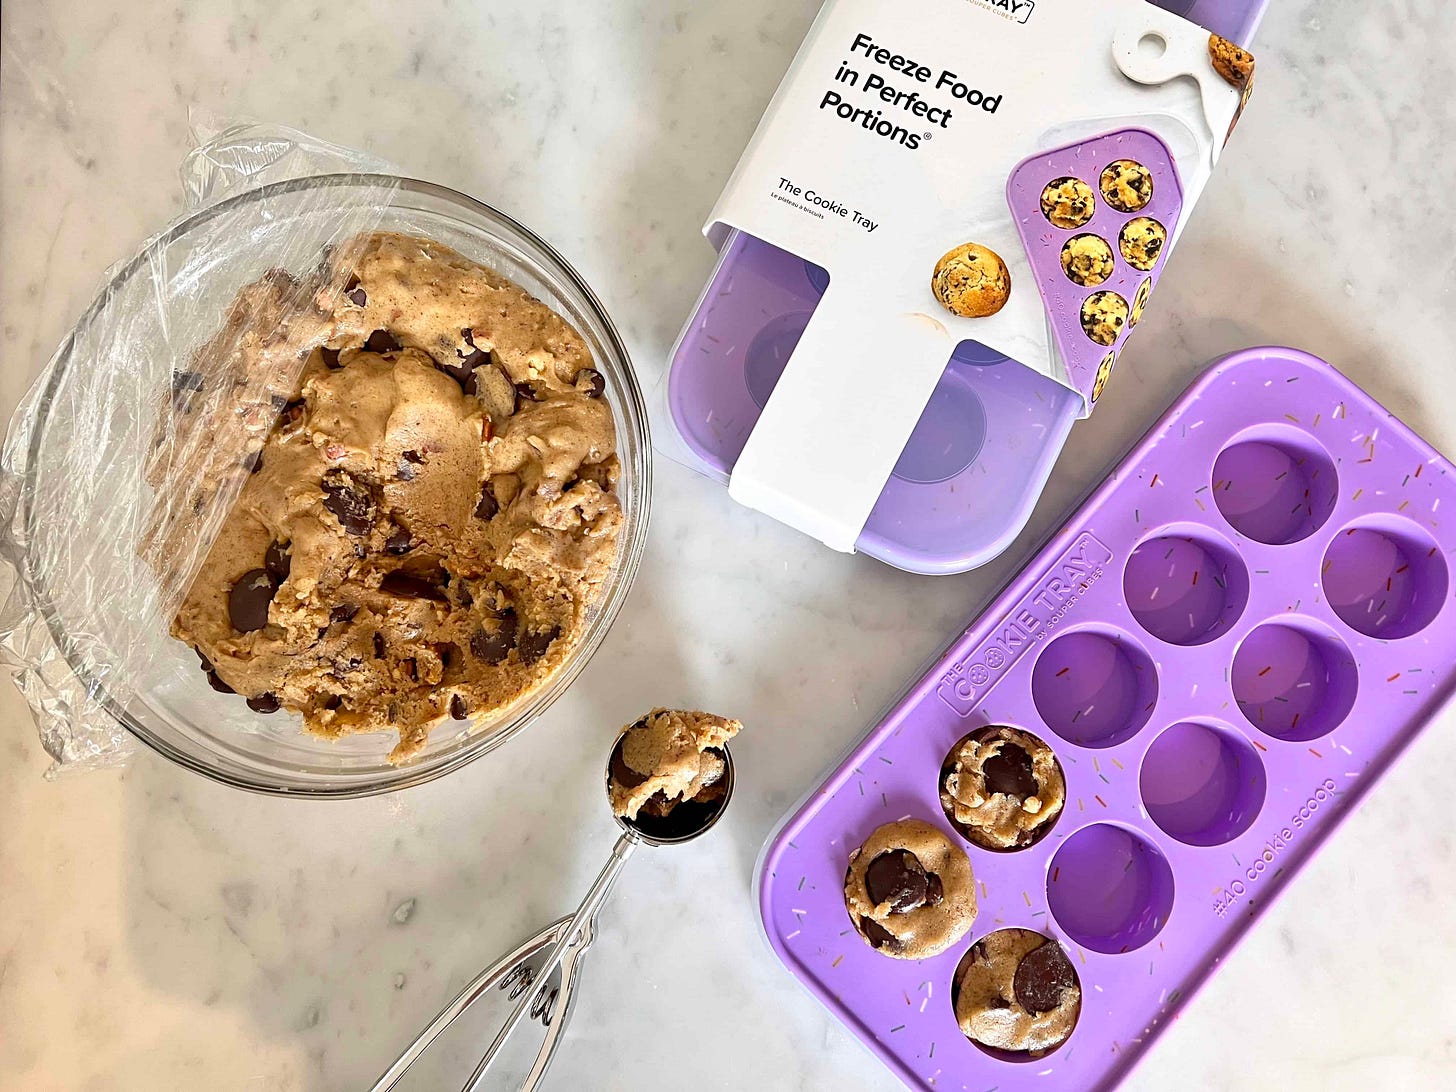
I made a double batch and then froze them in this amazing Cookie Tray by Souper Cubes that matches a #40 cookie scoop perfectly! It has a lid, so it’s easy to stack in the freezer. Now I have chocolate chip cookie dough ready to go anytime. It’s so easy to pop the frozen dough out of the silicone tray and bake away!
*A PDF of my chocolate chip cookie recipe + EXTRA brown butter is available for paid subscribers at the end of this newsletter.
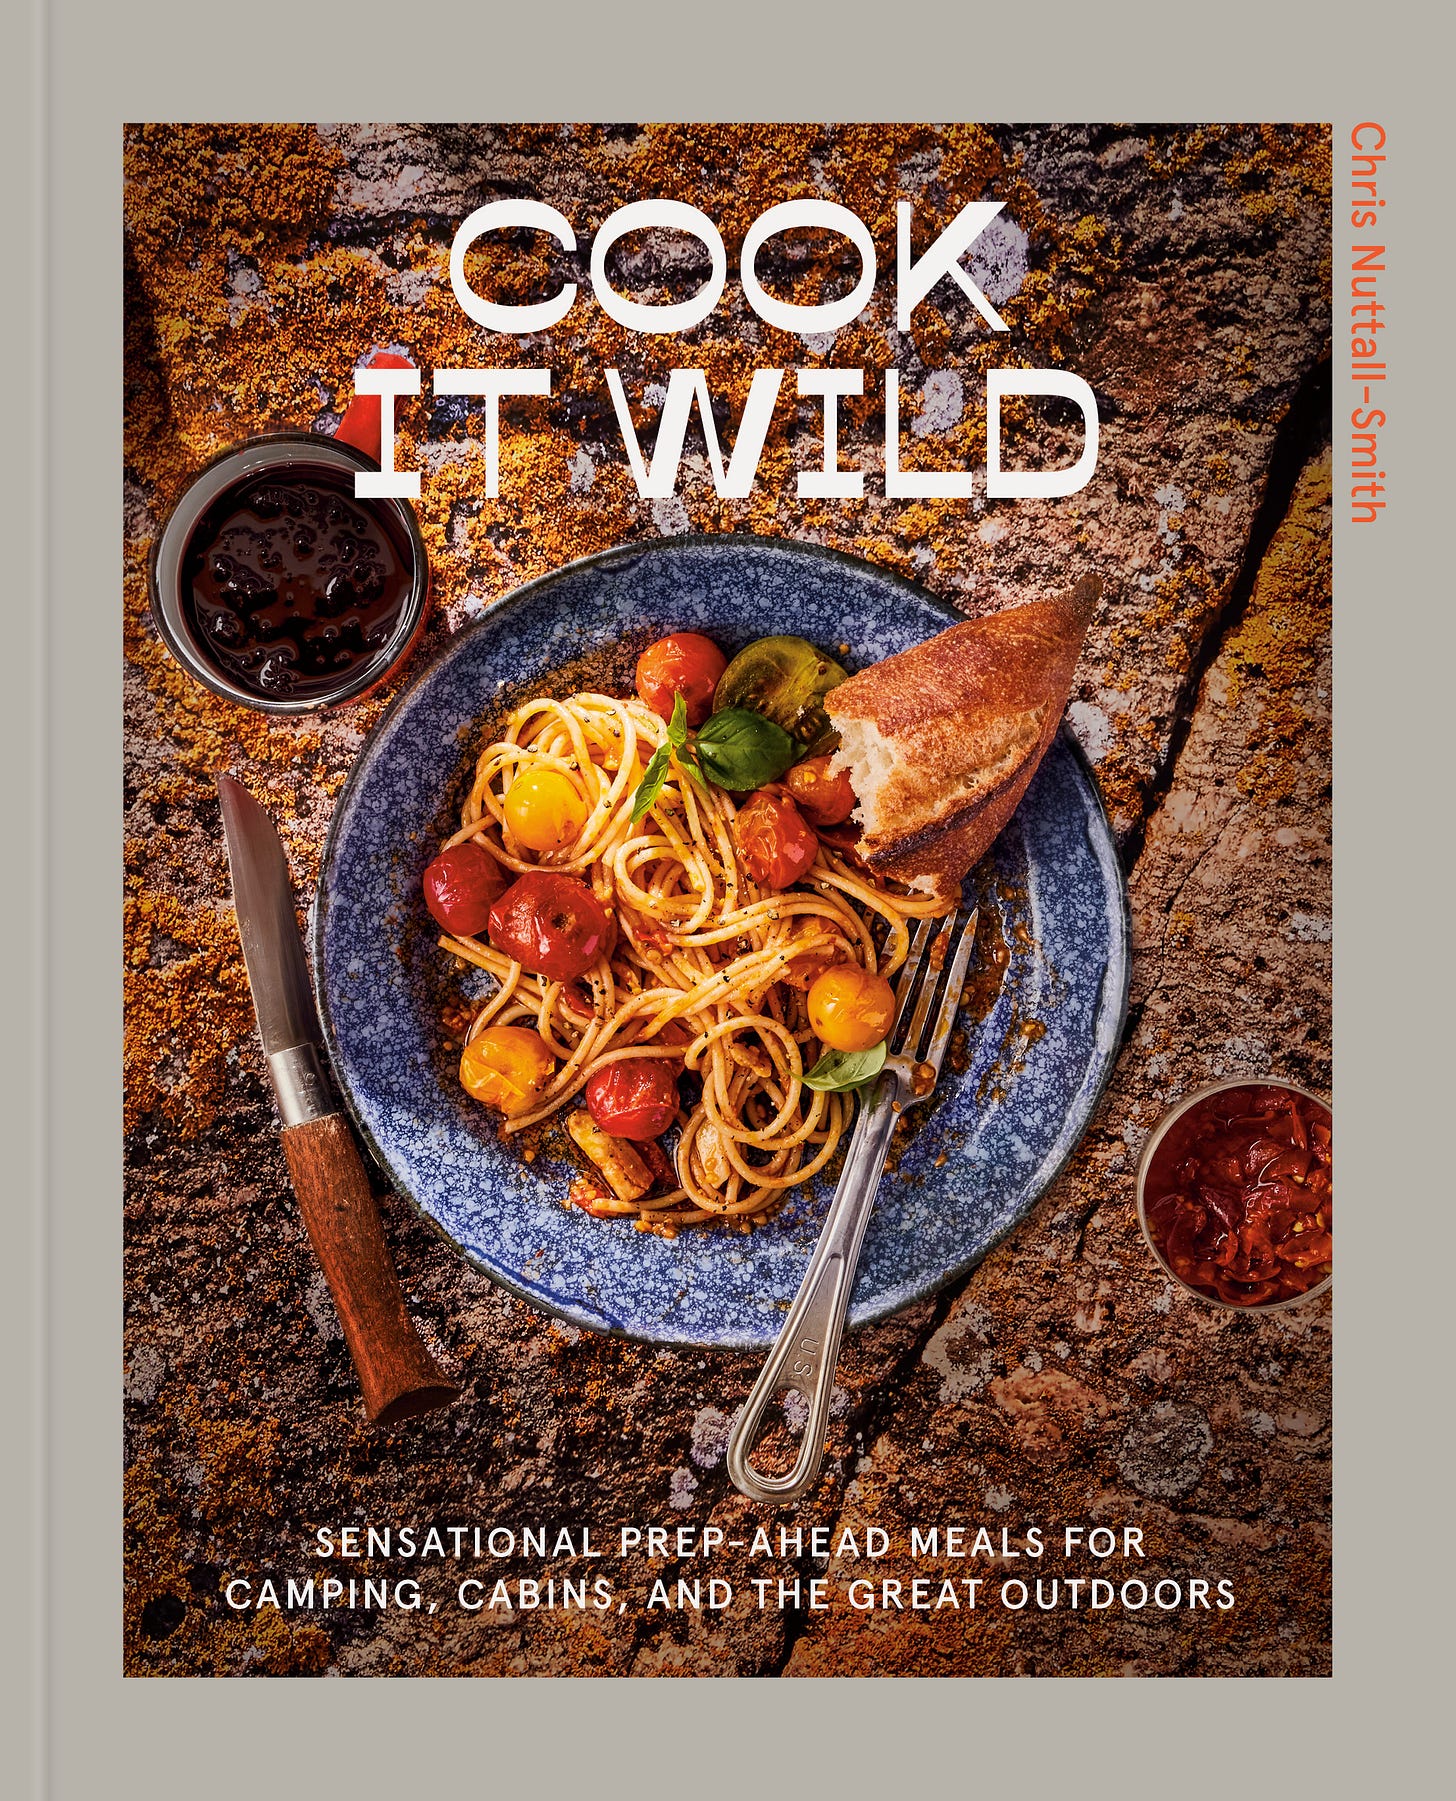
CONGRATS TO **NANCY ROBERTSON** FOR WINNING A COPY OF ‘COOK IT WILD’ BY CHRIS NUTTALL-SMITH!!
We hope you enjoy cooking from this amazing book! If you’d like to be automatically entered to win giveaways like this in the future, consider becoming a paid subscriber to What’s 4 Dinner? by hitting the button below.
FREEZER TIPS TO PRESERVE SUMMER
EK: We wait all year for summer produce and finally it’s beginning to show up in farmer’s markets across the country. Make the most of it by freezing your favorites when they are at their peak and abundant. That way, you can enjoy a taste of summer all year long! Here is a refresher on freezing foods and a giveaway that you can use to help you freeze more efficiently.
Freezer Storage Essentials:
Containers: Wide Mouth Glass Mason Jars, Souper Cubes, and Ziploc Containers
Labels: Freezer Tape and Sharpie permanent markers, or this Label Maker
Inventory - Keep track of what's inside—this is an ideal world, we don’t always do this. If you are really OCD, you can tape an inventory list on the freezer door and cross it off as you use your freezer inventory.
Cool Food - Never put hot foods in the fridge. Freezing hot foods will only increase the likelihood of freezer burn, and will increase the internal temperature of the fridge or freezer.
Don’t Over-Fill - Leave Room at the top of the container for the food to expand as it cools. You want to make sure that the top can fit snuggly without overflowing.
Freeze Fresh - It’s always best to freeze food at its freshest, so that it will be at it’s best once defrosted.
Never Re-freeze - The general rule is never re-freeze anything that has already been frozen—this is more of a quality rule than a food safety rule, but depending on how it is handled, it can affect the food safety as well
Avoid Freezer Burn - If a container won’t close tightly, don’t use it. Make sure your food is put in sealed containers to prevent freezer burn. This occurs when air reaches the food, and is caused by food not being securely wrapped in airtight packaging, or when you put hot food in the freezer and the condensation becomes ice crystals. Freezer burn is not harmful, but can affect the texture and color of the food.
Portion Sizes - Freeze food in serving-sized portions. You don’t want to defrost more food than you need and have it go to waste.
Re-Heat - Be smart. Eat foods that are designed to be served hot, hot. And foods designed to be cold, cold. That means defrosting and heating meats, soups, stews, etc., to food safe temperatures before eating. Make sure when you reheat the food that it’s piping hot all the way through.
If in Doubt Throw It Out - Freezing doesn’t kill bacteria. Don’t take chances, if you don’t know how long something has been frozen or are wary of something once it’s been defrosted, throw it out. If it smells funny, don’t eat it.
Toast - I keep my bread in the freezer and toast it from frozen. I also make grilled cheese using frozen slices of bread which makes it much easier to spread with butter. For whole loaves of bread like artisan sourdough, slice your bread the day you buy it, before you freeze it.
Cookies - Take a cue from Anthony and keep frozen cookie dough in the freezer at all times. Either scoop dough onto a tray and freeze, then transfer the frozen dough balls to a resealable bag, or you can also freeze baked cookies (but they don’t taste as good as fresh).
Freeze the Bits and Bobs!
Tiny portions of these leftover ingredients can be frozen in small Souper Cubes trays with a lid:
I like to freeze then transfer to individual bags things like:
Leftover Rice
Wine, coconut milk, stock
Minced ginger and garlic
Tomato paste
Chiles in adobo
Citrus juice
Herbs
Use Labels - This goes without saying. Once frozen, it is amazing how everything looks alike! So clearly label what’s in there and when you froze it.
Not All Foods Are Freezer Foods - Know what freezes well. Avoid freezing creamy ingredients including mayonnaise, yogurt and sour cream as they can separate. Don’t freeze whole fruits and vegetables with a high water content like lettuce, citrus and watermelon. They will be limp and soggy when thawed. You can juice a watermelon and any citrus and freeze the juice perfectly. You can also blanch and freeze greens and green vegetables.
WANT FREE SOUPER CUBES??
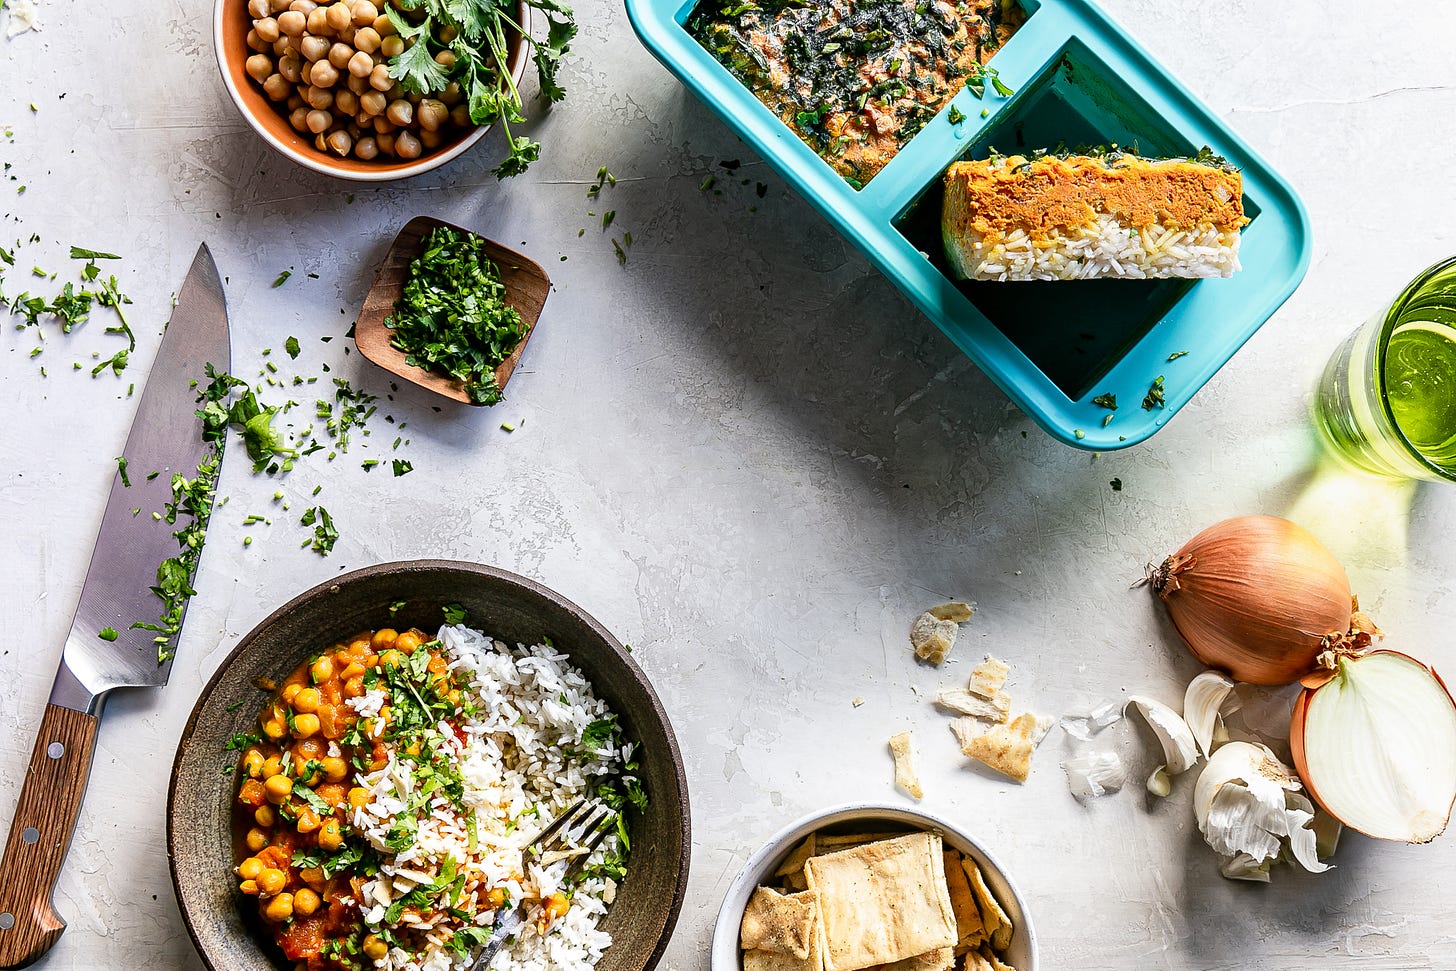
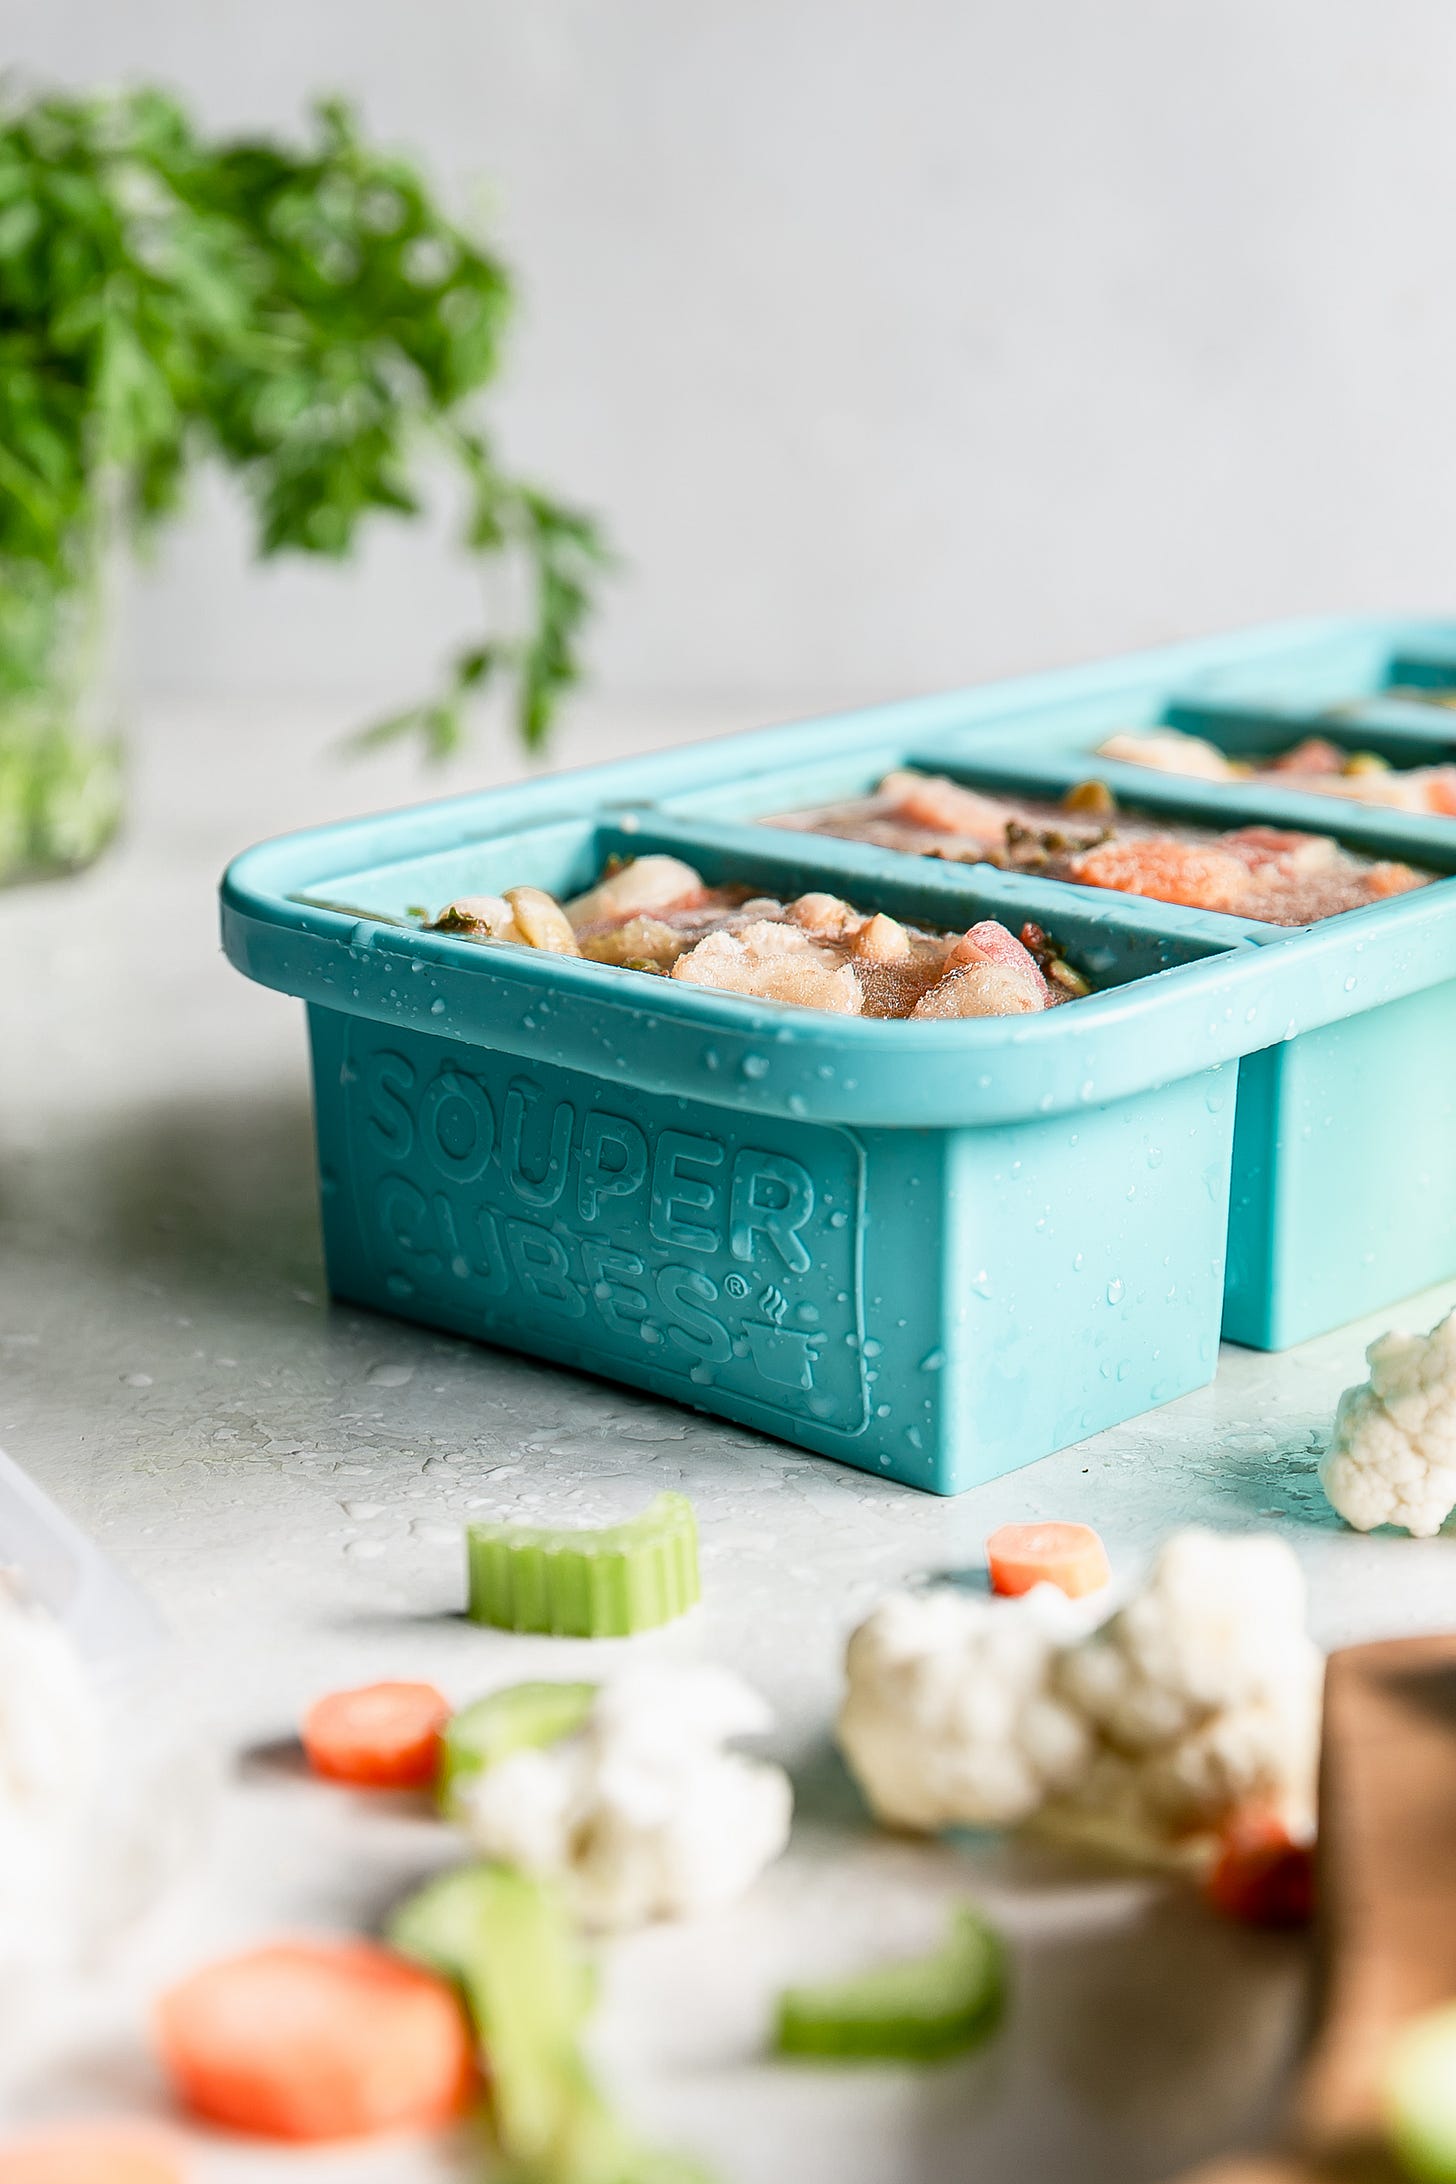
Souper Cubes are designed like extra-large ice cube trays, and come in 2 cups, 1 cup, ½ cup and 2 tablespoon portions (as well as the cool cookie trays that Anthony used). They come with lids and can be used to store and freeze food and juices in pre-portioned ready-to-heat cubes.
The colorful 100% food-grade silicone containers are reusable, dishwasher safe, BPA free. The containers can be frozen and—since it is silicone—can be used to bake food in an oven up to 415° Fahrenheit.
We love using our Souper Cubes and are giving one original 1-cup tray to a lucky winner. You must be a paid subscriber to be automatically entered for the giveaway. If you aren’t a paid subscriber, you can change that by upgrading your status here by Monday June 12, 2023; 11:59pm PT.
Keep reading with a 7-day free trial
Subscribe to "What's 4 Dinner?" to keep reading this post and get 7 days of free access to the full post archives.


