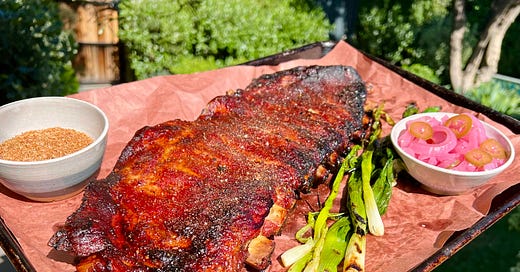
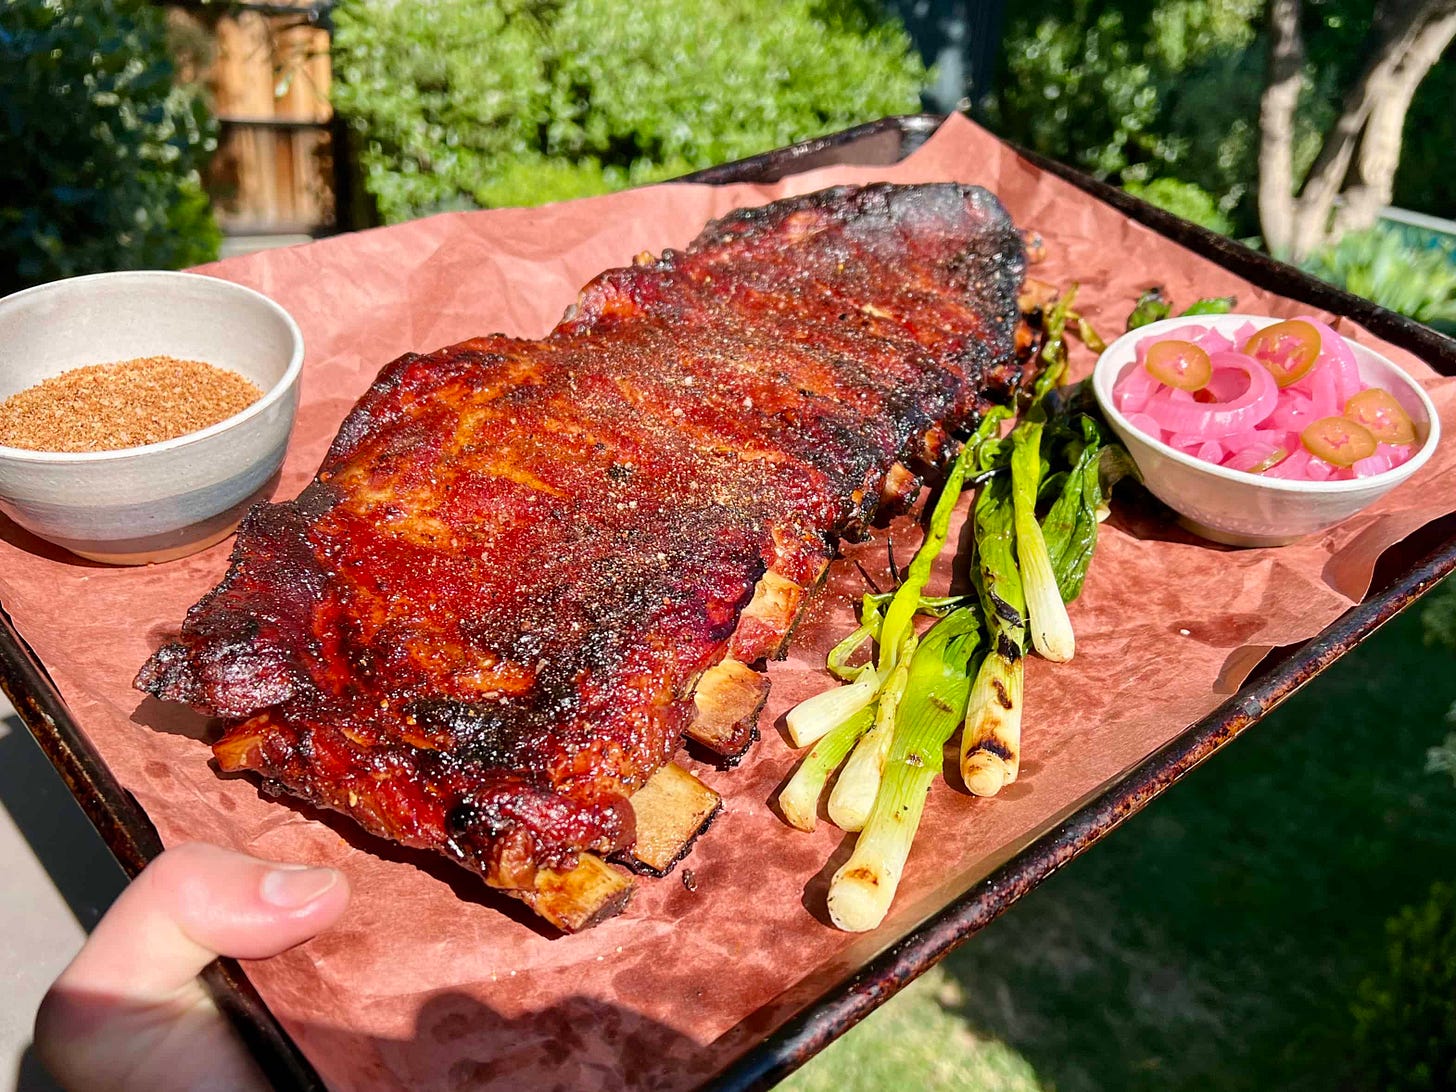
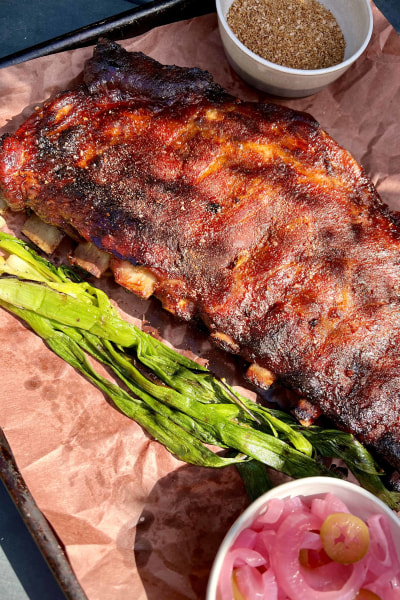
Hi friends…We hope you’ve got a wonderful long weekend planned, filled with great food, great company, and great fun. We spent the week kicking off our very first Cross-Country BBQ. We made St. Louis Pork Spare Ribs! And Anthony asked ALLLLL the questions, so you don’t have to… to the RIBS!
If you’d like us to decode a grilling or barbecue topic for you, let us know by clicking the button below!
BACKYARD BBQ RIBS 101
EK: What a fun Rib Day we had! It was almost like grilling out with you in LA!
AU: Our first Bicoastal Barbecue was a real blast! And I learned so, so much from you. Ribs have always seemed like something only professional pit masters can do properly… until now!
EK: We had our Mission: St. Louis Ribs.
What I love about St. Louis ribs is that they are meaty and can take a long slow smoke without getting overcooked. The rule of thumb is that you want each rack to weigh between 21/2 and 3 pounds and the racks that Anthony and I bought weighed closer to 3 1/2 pounds each. Now, some of that is bone and water weight, but still, they were big racks and this meant that they took longer to cook.(The proof is in the eating, and so use the attached recipe as a guide. We thought they would take us between 4 and 5 hours and they ended up taking us 6 hours.)
We also decided to smoke the ribs in our Traeger pellet smokers and started out at 225ºF so that we could use the “Super Smoke” feature. The “Super Smoke” mode adds extra smoke at the beginning of the cooking time to add more smoke flavor to the food and get that tale-tell pink smoke ring on the edge of the meat (it is not available for cooking above 225ºF).
And, because wrapping one’s ribs in foil has become such a big trend with backyard cooks, we decided that we would wrap at the end of the smoking process. Wrapping used to be only a competition barbecue circuit technique but because of the popularity of barbecue, barbecue contests, barbecue tv shows, etc., home cooks want to try it in their own backyard.
Now in full disclosure, I am old-school and prefer not to wrap my ribs unless I need to quicken the cooking process—which it does by steaming the meat. But I wanted to try it again, since the majority of the recipes that I have seen this year recommend wrapping.
WRAPPING RIBS DURING COOKING:
Pros:
Steams the meat so that it is silky, tender, and closer to “fall off the bone”
Quickens the cooking process
Cons:
Softens the bark or crust
Removes some of the smoke flavor as it steams. The end result is less smoky than some people (a.k.a. me!) like.
EK: If you like a crusty rib, you will need to remove them from the wrapped packet, slather with sauce, and put back on the smoker/grill at a higher temp to set the sauce for 10-15 minutes. Some people “burn” the ribs on a gas grill set over medium-high direct heat for 1-2 minutes a side. This is a very popular way to finish ribs in restaurants as well.
Now, let’s turn it over to Anthony for our play-by-play…
AU: What I found most fascinating about our day of FaceTime-ing across the country from our respective backyards, were all of the cooking cues you taught me to look for during the rib-smoking process. These are the things that recipes never seem to explain properly, and they really made things CLICK for me. Now I feel confident about what to look for during cooking!
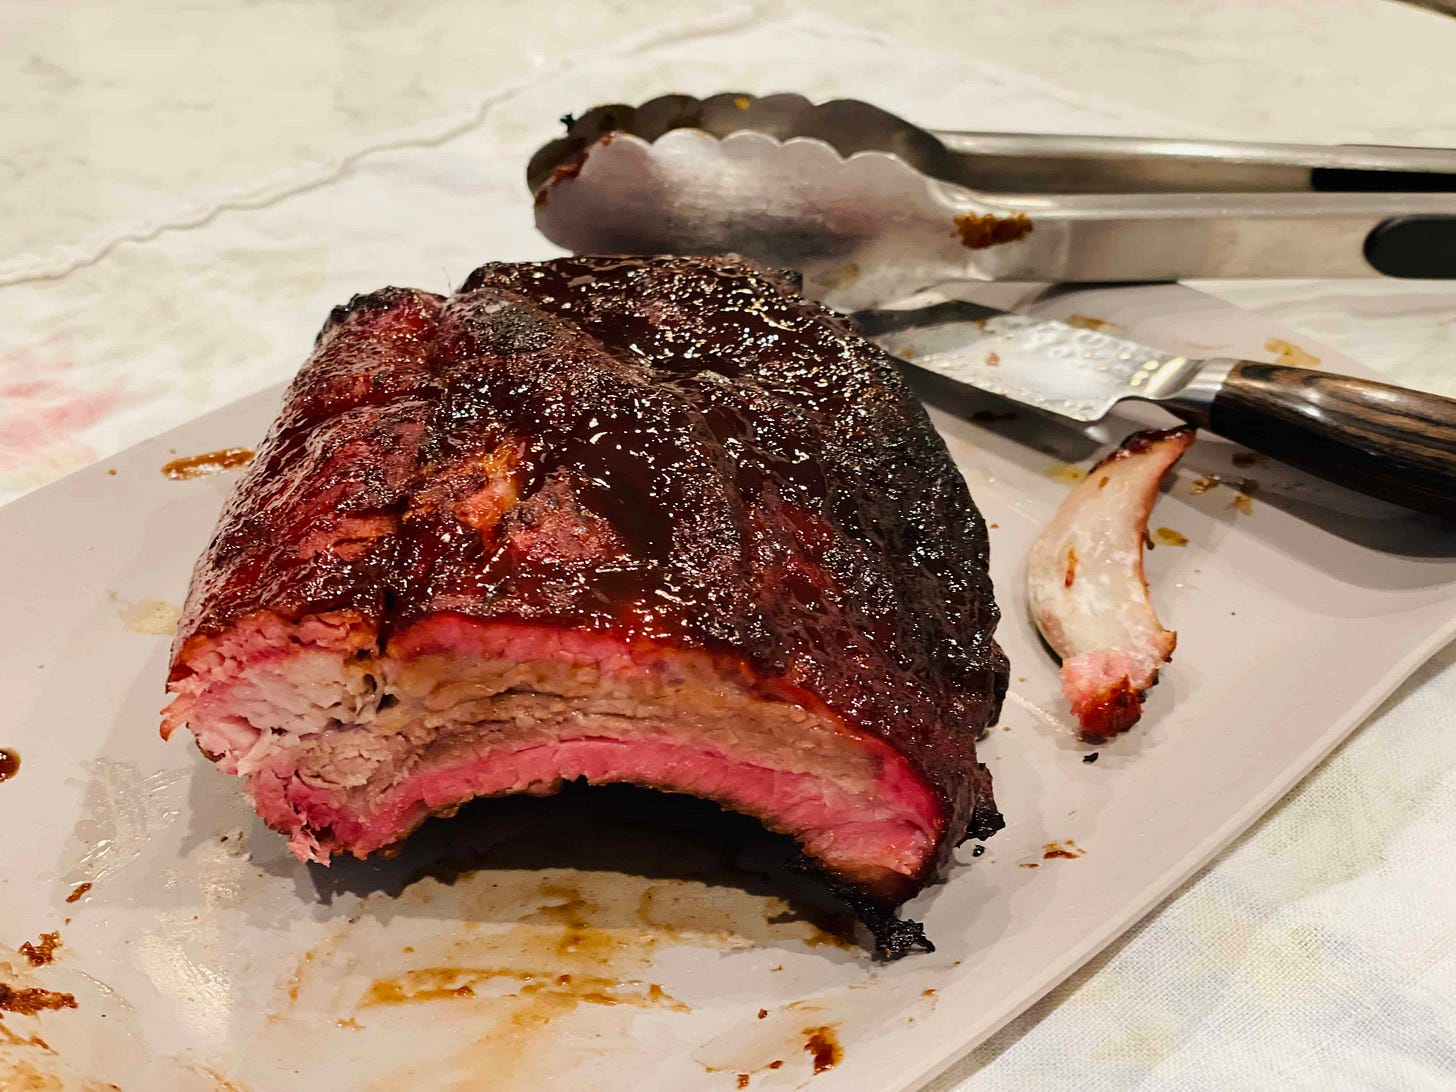
ELIZABETH’S ROAD-TO-RIB-SUCCESS TIPS:
When you put the ribs on the grill, the meat should look wet-ish and the rub will be grainy and slightly wet.
Place the racks bone-side down in a single layer on the cooking grate, or slide them into a rib rack and grill vertically. You will never need to flip ribs as they cook with indirect heat the entire time.
After the first 30 minutes of smoking, the surface of the racks should look dry and the meat will change from the translucent-raw-meat-look to a pale matte pink color.
“If you’re looking, you ain’t cooking.” So no peeking for the first 30 mins of cook time. Then mop them every 30 mins afterwards, for the rest of the cook time. If using a rib rack, mop the top of the bones of the ribs, and let the liquid drip down the front side of the racks. If the ribs are flat on the cooking grate, mop the meaty side of each rack and close the lid.
As the ribs cook, the fat will start to render out and they will start to look shiny–you may see beads of fat in the thicker parts of the ribs and that fat may even be bubbling.
If you’re wrapping with foil, make sure that the racks have a dark color and a nice bark before wrapping.
One way to tell if the ribs are done is to look at the rib bones. If the meat has receded and the ends of the bones are exposed, then you know that the ribs are done, or almost done.
Another indicator of fully-cooked ribs is to grab the center of the rack with your tongs, and hold them up. If the rack bends, but doesn’t break in half, then they are tender and done. (If they break in half easily, they’re probably a little overcooked)
BACKYARD BBQ RIBS 101
EK: This recipe is my version of ribs that made me fall in love with backyard ribs. The Memphis in May barbecue team took me under their wing and shared their secret—slathering the ribs in fresh lemon juice before seasoning them.
AU: And for me, this was the first time I’ve had someone walk me through the process, step-by-step, to lead me to backyard rib nirvana! If you use a pellet smoker, like I did, just follow the time and temps below.
Serves 6-8
Grilling Method: Indirect/Medium-Low Heat
Ingredients:
3-4 racks St. Louis pork ribs, about 2-3 pounds per slab
2 lemons, cut in half
¼ cup Classic Barbecue Rub (see below) or favorite spice rub
Soaked wood chips, if desired
½ cup of your favorite barbecue sauce, plus more for serving (optional)
½ cup beer or wine
Method:
Build charcoal fire or preheat gas grill. Remove silver skin from back of ribs, if desired. I prefer to leave it on the ribs. Set up the grill for indirect heat and if using wood chips, place soaked chips directly on charcoal, or in a smoking box of gas grill.
Rub the cut lemons over the front and back of ribs, squeezing to release as much juice as possible. Discard any lemon seeds. Set aside for 5 minutes. Sprinkle ribs liberally with spice rub and let sit, covered, for 5 minutes.
Meanwhile, make the mop: combine barbecue sauce and beer/wine in a jar, close lid and shake to combine.
Place ribs (bone side down) in the center of the cooking grate or in a rib holder/rack, making sure they are not over a direct flame. Smoke covered (at about 275° F, if your grill has a thermometer) for 2-4 ½ hours, depending on how big your racks are.
Leave ribs untended for the first 30 minutes—this means no peeking; especially important if using wood chips. Baste with mop every 30 minutes for the remainder of cooking.
Two pound racks will take about 2 ½-3 hours, and 3-3 ½ pound racks will take closer to 4-4 ½ hours. The ribs are done, when the meat is tender with a dark crust, and you will be able to see that it has pulled back (receded), exposing the ends of the rib bones.
Twenty minutes before serving, (un-stack ribs, if necessary) brush with barbecue sauce, and let sauce caramelize. Remove ribs from grill and let rest 10 minutes before cutting into individual or 2-3 rib portions.
Warm remaining BBQ sauce in a saucepan and serve on the side, if desired.
*Notes
If the ribs start to burn on the edges, stack them on top of one another in the very center of the grill and lower your fire/heat slightly.
Backyard Rib Rub
Makes 1 ½ cups
Ingredients:
3 tablespoons white granulated sugar
2 tablespoons smoked paprika
2 tablespoons kosher salt
2 tablespoons dark brown sugar
1 tablespoon ground cumin
1 tablespoon freshly ground black pepper (or Worcestershire black pepper)
1 tablespoon onion powder
1 tablespoon garlic powder
2 teaspoons chili powder
½ teaspoon cayenne pepper
Method:
In a medium bowl, combine all the ingredients; mix well. For a smoother rub, process the ingredients in a spice grinder until well combined and all the pieces are uniform (the rub will be become a very fine powder and tan in color).
*Notes
The rub can be stored in an airtight container for up to 6 months.
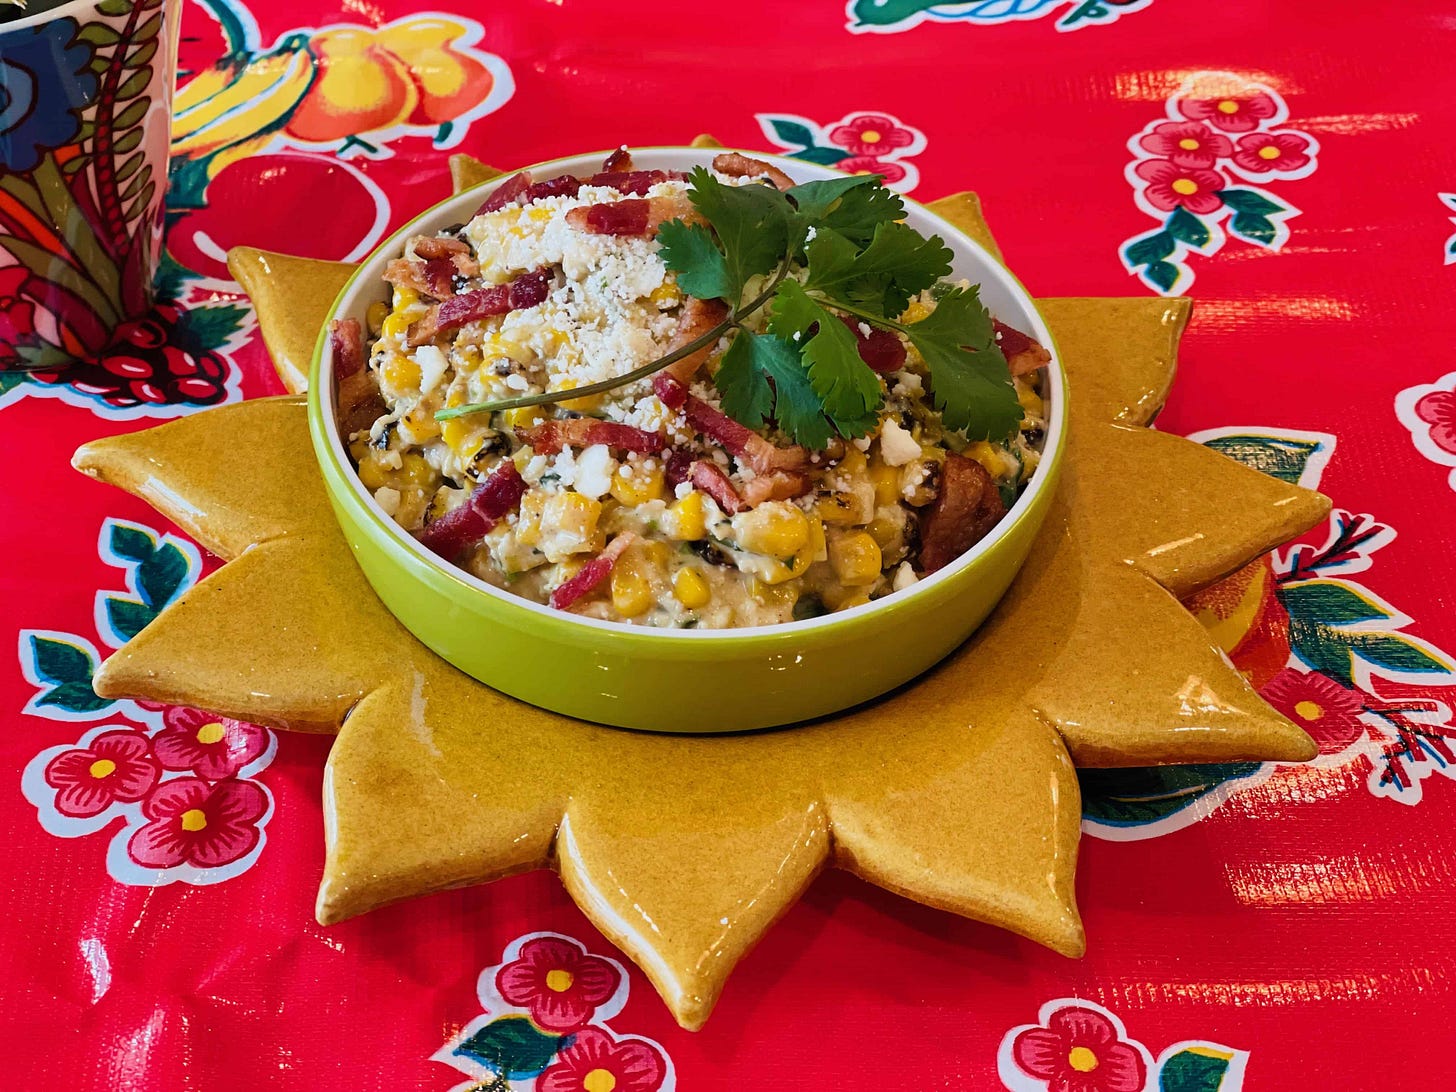
MEXICAN STREET CORN SALAD
AU: With all those ribs, you’re gonna want something to serve with them, and I highly recommend you try the Mexican Street Corn Salad that Elizabeth wrote about in Forbes.
That’s it for this week! As always, if you make our recipes, tag us on the ‘gram (@kitchensitch & @elizabethkarmel), and use the hashtag #whats4dinner. Happy cooking!!

