AU: Morning all, and Happy 2022! Today we’re giving you two recipes that are so delicious, you’ll forget they’re pretty good for you, too! I’ve never been one to make meals deemed “healthy” for health’s sake, because it automatically makes eating a chore in my brain (I know I’m supposed to eat steamed vegetables and fish, Susan!). Instead, I like to cook meals I want to eat that just happen to be filled with ingredients that are nourishing and good for you.
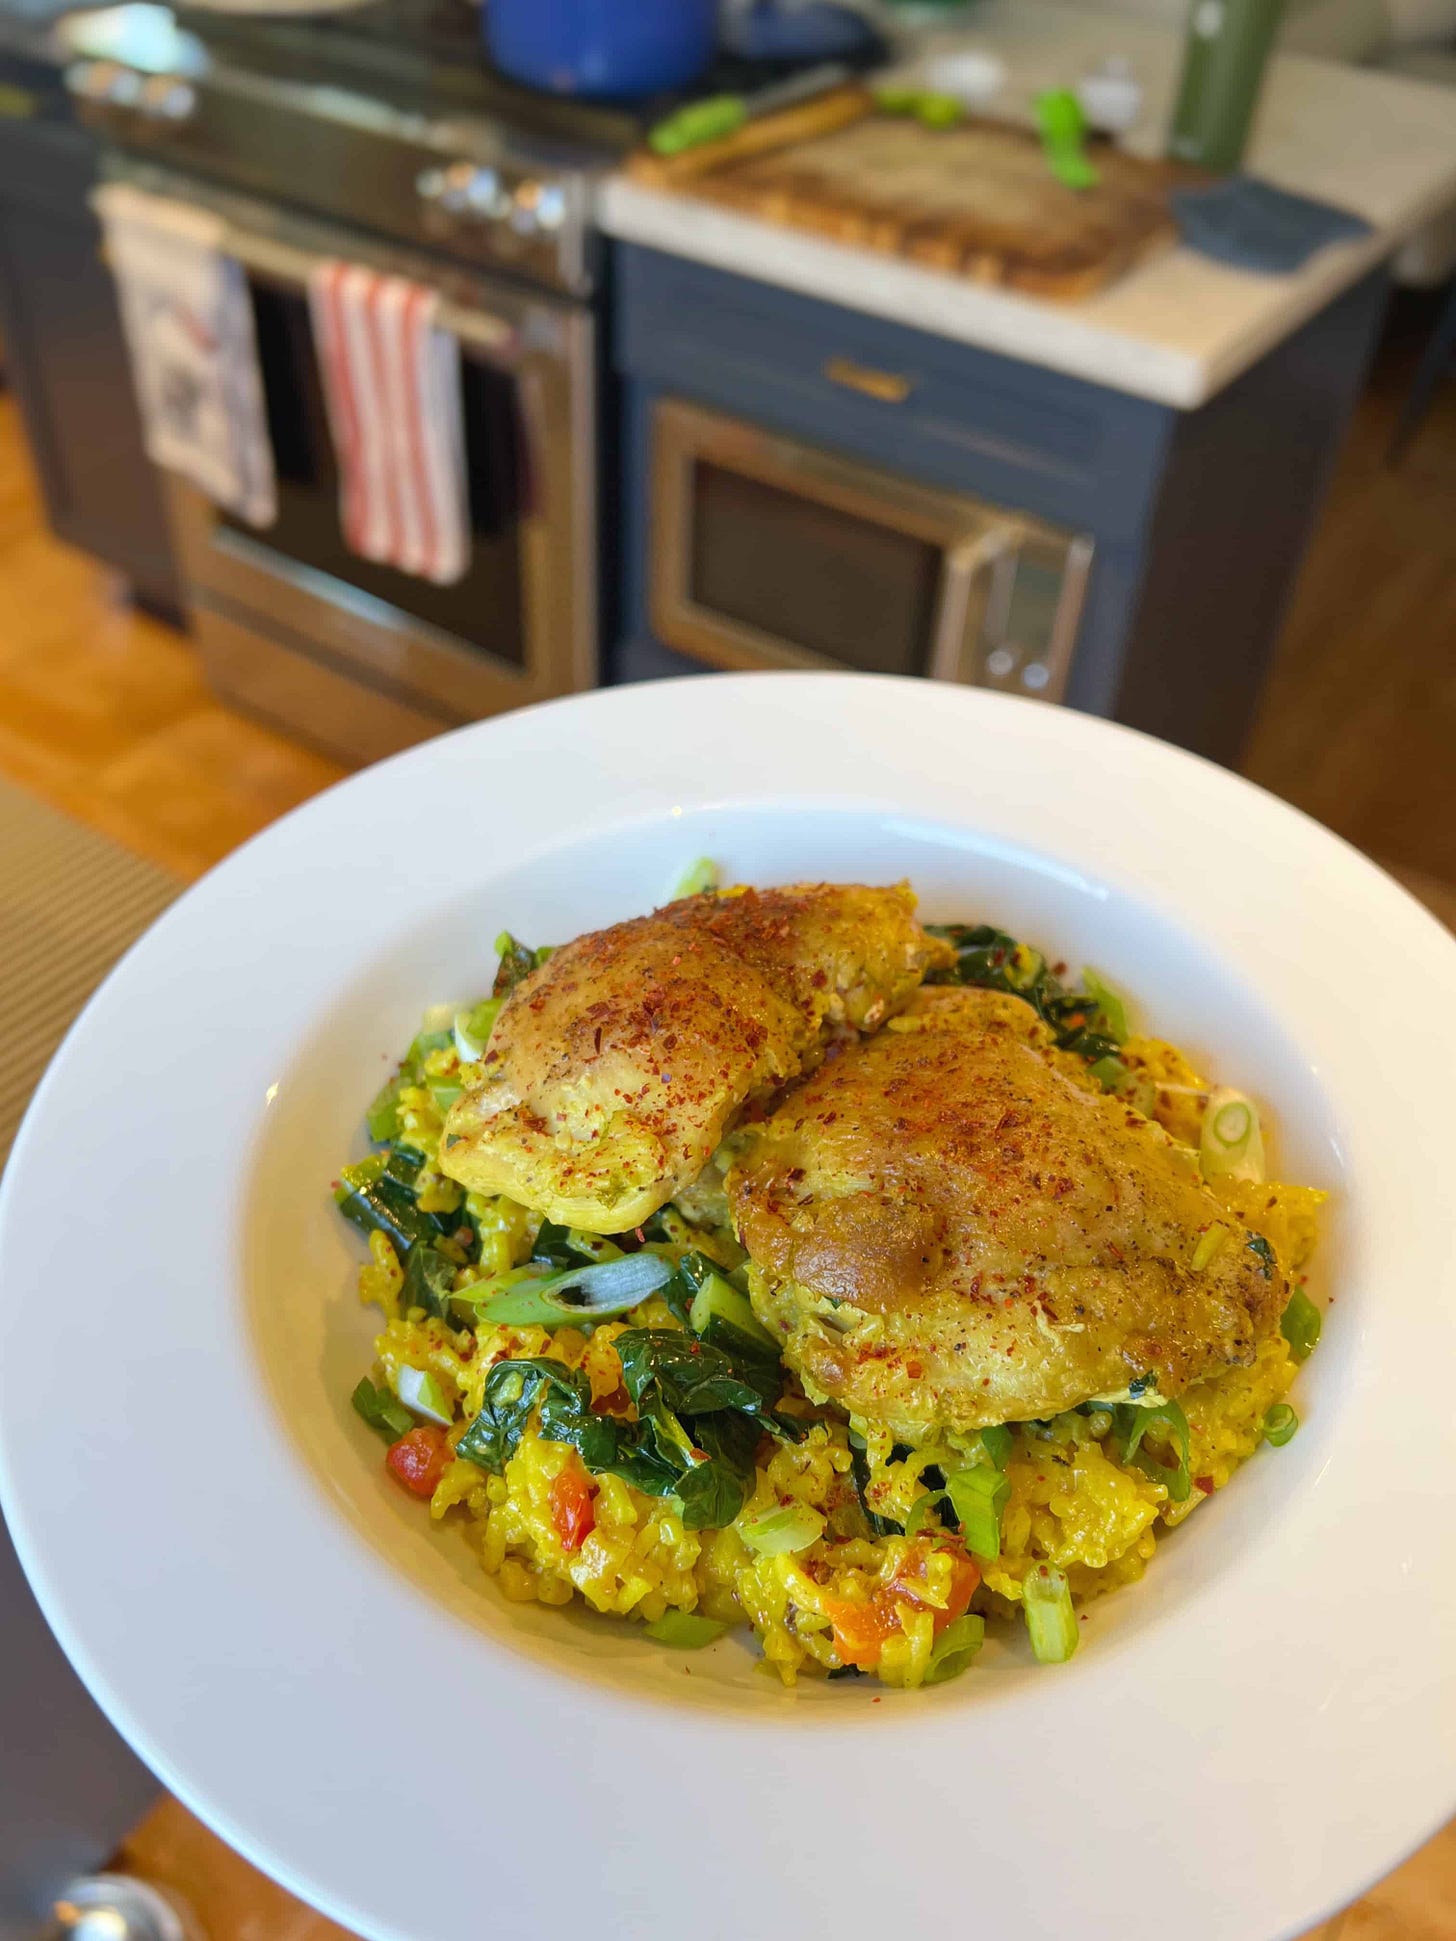
This week I’m sharing my recipe for a One-Pot Chicken Thighs with Turmeric-Coconut Rice and Greens. It’s filled with healthy things like leafy greens of your choice, turmeric, ginger, and garlic… but the real magic is that it’s literally all made in one pot on the stovetop in less than 30 minutes.
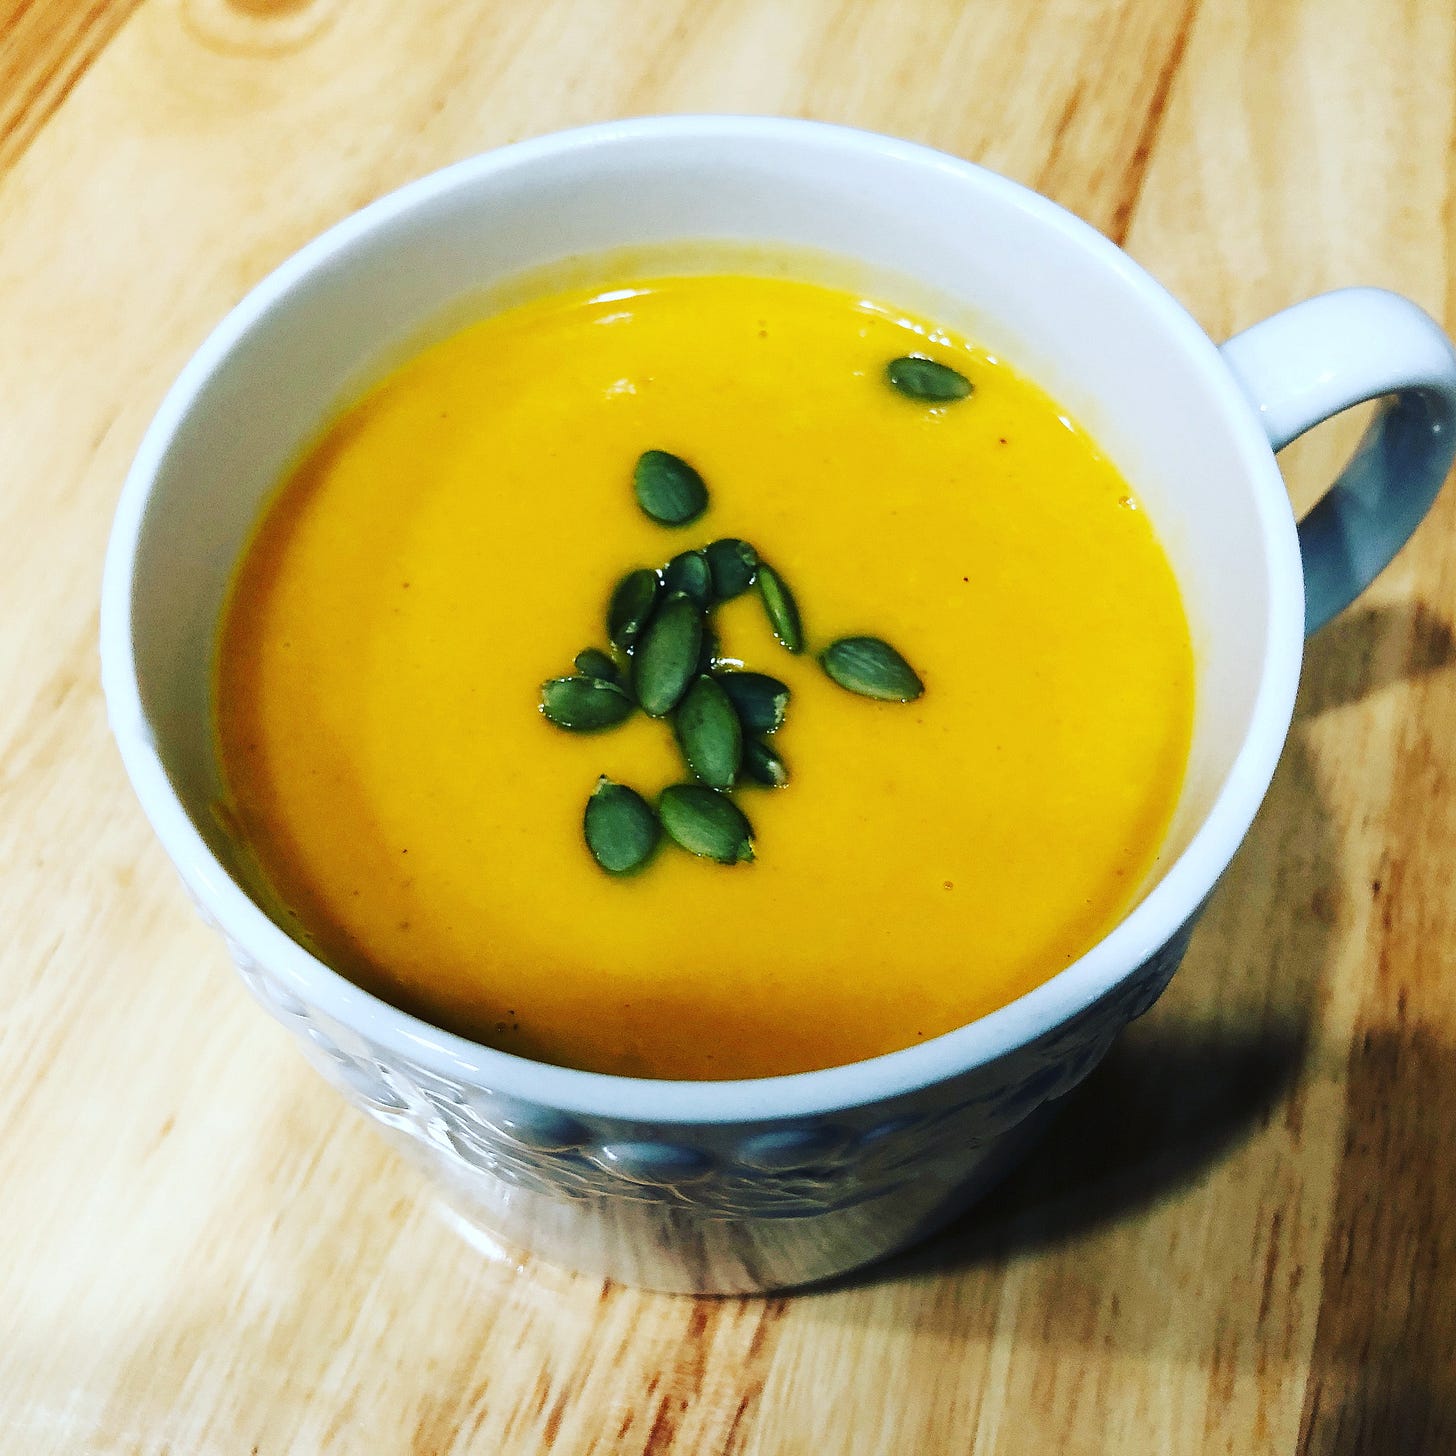
EK: And I’m on the East Coast where it’s really cold, so how about some Butternut Squash Coconut Curry Soup? I promise this is one of the easiest soups you can make!
AU: I love a winter squash soup!! But Elizabeth, you literally blew my mind with your squash hack (below)…
SPOILER ALERT: YOU DON’T HAVE TO PEEL OR CUT WINTER SQUASH!!
Which is amazing, because I suffer from a condition known as “SQUASH HANDS.” Every time I would break down a winter squash—be it Pumpkin, Kabocha, Butternut, Acorn, or Delicata—I would get this weird itchy, tight, but peeling coating on my hands. Turns out it’s contact dermatitis, and I thought I was the only one, until I read this article in Bon Appetit about other people with the same allergy. But now with Elizabeth’s squash hack, I don’t have to worry about it anymore!
A note about Coconut Milk…
EK: Both mine and Anthony’s dishes rely on one of our favorite pantry staples: coconut milk. Coconut milk is one of those pantry items like canned tomatoes that lasts forever and is extremely versatile. And that’s why we both keep a couple of cans on hand in our kitchens.When you go to the store, you’ll see all types of coconut products. If you aren't sure what the differences between Coconut Milk, Coconut Cream, Cream of Coconut and Coconut Water are, here are the basics:
Coconut Milk & Coconut Cream are made by cooking the flesh of the coconut with water and pressing the “milk” from that mixture. It has the consistency of whole milk with “cream” that rises to the top. Coconut Cream is similar, but even richer. Both work well in soups and stews, but they aren’t sweetened at all, so they make a pretty bland frozen cocktail…
Cream of Coconut is Coconut Cream with added sugar and would pretty much ruin your savory dish, but is used often by bartenders to make coconut cocktails (remember Coco Lopez Cream of Coconut from your Piña Colada Days?!).
Coconut Water is the electrolyte-rich liquid found in the center of the coconut. It’s a great hydration libation and even better than gatorade for hangovers!
We love cooking with coconut milk because it adds richness and flavor to all sorts of dishes, without having to add butter or cream. The kicker is that it does taste coconutty, so you will need to pair your seasonings to go with coconut. For example, my Butternut Squash Coconut Curry Soup is lightly spiced with Madras Curry which is a perfect flavor—and color—partner to the silky golden-yellow Butternut Squash.
ELIZABETH’S WINTER SQUASH HACK:

EK: Hard winter squash can be so difficult to cut through that many people don’t cook them, or they buy them already cubed from the grocery store. I hated prepping winter squash—It is hard to get your knife through in one slice, often the knife gets stuck halfway through the squash—looking like a bad murder scene! A few years ago, I was fed up, so I decided to see if I could “hack” the winter squash cooking process.
So I bought a butternut squash, and placed it in my oven preheated to 350ºF without any prep. I placed a sheet pan under the squash to catch any drippings—you can use foil as well. Then I walked away for a little more than an hour...

I opened the oven door and checked on the squash. It was still intact, but was no longer hard. When I pressed on the outside shell, it felt softer, like an almost-ripe pear. I turned off the heat and closed the oven door. I let it cool in the residual heat of the oven for another hour, but generally 20 minutes works just as well. Depending on the size of your squash, you may need to cook it more/less, but it is almost impossible to over-cook. If a paring knife can be inserted easily into the center of the squash, it is done.
I carefully removed the squash to a cutting board. With a long serrated [bread] knife, I sliced the squash through the middle with ease. The truth is that I could have used almost any knife because it was cooked through and the skin was no longer tough. I scooped out the seeds with a spoon and discarded them. Using the same spoon, I scooped the silky steaming squash into a bowl. The squash roasted whole and uncut had so much more flavor than roasting it in chunks or boiling it. I couldn’t believe how easy and stress-free the squash was to make! Since that day, I have looked forward to cooking winter squash instead of dreading it.
BUTTERNUT COCONUT CURRY SOUP
EK: I love this soup and make it frequently. It feels both satisfying and good for me, and it is very filling. It’s super simple to make, and it freezes, thaws and re-heats without losing any quality. There are so few ingredients that you may be surprised how complex the soup tastes. The wine give the soup a depth of flavor that you don’t taste—it just makes everything taste richer and deeper so don’t be tempted to omit it.
Once the squash is roasted, I put it in the pressure cooker for 4 minutes with the sautéed onions, chicken broth, wine and spices.
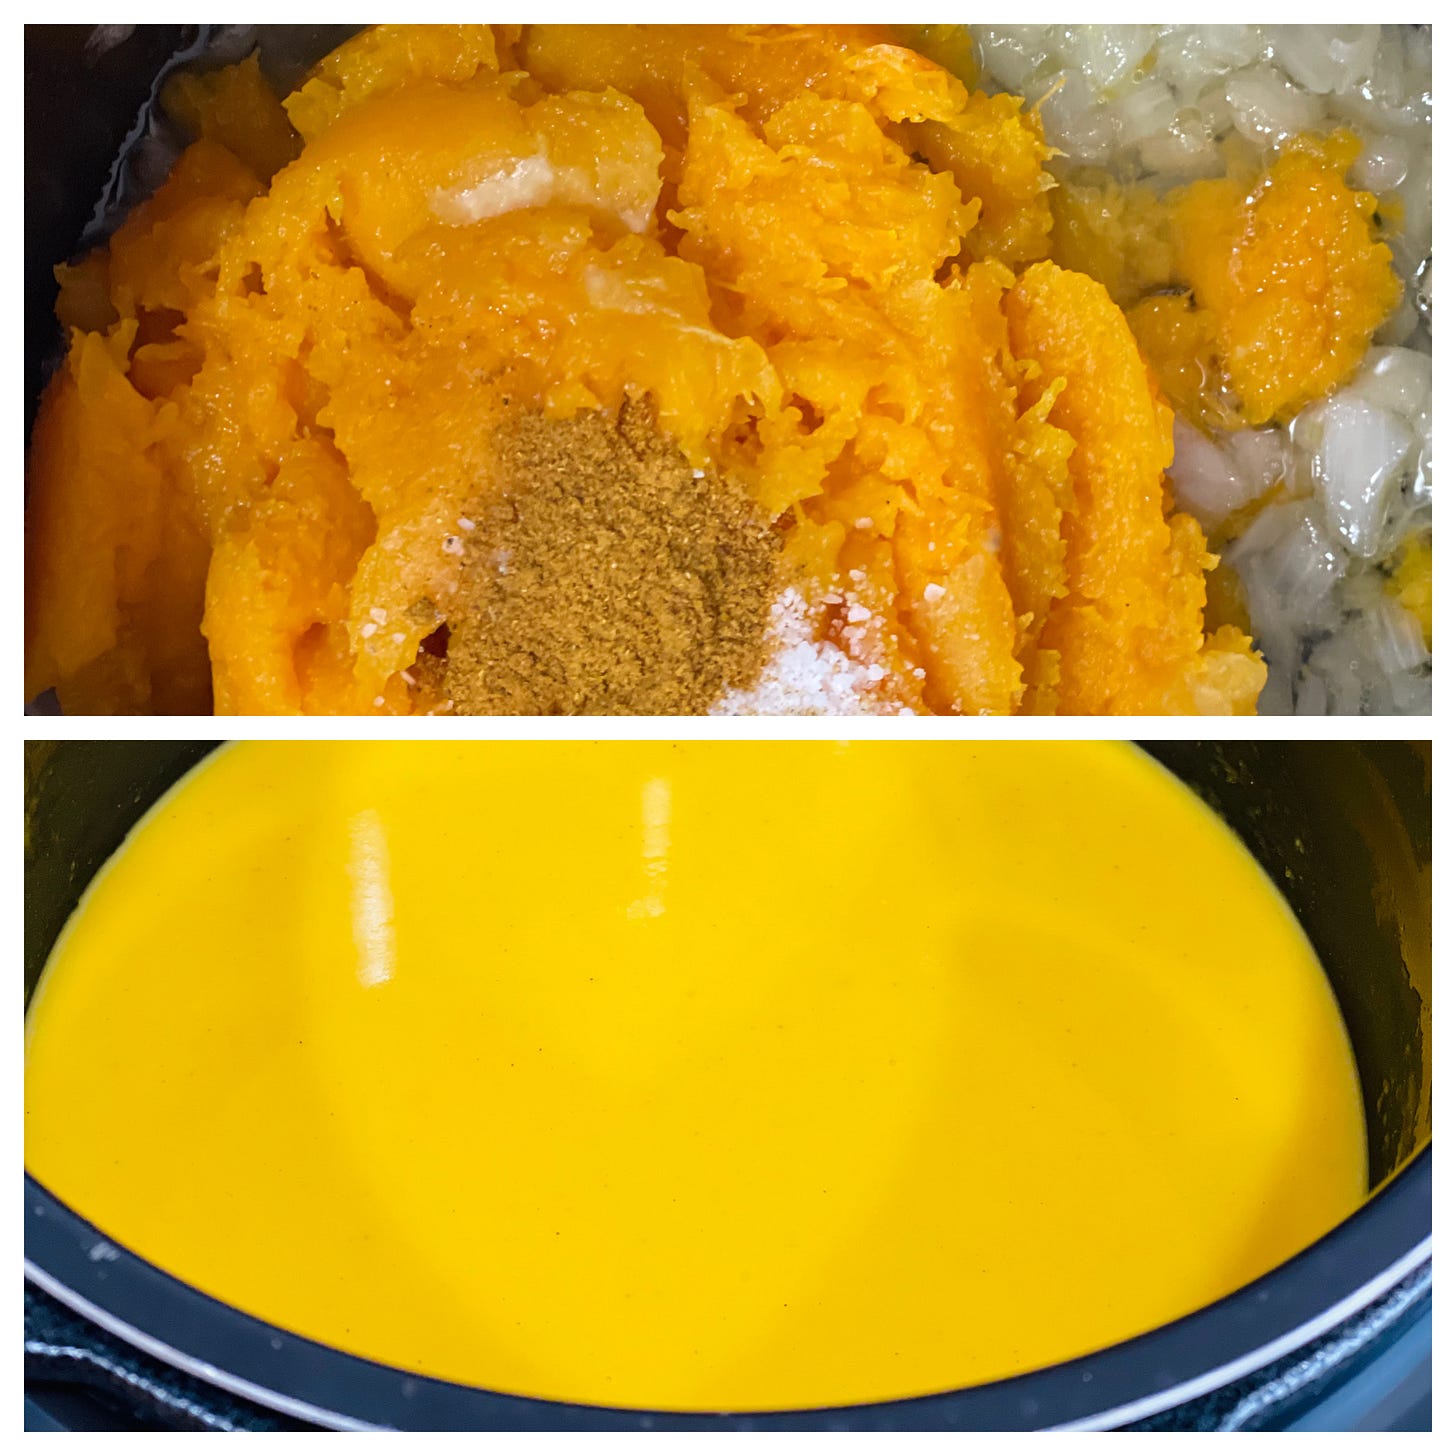
After 4 minutes, it is soft and silky and ready to be pureed with an immersion blender. The final step is adding the coconut milk and some reserved curry powder. I like layering the curry powder—a 1/2 teaspoon cooks with the onions and squash and a 1/4 teaspoon is added as a finishing touch with the coconut milk to add a fresh and uncooked layer of spice.
If you are in the market for a new immersion blender, I love the Chefman version with a detachable plastic blade that won’t scratch your pot. Most immersion blenders are metal and will scratch the non-stick pressure-cooker pots. The no-scratch coating is so smart, and it only costs about $25.00.
BUTTERNUT COCONUT CURRY SOUP
This golden butternut squash soup is both silky and satisfying. The texture comes from roasting the squash in the oven and finishing the soup in a pressure cooker. The intense Butternut squash flavor comes from roasting the squash whole so the flavor isn’t diluted from cooking in water. The coconut milk and the Madras curry powder compliment the squash in a subtle and totally seamless way. It’s a nice change of flavor from Butternut squash and sage!
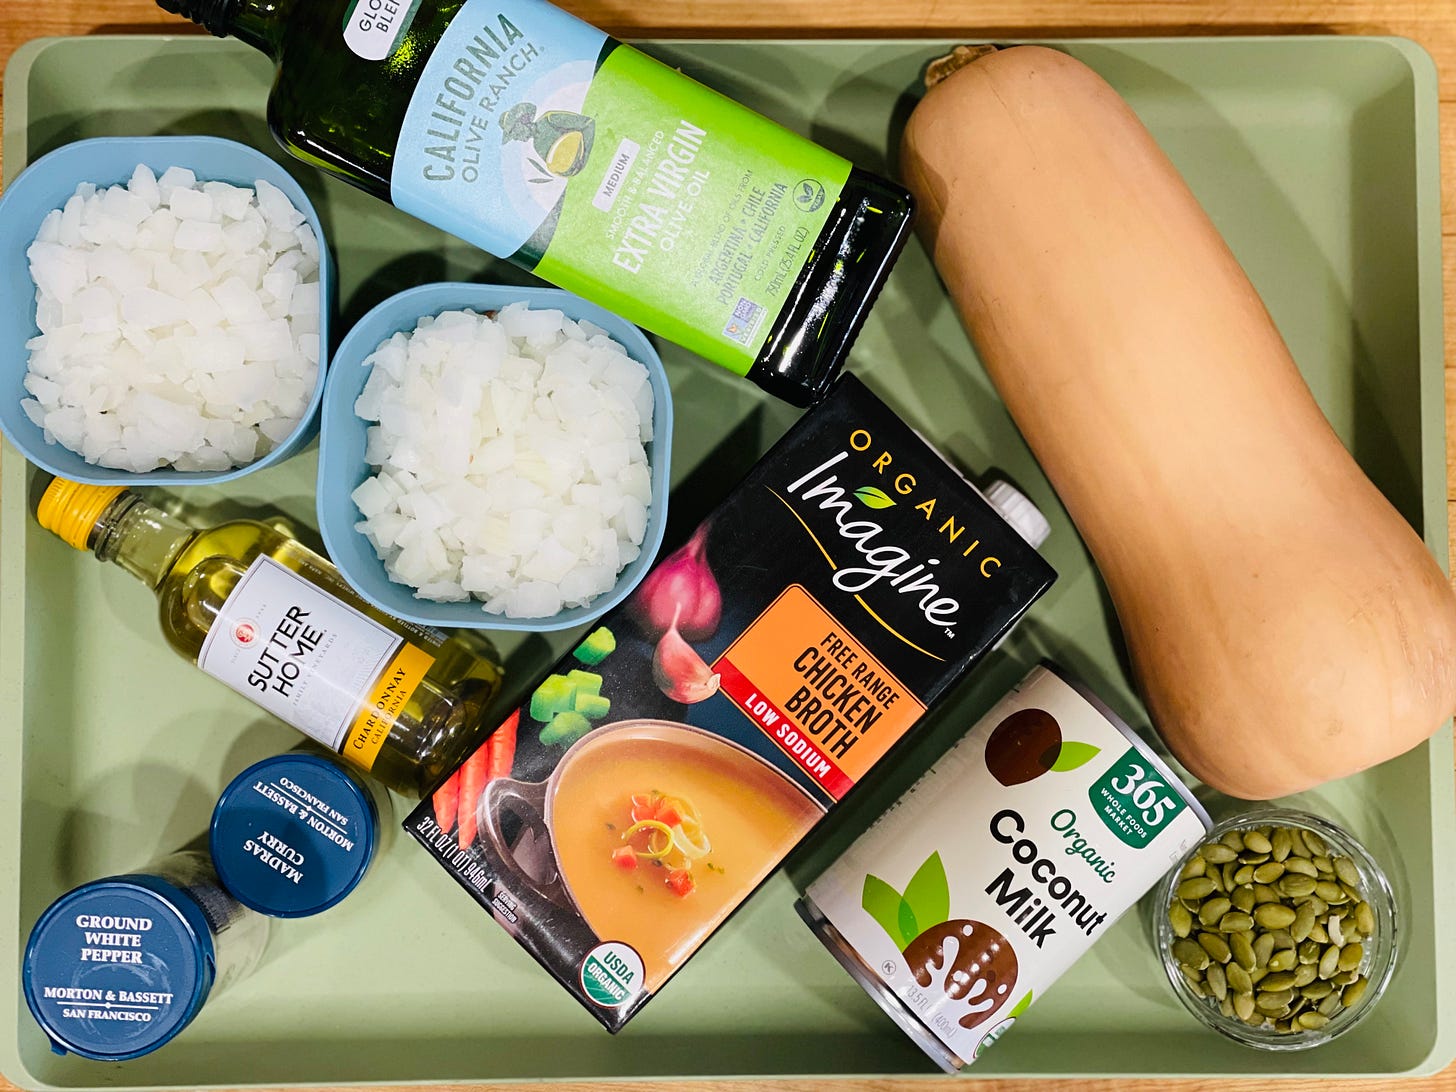
4 1/2 cups (or 2 lbs. 5 oz.) Roasted Butternut squash—1 large or 2 medium squash
2 2/3 cups (or 12 oz) chopped white onions
Olive oil
2 1/2 cups stock, can use beef, chicken or vegetable
1 cup white wine
1 1/2 teaspoons kosher salt
1/4 teaspoon ground white pepper
3/4 teaspoon Madras curry powder, divided
1 (13.5 oz) can of unsweetened full-fat coconut milk
Pumpkin seeds for garnish
Makes about 10 cups.
Roast squash whole in the oven. [ I often roast 2 at the same time and freeze the roasted squash so that I can skip this step the next time that I make the soup.]
Rinse the whole squash, put it directly on the oven shelf [in the middle of the oven] and bake the squash for an hour in a pre-heated 350 F oven. Don’t prick the squash or score it or do anything to it but rinse it and toss it on the shelf. After an hour or more if the squash is very large, turn off the heat and let the squash continue baking in the residual heat for 30 minutes. Since squash varies in size, you will need to adjust the timing accordingly. The 30- minute residual cooking isn’t necessary with a smaller squash.
You can tell if it is done if a small thin knife sticks into the squash as easily as room temperature butter. But do not over-cook the squash, you want the squash to retain its shape, and not collapse on itself.
When the resting time is up, the squash should be very soft. So soft, that you can cut it in half lengthwise, very easily. The seeds are easy to remove with a spoon—in fact just as easy—if not easier—to remove them when they are uncooked because the fibers are no longer holding on to them.
Note: Use this technique for all hard winter squash. Once you have the squash baked, the skin peels off in wide pieces, and you can mash it (or rake spaghetti squash into strands) with a fork. And, incidentally, there is something about roasting the squash without opening it that makes a silkier texture and a cleaner and more intense flavor.
Continue Making the Soup in a Pressure Cooker:
In a pressure cooker, saute the onions and enough olive oil to coat the bottom of the pot for 16 minutes on a low saute setting. Add the cooked butternut squash. Stir together. Add the stock, wine, salt, pepper and ½ teaspoon of curry powder and set on high pressure cook for 4 minutes.
When the soup is done, clean any residue off the lid and puree using an immersion blender. Add the coconut milk and the reserved ¼ teaspoon of curry powder. Taste for additional seasoning as needed and stir well. Serve garnished with pumpkin seeds.
Continue Making the Soup on the Stovetop:
If you don’t have a pressure cooker (a.k.a. Instant Pot), you can cook this the old-fashioned way in a Dutch Oven. Follow the recipe as written, but place all the ingredients—except the 1/4 teaspoon of curry powder and Coconut Milk—in a 4.5 quart or larger Dutch oven and cook over a medium-low heat with the lid on for about 45 minutes, stirring occasionally. The soup is done when the squash, onions and broth are all the same texture. When the soup is done, puree using an immersion blender. Add the coconut milk and the reserved ¼ teaspoon of curry powder. Taste for additional seasoning as needed and stir well. Serve garnished with pumpkin seeds.
ONE-POT CHICKEN THIGHS WITH TURMERIC-COCONUT RICE AND GREENS
AU: Whenever I want a “feel good” meal, it tends to be something that is both comforting and slightly healthy-ish, but has to be convenient (i.e. not a lot of dishes to clean), so that I actually make it. With garlic, ginger, turmeric, coconut milk, chicken thighs and greens, this dish ticks all of those boxes. Plus, you get a layer of slightly crispy rice at the bottom–almost like a paella’s socarrat. It’s a meal that is both light and hearty – a perfect one-pot dinner for any season!
AU: Too often I see recipes for “one-pot” meals that also have you dirty up several bowls… NOT HERE, FOLKS! The only other dish you need here is a plate for the chicken thighs (or I guess you could use your Dutch oven lid, if you’re REALLY going the no-dishes route), and some cooking utensils.
The trickiest part of developing this recipe was getting the timing ratio of cooking the rice and chicken at the same time, all in the same pot. So I would stick with a jasmine rice here. But feel free to experiment with other vegetables: instead of leafy greens, maybe try steaming broccoli florets, sliced sugar snap peas, or haricot vert (thin French green beans)—any veg that would benefit from a quick 10 minute steam on top of the rice.
ONE-POT CHICKEN THIGHS WITH TURMERIC-COCONUT RICE AND GREENS
Serves 4
INGREDIENTS:
1 lb. boneless, skinless chicken thighs
Neutral oil, like canola or grapeseed
Kosher salt & black pepper
1 yellow onion, diced
1 red bell pepper, diced
1 (2-inch) piece fresh ginger, peeled & grated (about 2 Tablespoons)
4 cloves garlic, minced
2 teaspoons ground turmeric
1 teaspoon red chili flake
1 1/2 cups jasmine rice, rinsed until water runs clear
1/2 cup white wine or water, chicken/vegetable stock
1 (14oz) can full-fat coconut milk
1 lime, zest & juice
1 medium bunch of leafy greens like kale, swiss chard, or spinach, cut into bite-sized pieces
Thinly Sliced Scallions, and additional Chili flakes for garnish (optional)
METHOD:
In a 5-quart Dutch oven with a tight-fitting lid, heat 2 tablespoons of oil over medium-high heat. Pat chicken thighs dry with paper towels, and season generously with kosher salt and black pepper. Once oil is shimmering, sear thighs on one side, undisturbed, for 6-8 minutes, or until they release from the bottom of the pan easily. Remove thighs to a plate and set aside.
Add 2 more tablespoons of oil to the pan, then add onion, bell pepper, and a big pinch of salt. Reduce heat to medium, and sauté until the onions become translucent, 3-4 minutes. Add ginger, garlic, turmeric, and chili flakes and cook, stirring frequently, until fragrant (about a minute).
Add rice, and stir to combine with the onion, oil and spice mixture, scraping any fond from the bottom of the pan into the mixture. Stir until the rice is glistening and coated with oil, and is lightly toasted, about 1-2 minutes.
Increase the heat slightly to medium-high and add 1/2 cup of wine and 3/4 cup of water (or 1 1/4 cups stock/water). This will also deglaze the pan of any fond that remains on the bottom of the pan (the broth will become darker in color).
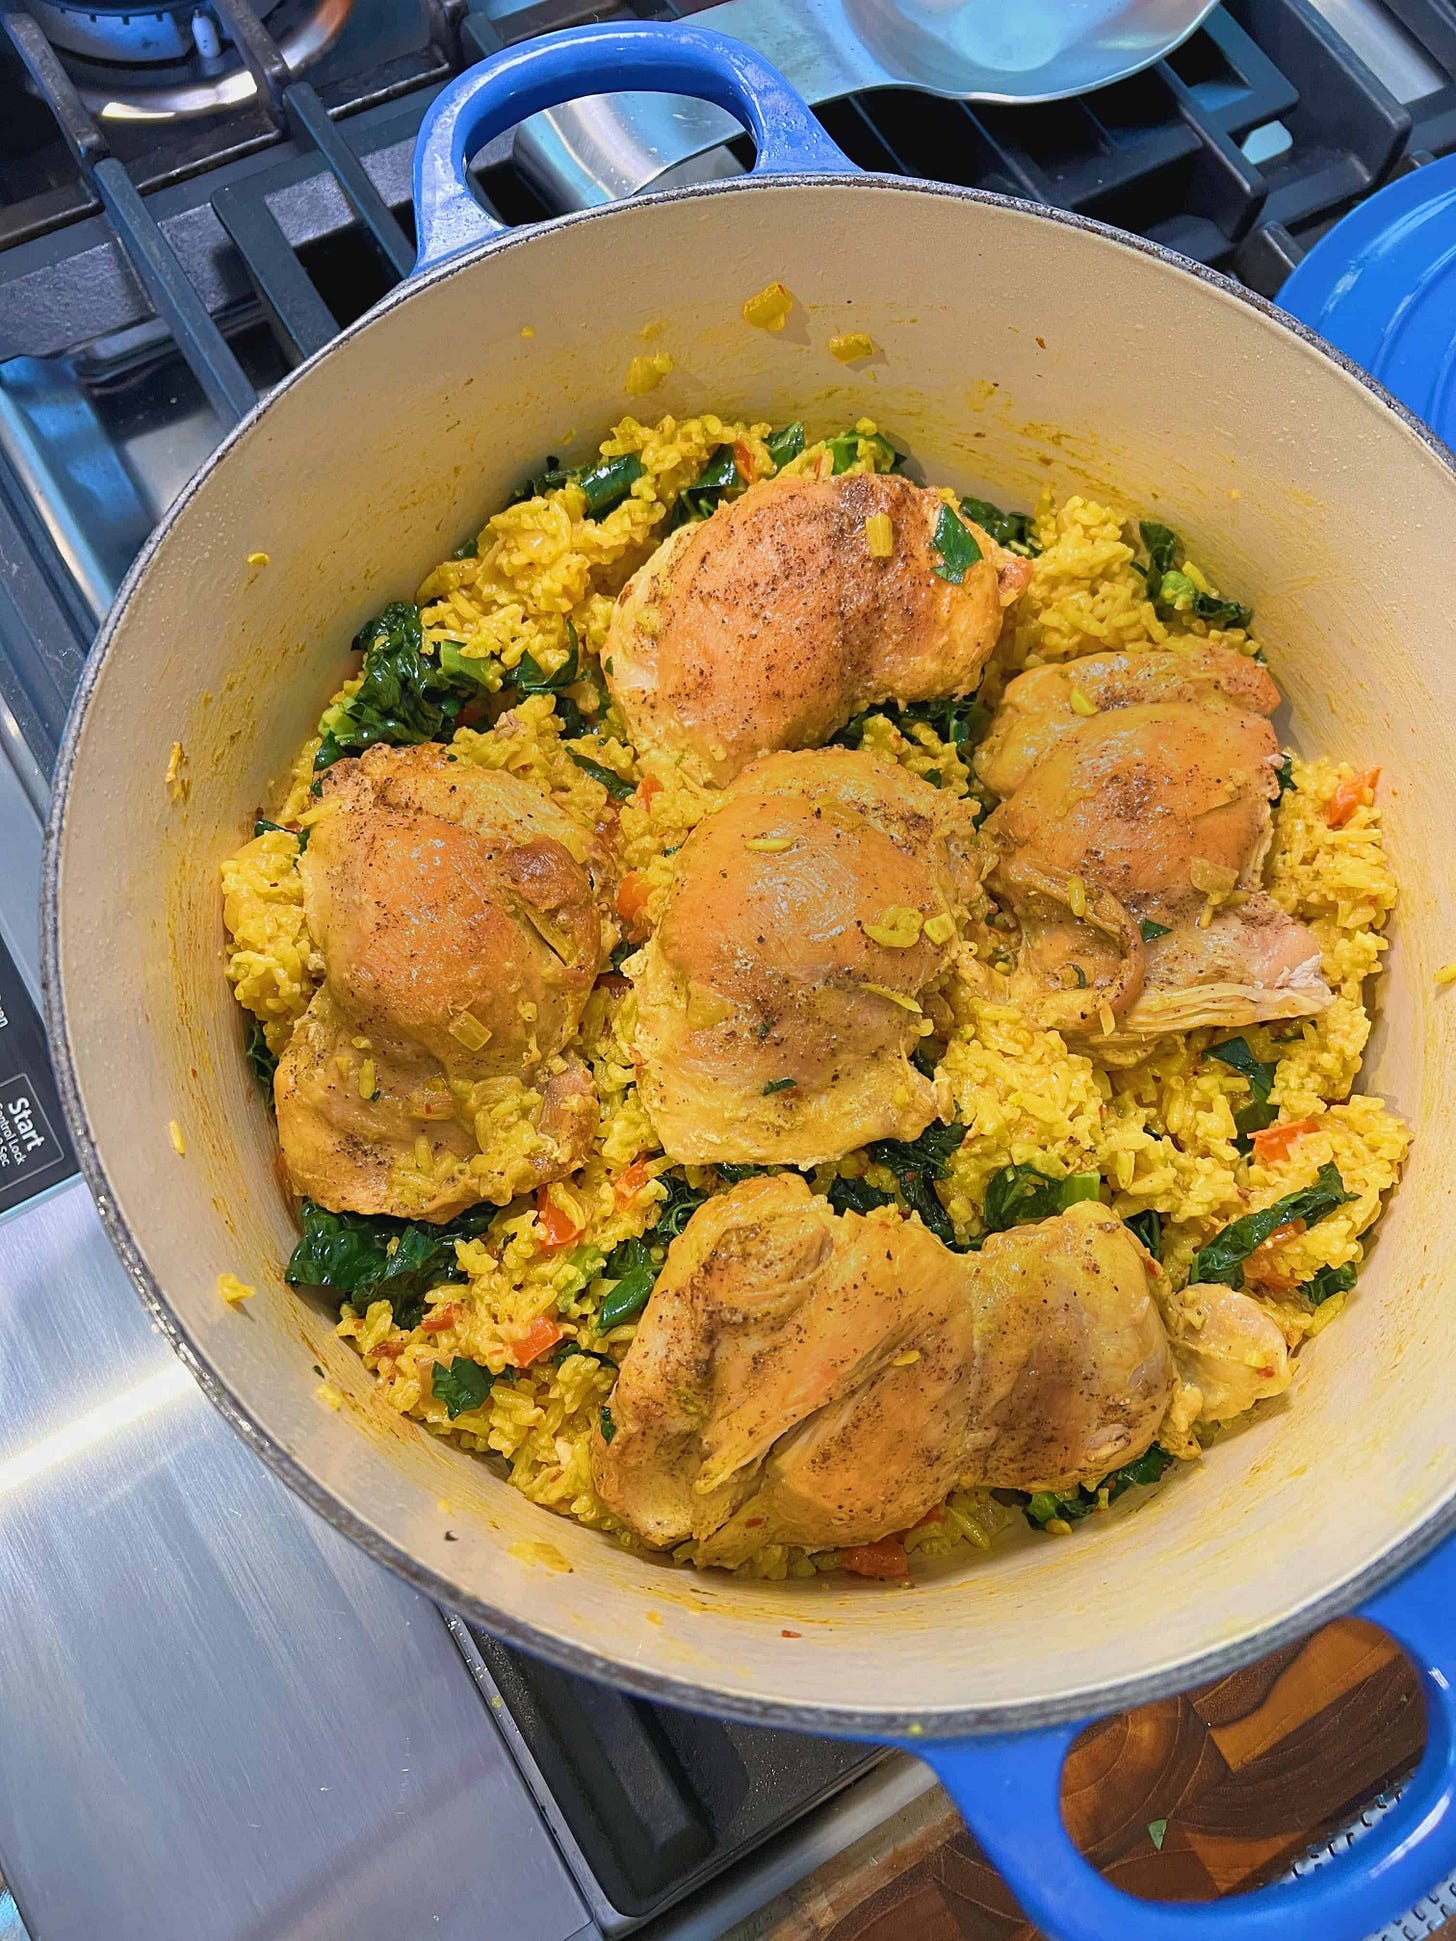
Stir in coconut milk, and zest lime directly into the pot. Let the liquid come to a low boil, then return chicken thighs to the pot (along with any juices that have accumulated on the plate) by nestling them seared-side-up into rice mixture. Cover Dutch oven, reduce heat to low, and simmer for 10 minutes.
After 10 minutes, uncover the pot to sprinkle greens on top of rice in an even layer. Cover again, and cook until rice is tender and chicken is cooked through, about 5 minutes longer. Remove from heat, and let pot sit, covered, for an additional 5-7 minutes.
Uncover pot and remove chicken thighs to a plate (you can slice or dice them, if desired). Gently stir greens into rice, taking care to keep it fluffy, but also scraping up any crispy rice from the bottom of the pan (it’s delicious!). Squeeze lime juice over the entire dish just before serving. Taste to see if it needs any additional salt and pepper. Scoop rice and greens into bowls and top each with chicken thighs, scallions, and chili flakes, if using.
AU: We’ve loved hearing from all of you who made our recipes over the holidays. We hope you enjoy making these recipes. Tag us on social media if you do! Happy cooking!
EK: And that’s What’s 4 Dinner! We’d love to see your versions and hear about your variations. #Whats4dinner


