FROZEN STEAK FOR FATHER'S DAY?
It works! Plus, a Summer Panzanella that's infinitely customizable.
Love to grill, but hate to plan? Have we got the technique for you! And we’re on the brink of tomato season, so a proper panzanella salad is a must on your Summer table. Together, we think these two recipes are the perfect way to spoil your Dad this Father’s Day!
STEAK SUMMER STUNNERS
EK: There is something about steak cooked outdoors in the summertime that feels like a delicious mini-vacation. But you don’t always know when the craving is going to hit.
And that is when your freezer and your grill come together to make you a BACKYARD HERO!
That’s right, forget the thaw and achieve steakhouse perfection in your own backyard. This is a dream recipe for people who hate to plan, but love to eat well on a moment’s notice.
In fact, my good friend Matt—who happens to be an expert planner—plans to grill frozen steak by filling his freezer with his favorite boneless ribeyes so that a perfect medium-rare steak dinner is on the menu at his house whenever…
AU: THIS is music to my last-minute-dinner-party ears! One, because I do often have a stockpile of steaks in my freezer, and two, because it’s perfect for those “oh shit it’s six o’clock already?!” moments when you look up from your computer and realize you’ve done nothing to prepare for that night’s dinner!
EK: I know, right?! Matt wasn’t always a grill-from-frozen steak guy, but a few months ago we decided to skip the restaurant and eat dinner at his house. We hadn’t planned on staying in, but luckily he had a nice big ribeye in his freezer. We grilled it just like we would grill a thawed steak, seared over direct heat and let it finish cooking over indirect heat. It was so perfect: juicy, tender, with a great char crust. He has been perfecting his “frozen steak game” ever since.
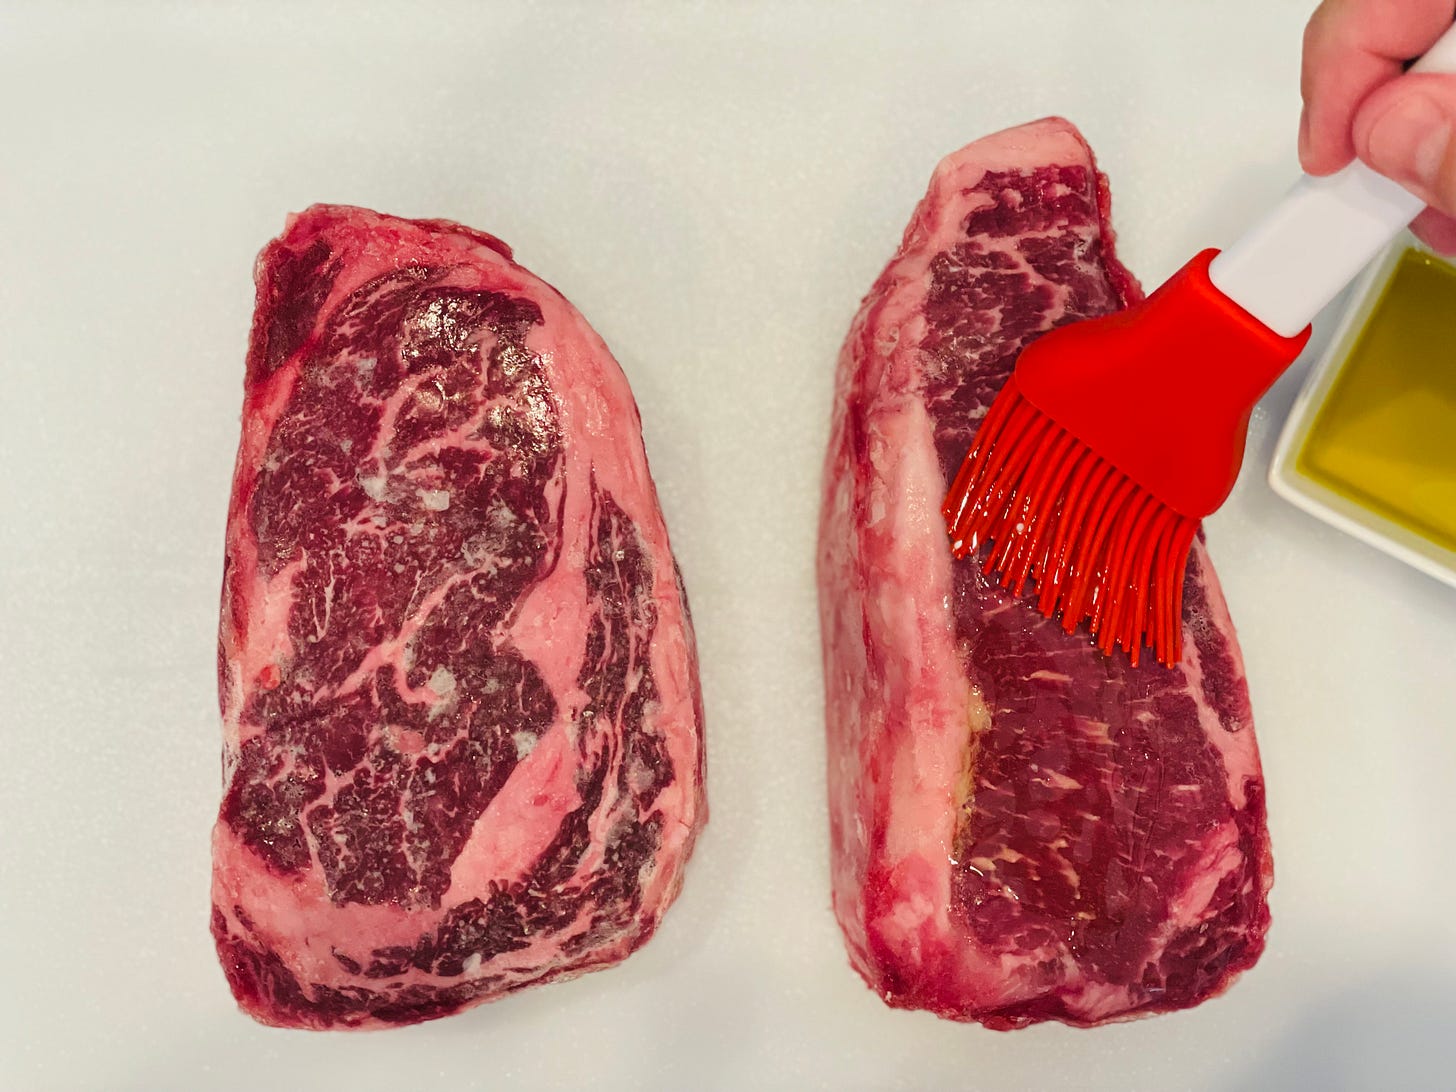
Last weekend, we decided to grill a New York Strip and a Boneless Ribeye side-by-side. Historically, the New York Strip has always been my favorite cut, (although more and more, I am walking over to the Ribeye side:).
AU: I love a strip, too. Mainly because you don’t get those big pockets of fat inside the meat (however, there’s the fat cap running along the outside of the steak, which is easy to remove after cooking). BUT I will say that a ribeye does seem a little more melt-in-your-mouth to me, thanks to more marbling/fat.
EK: We started with a thick-cut boneless ribeye and a thick-cut New York Strip. Both steaks were a little more that 1.5 inches thick. We brushed them all over with olive oil—wait to season it with salt and pepper at the grill, because it doesn’t stick until the top is a little cooked/thawed.
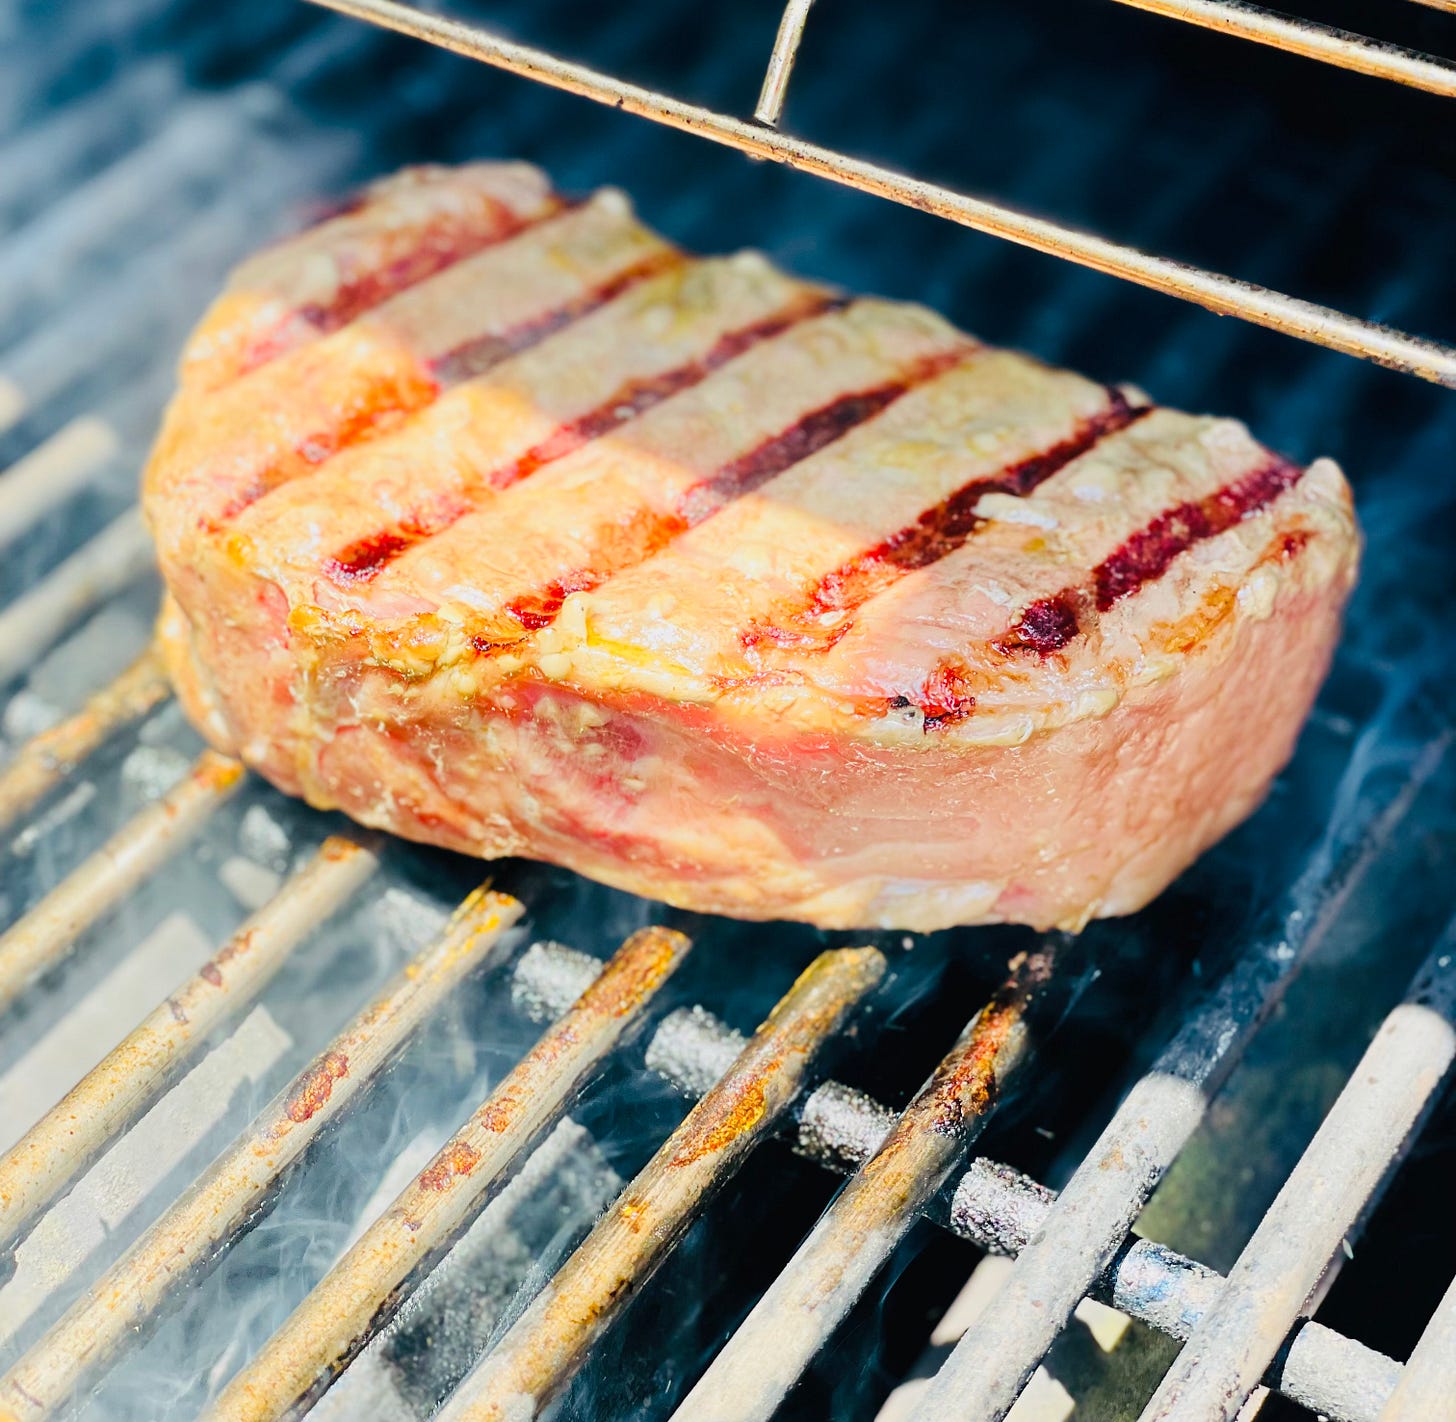
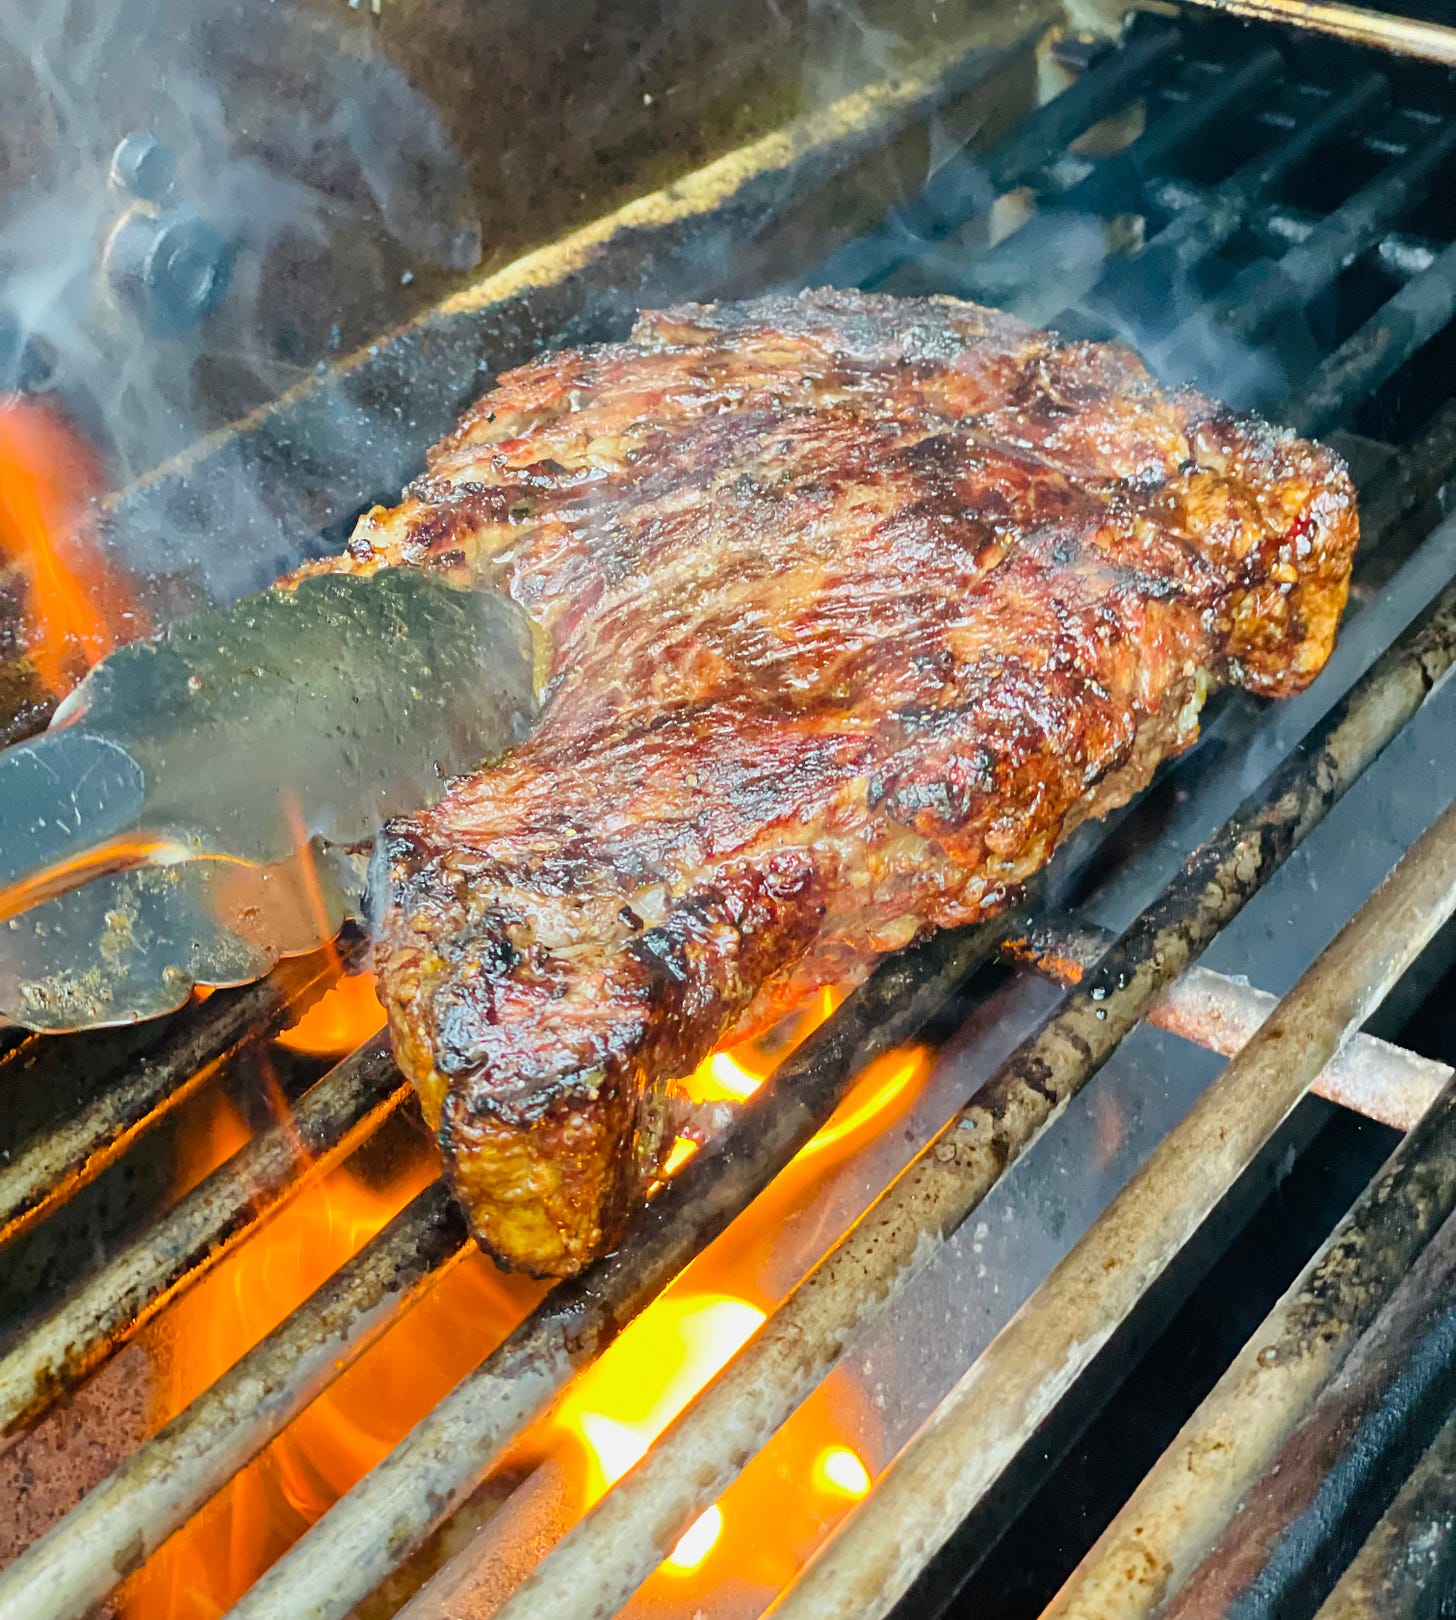
We seared the steaks over direct heat for a couple minutes per side. At first, you get grill marks just like you do on a thawed steak, but as you cook the steak and it thaws, the grill marks become more of a crust than distinct grill marks.
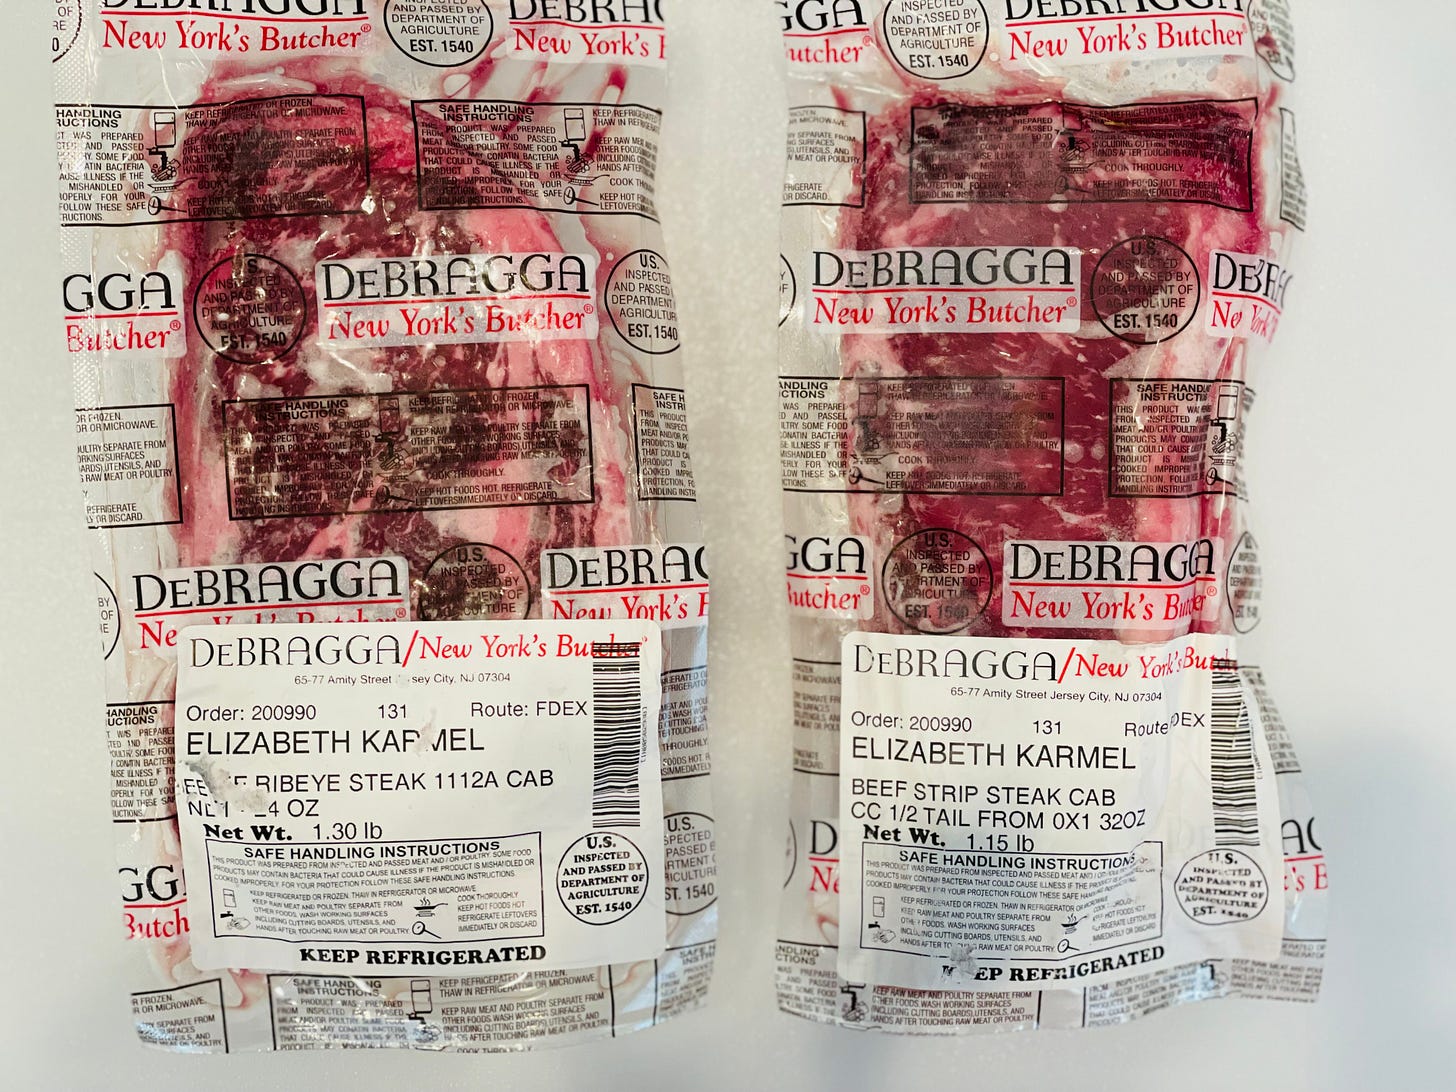
Some people recommend freezing the steak unwrapped on a sheet pan so that the surface is completely flat and then wrapping it. I recommend buying the meat from your butcher individually vacuum sealed and leaving it just like that until you want to cook it. I am a huge fan of both Certified Angus Beef and DeBragga and that is where I got my steaks.
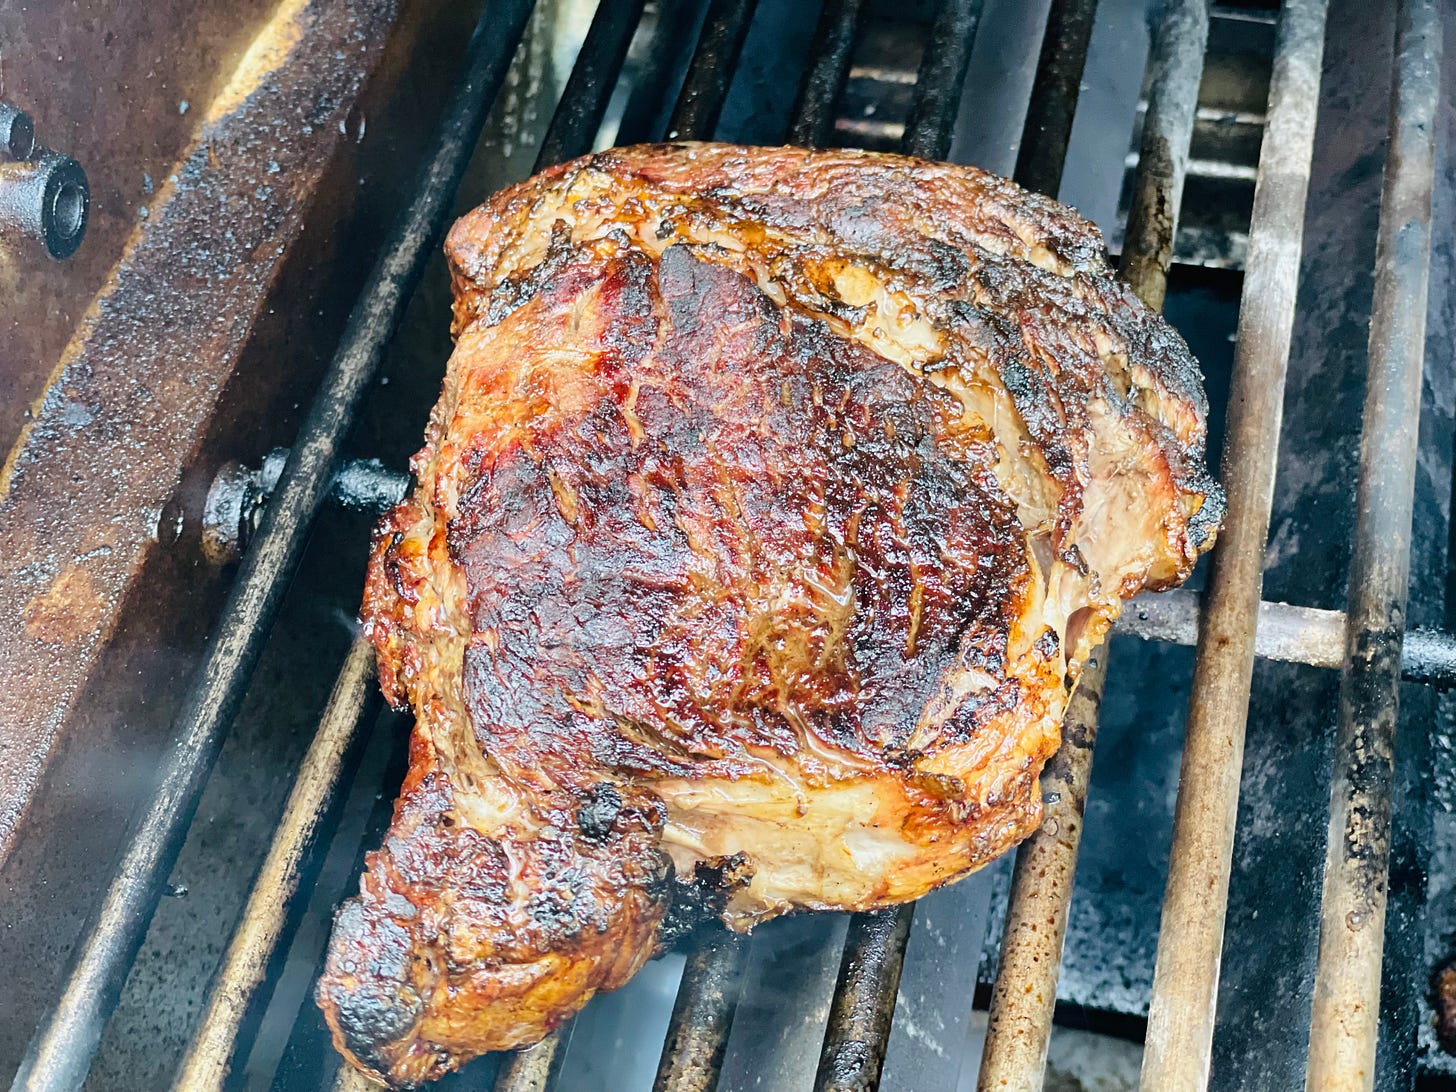
You can see that the Ribeye (on the left) was flatter and got more consistent grill marks (when it was seared from frozen) than the New York Strip Steak on the right, but in the end, they both had a crust and didn’t have grill marks, so it didn’t matter.
We moved the steaks to indirect heat to finish cooking just like we would do with a thawed steak, but the cook-time is a little longer as it cooked and thawed at the same time.
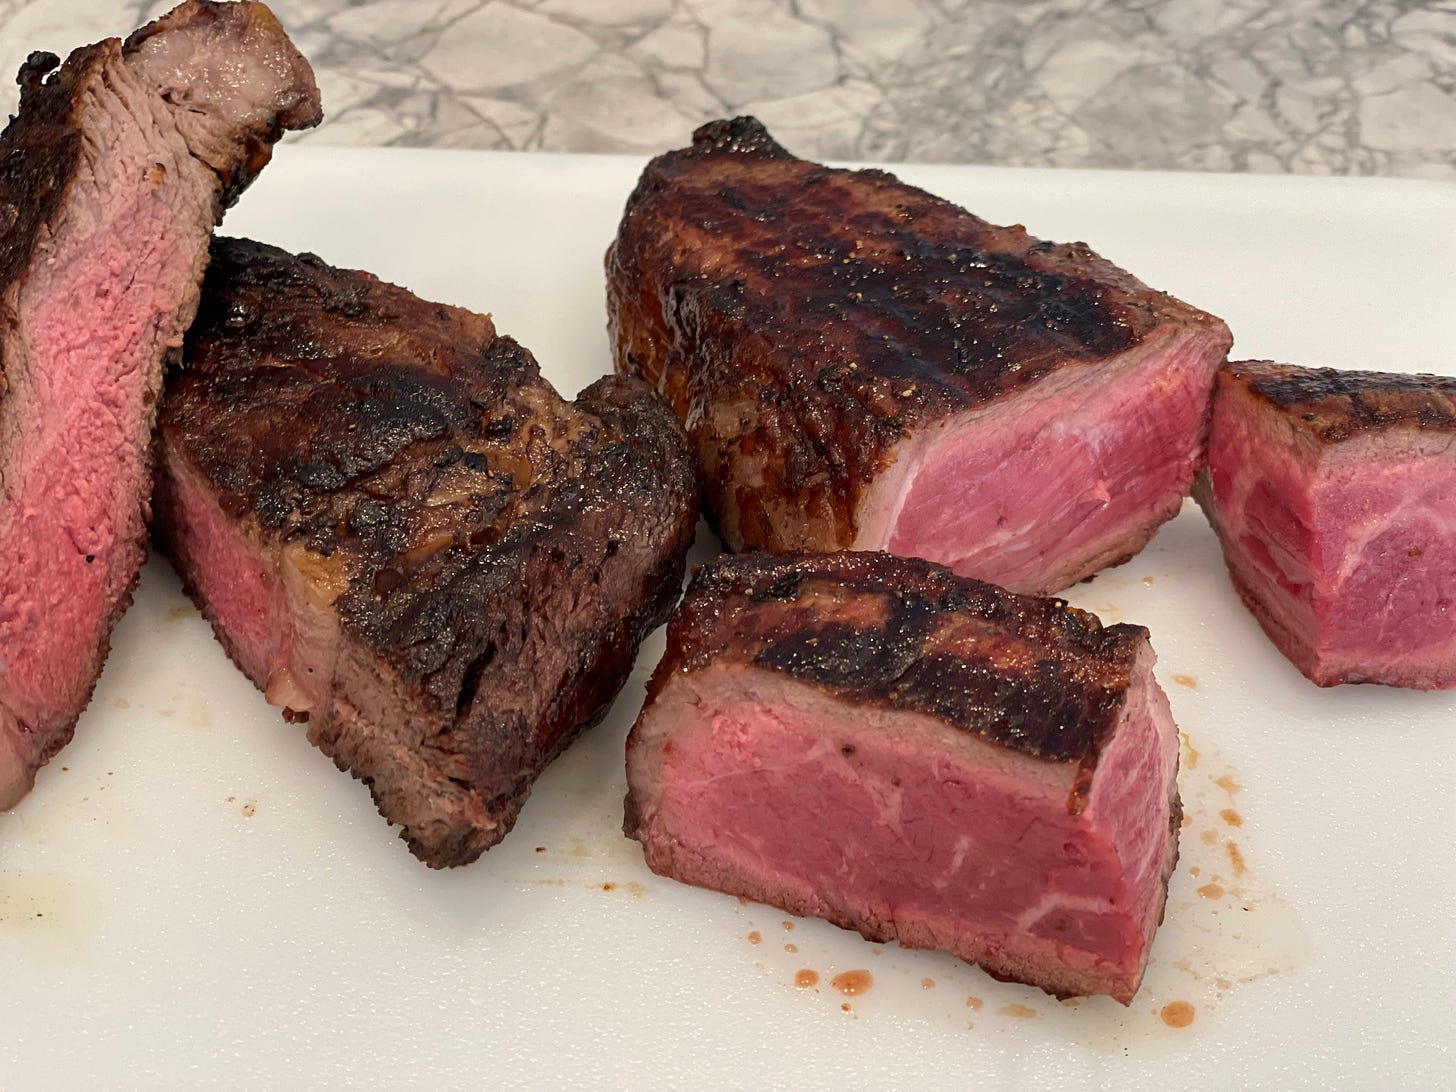
It took about 25 minutes for the strip and 30 minutes for the ribeye—you can see in the photo below that the strip is on the rarer side and the ribeye is medium rare. Ribeyes can be tricky to temp because the muscle is looser and they still can feel “mushy” in the center even when they are done.
We let the steaks rest for about 10 minutes and sliced them up. We marveled at the rosy pink centers. They were perfectly medium rare, juicy, and had great charred crusts. This method is so good and so easy that I understand why it’s now Matt’s preferred method of grilling steak.
And, I have to say that I am starting to prefer grilled-from-frozen, as well. Here are the benefits:
Juicier Steaks: Gavin Pinto, the Test Kitchen Manager of Certified Angus Beef (CAB) told me “if you can cook [steak] from frozen, the quality is more consistent. It’s juicier because you don’t lose as much juice as you do when you thaw the meat from frozen.”
Almost Impossible to Overcook: There is a camp of grill cooks who swear that you will get less of a cooked “gray” ring around the meat if you cook from frozen. I found this to be true with a strip steak that is denser and more compact than a boneless ribeye, but found that to be less of the case with the ribeye. But that also worked in my favor, because the outer ring of the ribeye is the coveted ribeye cap or Spinalis Dorsi muscle and I find it to be much tastier cooked almost through.
End-to-End Crust: instead of grill marks, you get a really nice end-to-end crust that a lot of people prefer. You can also increase this char at the end of the cooking time to really get that steakhouse char.
Buy Steak on Sale and Freeze: This makes sense, especially now, when food and beef prices are so high. You can buy steak in bulk when it’s on sale and not worry about when you’re going to grill it. And, you can have a steak dinner any day of the week as long as your freezer is full.
Note: This is not a method that I recommend with thin “sandwich” steaks because the center cooks through as it thaws. This method works best with thick steaks; steaks that are 1 1/2 to 2 inches thick and at least 1.15 pounds in terms of weight.
In the months since his first frozen steak, Matt has refined his technique and has a few of tips:
When you can see the curved top/ribeye cap start to separate where the fat layer is, it should be a perfect medium rare—but use an instant-read meat thermometer to make sure.
If you want a real steakhouse char, sear the steak over high direct heat for the final 1-2 minutes of the cooking time.
Let the steak rest 7-10 minutes after cooking.
And, my final tip is to finish the steak with a drizzle of olive oil—or butter—and flaky salt as it rests.
Everyone likes their meat cooked a little differently, and a temperature guideline can be helpful. Here is my temperature guideline for steak. Note, when you are temping steak with an instant-read thermometer, make sure you go in from the side to the middle instead of sticking the thermometer into the steak from the top.
TEMPERATURES FOR STEAK
RARE 125°F
MEDIUM-RARE 135°F
MEDIUM 145°F
MEDIUM-WELL 150°F
WELL 160°F
Grilled Steak from Frozen with an Optional Steakhouse Crust
This is a dream recipe for people who don’t like to plan because you literally can make it without any advance planning as long as you have steaks in the freezer.
Serves 2-4
Grilling Method: Combo—Direct and Indirect
1-2 frozen steaks, 1 ½-2 inches thick and at least 1.15 pounds
Extra Virgin Olive Oil
Kosher salt
Black pepper
Preheat the grill with all burners on high. Reduce the heat to medium-high Direct heat.
Remove packaging from frozen steak. Brush all over with olive oil.
Sear the steaks over Direct medium-high heat for 2-3 minutes on each side until they're golden brown. You may not get consistent grill marks because the marks will only appear on the part of the steak that is making flat contact with the grates.
Season generously on each side with salt and pepper when you flip the steak (s).
Turn the center burners off and finish cooking over medium-high Indirect Heat. If you want crosshatch marks, you can position the steaks so that you get these marks when you turn the steaks and change the heat.
Grill until the internal temperature reaches 130 F for medium-rare. Remove the steaks earlier or later, depending on your desired level of doneness.
This will take between 15-25 minutes depending on the thickness of the steak, but check every 10 minutes or so.
If you want a steakhouse crust, turn one burner to high when the steak is a few degrees less than your preferred level of doneness and sear directly over the flame with the lid up for 1-2 minutes or until you have an end-to-end steakhouse (seared) crust and don’t see any grill marks.
Remove from grill to a clean platter or cutting board. Drizzle tops with Extra-Virgin Olive Oil and season all over with a pinch of finishing salt.
Let steaks rest for 5-10 minutes on a cutting board before slicing or serving.
PANZANELLA IS THE PERFECT SUMMER SALAD
AU: Much like my good friend Oprah Winfrey (I don’t know her), I. LOVE. BREAD. So when you put a bowl of veggies mixed with bread in front of me, Imma eat it all.
Panzanella is one of those dishes that can be made a thousand different ways, and like most Summer Side dishes that take advantage of peak produce, simpler is better (imho).
EK: Me too! And I especially love this recipe because the bread is already bursting with all those yummy juices, so you don’t even need extra bread to sop them up!
AU: This version, adds a liiiiiittle something extra in the form of grilled corn. Is it necessary? No. Is it summery perfection? Hell yes.
You can essentially do whatever you want to make a panzanella salad, but there are a few key tips/techniques that really maximize flavor:
Rugged > Straight Edge. Tear your bread into 1”-1.5” pieces instead of cutting them into cubes. The craggy edges create a more interesting texture (and LOOK better, too). I used a loaf of ciabatta, but any great rustic/country-style bread with an open structure will be tasty.
Dry/toast your bread. You don’t want TOAST for this salad… and you don’t want oily croutons. So the best method is to do a light toasting of your bread pieces in a 325ºF oven for about 15-20 minutes. Some light color is fine, but you’re really just trying to make them dry, so they can soak up all the flavorful liquid you’re about to add.
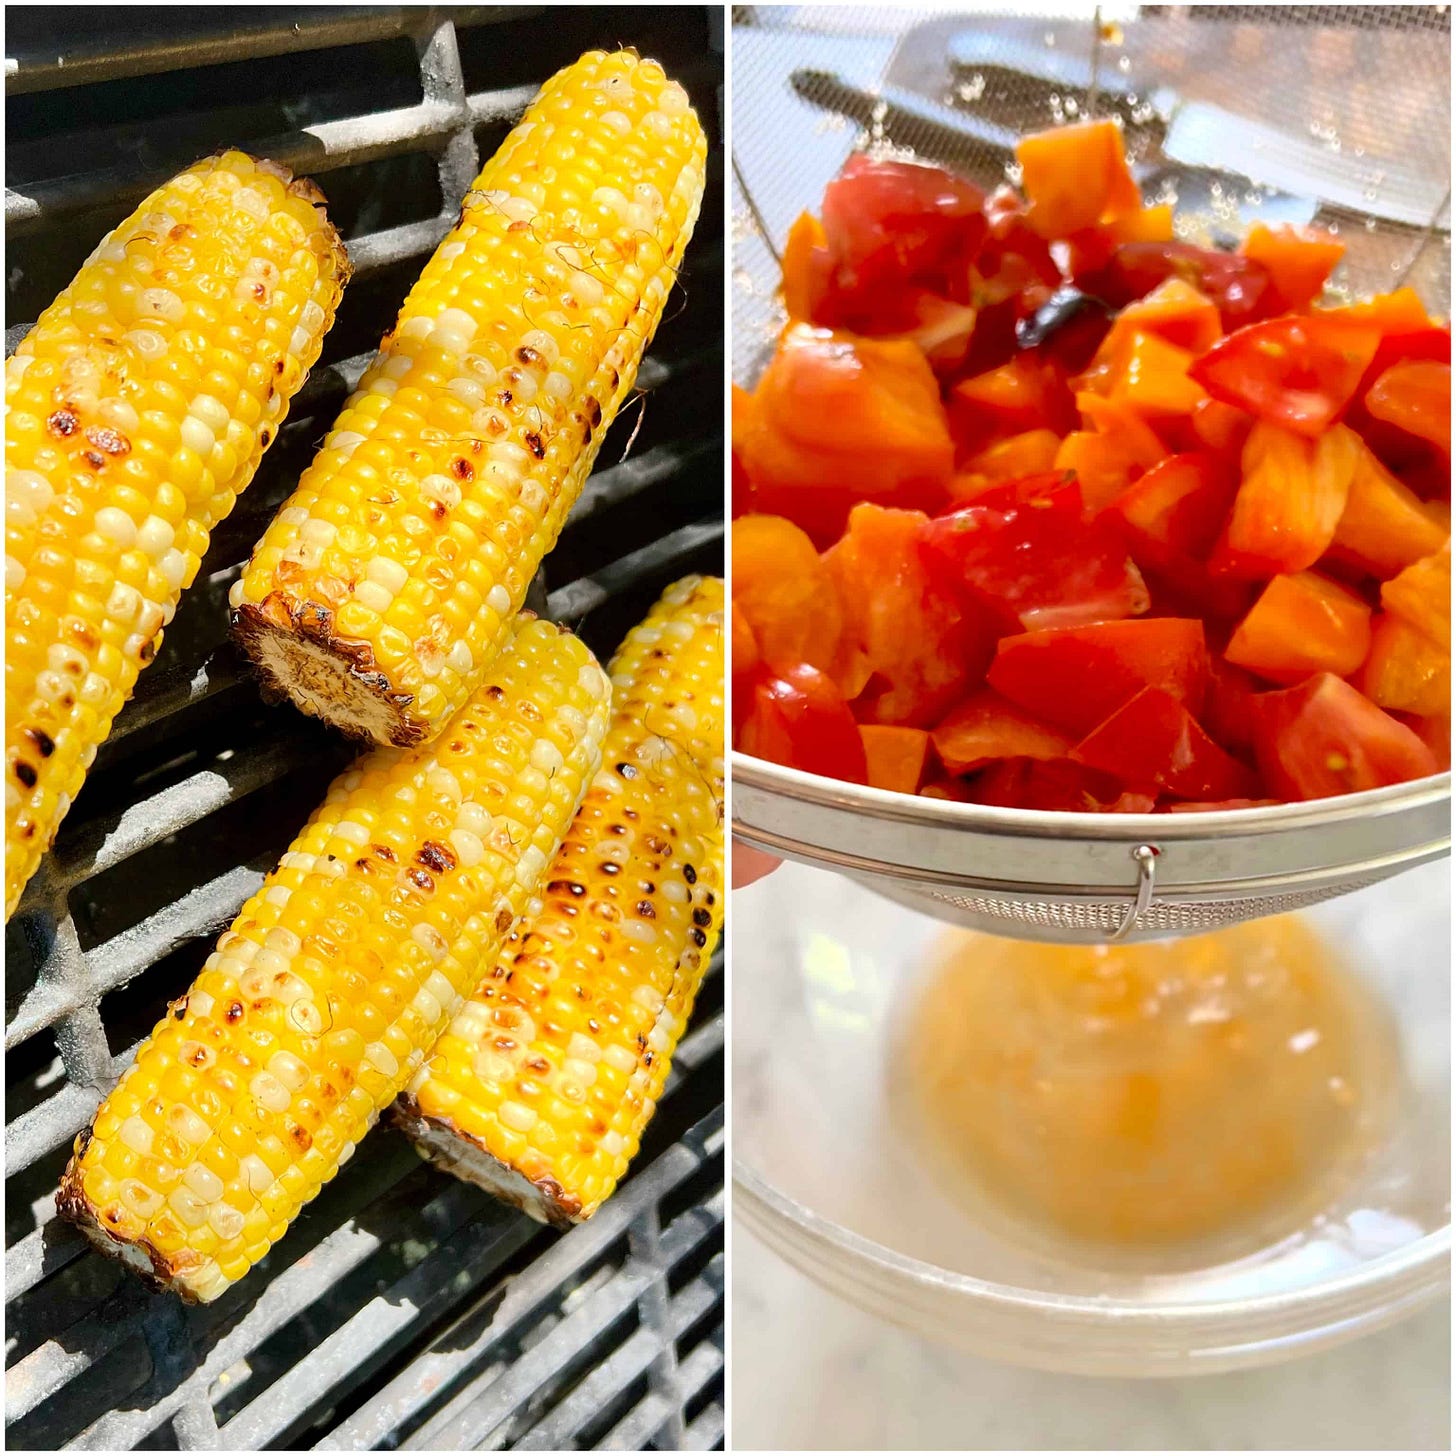
Salt your tomatoes before tossing with the bread. Toss cut tomatoes with about 2 teaspoons of kosher salt (Diamond Crystal) and set them in a colander over the bowl in which you’ll make the vinaigrette.
Save the tomato juice and mix it into your vinaigrette. After you’ve salted the tomatoes and let them drain, save that juice baby!! Using this “tomato water” will add a double whammy of tomato power to your dish. The bread cubes will soak it up. After all, this is what we’re here for, right?
Use the best ingredients you can find. This kind of applies to everything in life, but with so few ingredients in this dish, you’ve got to use the very best produce, bread, and olive oil you can find. Especially the olive oil. Use a good peppery/fruity one here, and you’ll be rewarded in spades.
Leave Britney Alone! (aka Let the bread salad sit for at least 30 minutes to soak up all that good good). Have you ever bitten into a delicious sandwich on a French Baguette (my friend, Tori, calls it “that fancy bread”) only to find it has completely shredded the roof of your mouth? Yeah, we don’t want that. So, after you’ve tossed the lightly toasted bread pieces and tomatoes with vinaigrette, let that baby sit in time out for at least 30 minutes. You don’t want a crouton salad (tho that does sound good). You want tender-yet-crunchy pieces of bread that are sopping with flavorful vinaigrette and have the slightest hint of structure and a nice chew.
EK: Salting your tomatoes and capturing the juices is a pro move! That fancy tomato water you’ve had in restaurants? Thank Anthony for showing you how.
Grilled Corn Panzanella
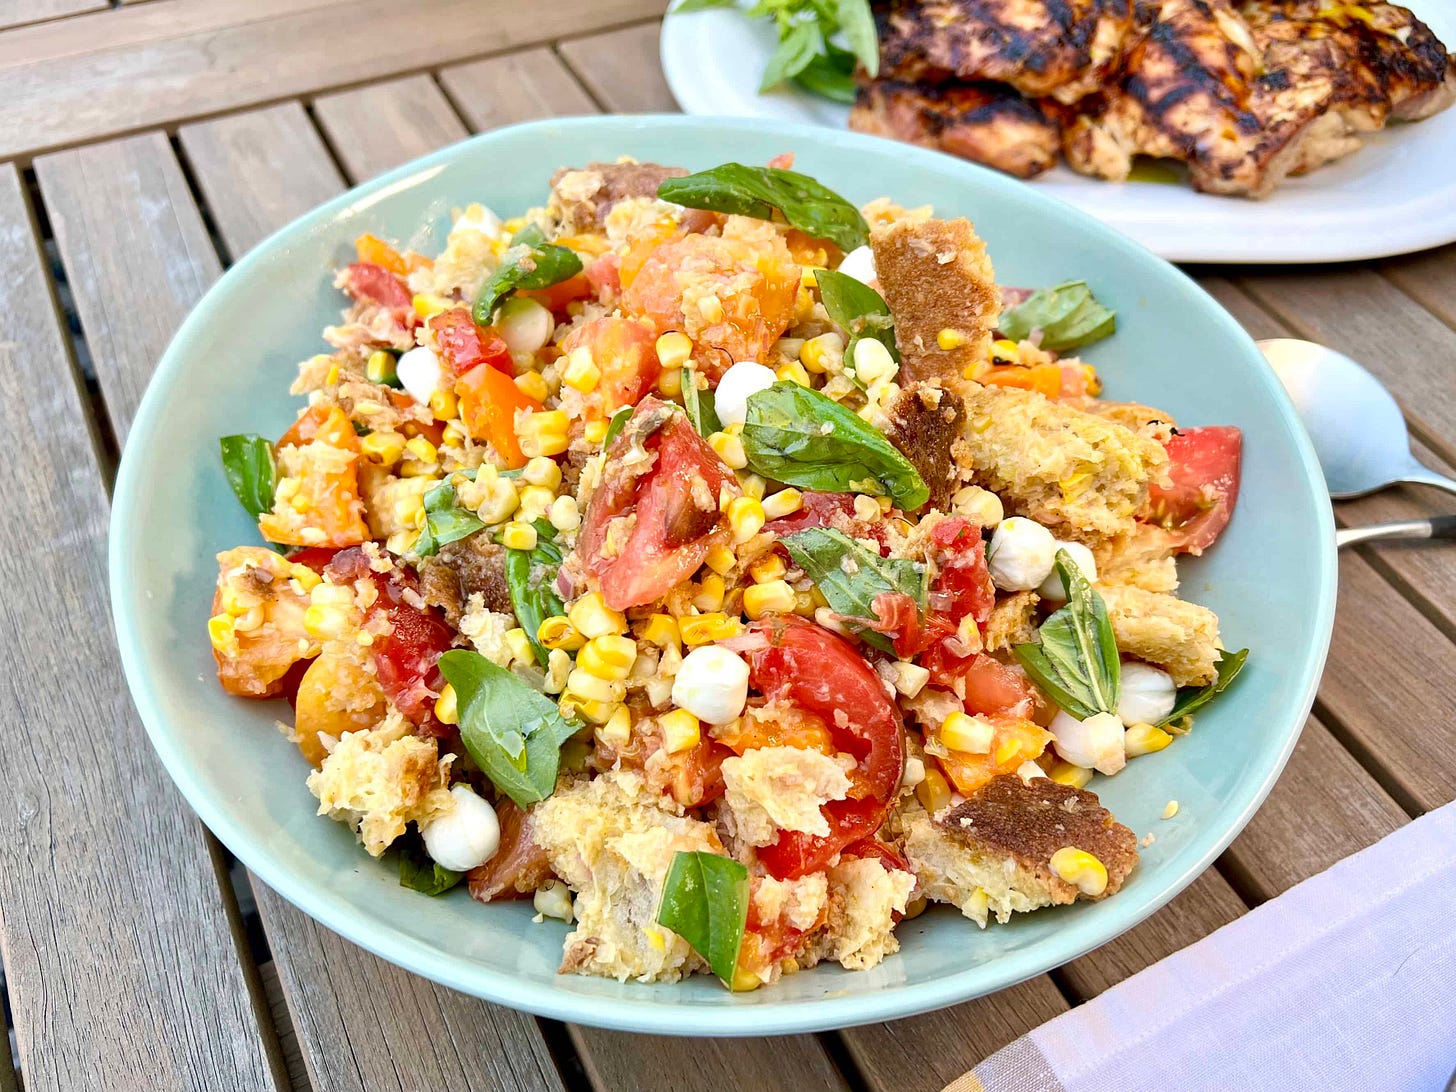
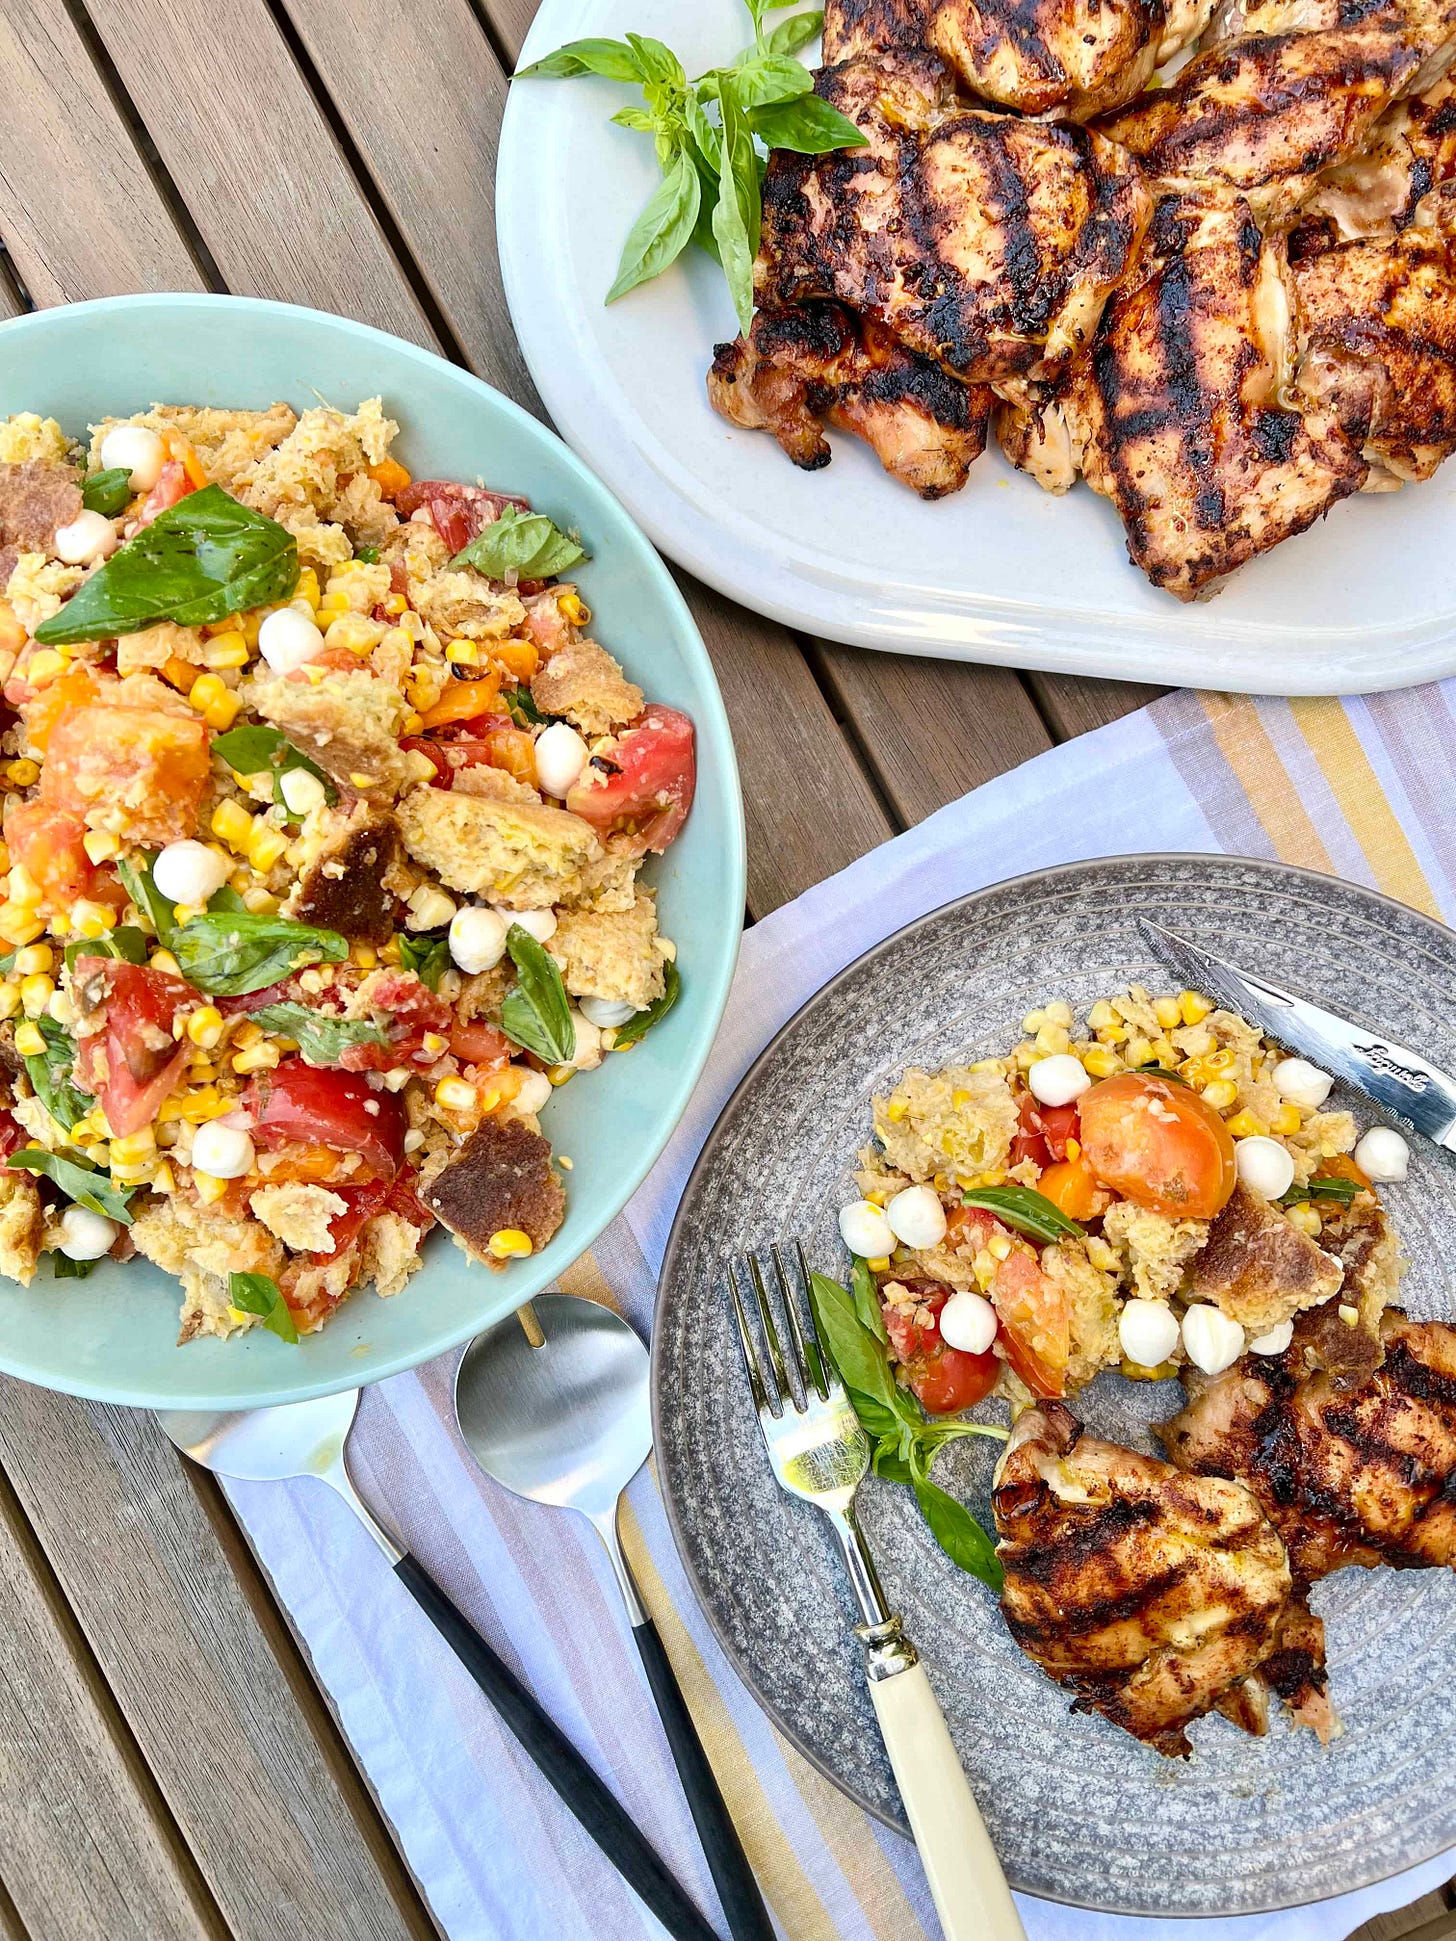
You can make Panzanella–a salad typically made of bread and tomatoes–any way you want, really. This is an easy, extra-Summery version that adds grilled corn and some mozzarella… but you can omit them and go with the classic, if you’re a purist. I waffle between using large heirloom tomatoes and small varieties like cherry, grape, or (my favorite) Sungolds.
Serves 4-6
Ingredients:
2 ½ pounds mixed tomatoes, cut into bite-sized pieces
2 teaspoons kosher salt (Diamond Crystal)
6 cups of torn bread from a Ciabatta or Rustic Sourdough loaf
3-4 ears of corn (optional)
1 shallot, minced (about 2 tablespoons)
2 cloves garlic, minced or grated
½ teaspoon Dijon mustard
2 teaspoons white or red wine vinegar
½ cup extra virgin olive oil, plus more for grilling corn
½ cup packed Basil leaves, roughly chopped/torn
½ cup fresh torn Mozzarella or Perline (optional)
Freshly ground black pepper
Method:
Preheat oven to 325ºF. Tear bread into 1”-1 ½ “ pieces and spread them evenly onto a rimmed baking sheet. Toast in the oven for 15-20 minutes. They should be dry and crispy, but not browned. Set aside to cool.
While bread is toasting, place chopped tomatoes in a colander set over a large bowl and season with 2 teaspoons kosher salt. Toss to coat. Set aside at room temperature to drain, tossing occasionally. Drain for a minimum of 15 minutes.
Remove colander with tomatoes from bowl, leaving behind the expelled tomato juice. Place colander with tomatoes in sink. Add shallot, garlic, mustard, and vinegar to bowl with tomato juice. Whisking constantly, drizzle in 1/2 cup olive oil. Season dressing to taste with salt and pepper. This will seem like alot, but the bread soaks it all up.
Toss toasted bread and tomatoes with the dressing. Season with salt and pepper. Let sit for at least 30 minutes, tossing occasionally, until all the dressing is absorbed by the bread.
While the bread soaks, grill the corn: Preheat a gas grill or grill pan on high. Lightly coat 3 ears of corn with a tablespoon of olive oil. Over direct heat, grill corn until it’s lightly charred all over. Let cool. Cut kernels from cob and toss with bread-tomato mixture. Add mozzarella (if using), basil, and toss to evenly combine. Serve once bread has fully absorbed all the vinaigrette.
That’s it for this week! Special shout out to my Daddy-o, Joe Underwood. Love you!! As always, if you make our recipes, tag us on the ‘gram (@kitchensitch & @elizabethkarmel), and use the hashtag #whats4dinner. Happy cooking!!


