EK/AU: Hello Thursday! And welcome back to another What’s 4 Dinner? newsletter.
AU: A little peek behind the curtain here: since Elizabeth and I are on different coasts, we often just call each other and say “Well, what should we do THIS week??” And then it usually spirals into an hours-long conversation about random topics. This week, we started talking about all the different brassicas—like brussels sprouts, broccoli, and cabbage—that are at the market this time of year. So we decided our gal Brassica Simpson should come out and play—it’s time to let cauliflower have the spotlight!
EK: Cauliflower is more than having a moment! It has not only left the uneaten crudités trays of its past, but it is a star ingredient being made into rice, pizza crusts, crackers and more. Even better, when sliced like a steak, or roasted whole, it is the center of the plate.
WHAT’S 4 DINNER?: ZA’ATAR WHOLE ROASTED CAULIFLOWER
EK: I have been roasting and grilling cauliflower forever. Early in my grill days, I discovered that cruciferous vegetables like cauliflower, cabbage, broccoli and Brussels sprouts were transformed by the grill, or any high dry heat. My first experiment was barbecuing a whole head of cabbage, basting it in butter and barbecue spices until the leaves were silky and tender and you could pluck them like the leaves of an artichoke. This is still my favorite way to eat cabbage.
After I had so much success with the cabbage, I coated florets of cauliflower and broccoli with olive oil and salt and grilled and roasted them until they were golden brown and caramelized and so good, you could them eat like popcorn. That preparation has been a staple in my house ever since, and one of the best ways I know to eat veggies.
A few years ago, I—like so many other adventuresome home cooks and chefs—started cooking cauliflower steaks. First, when I was writing my cookbook, Steak and Cake as a “steak” substitute and finally because it tasted so good and was relatively healthy. But, it wasn’t until this pandemic that I finally tackled roasting the whole cauliflower.
Truth: I had resisted it because those I respected in the food world told me that you have to par-boil it. And, if there is one thing that I can’t stand, it is par-boiling and then roasting. In the case of whole roasted cauliflower, I decided that I would create a work around.
At first, I trimmed the leaves, coated the whole cauliflower in olive oil and salt and pepper and let it roast for nearly three hours. It was okay, but it was very crispy and a bit tough and dried out.
Next try, I trimmed the leaves from the bottom and carefully removed the stem, leaving the head intact. You have to be careful that you don’t cut any florets off when you are doing this.
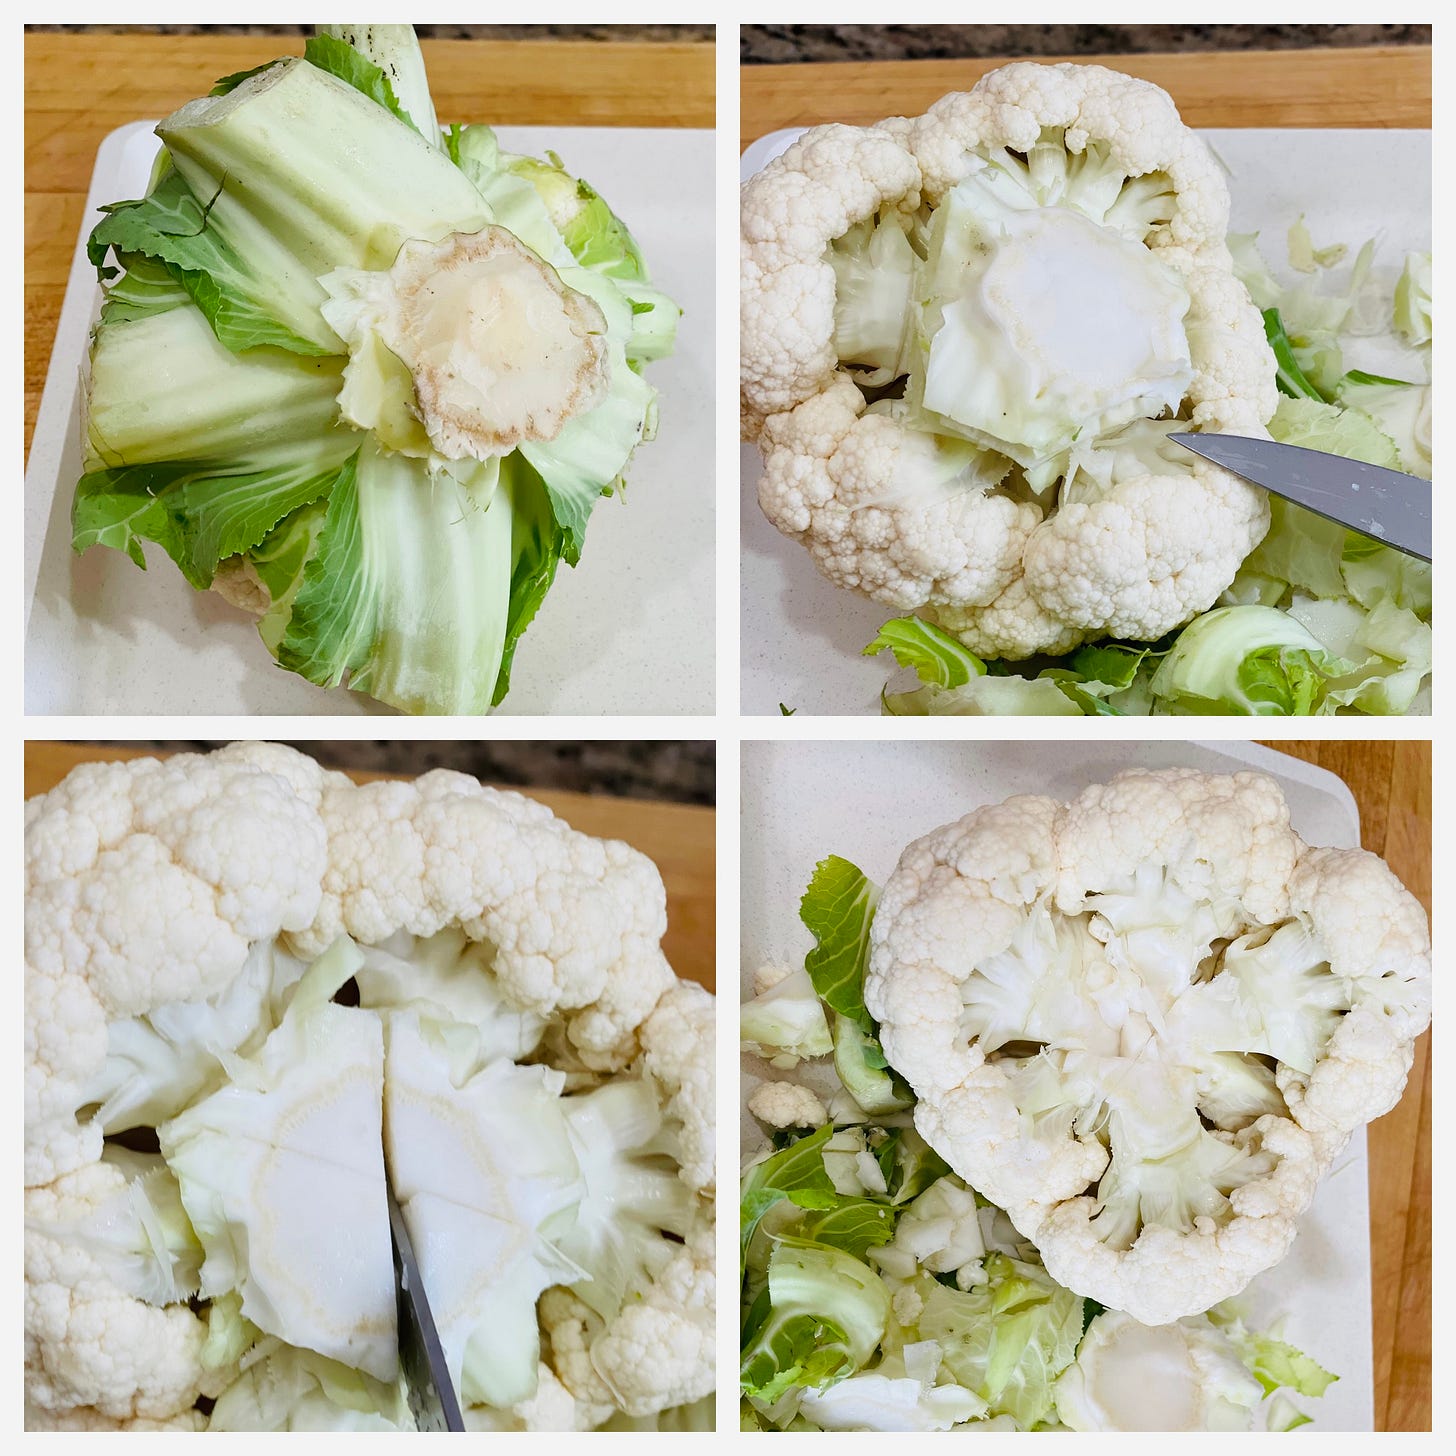
I chose a simple preparation that would pack a flavor punch—olive oil, Lebanese za’atar and good salt—and this is still my favorite way to eat whole roasted cauliflower.
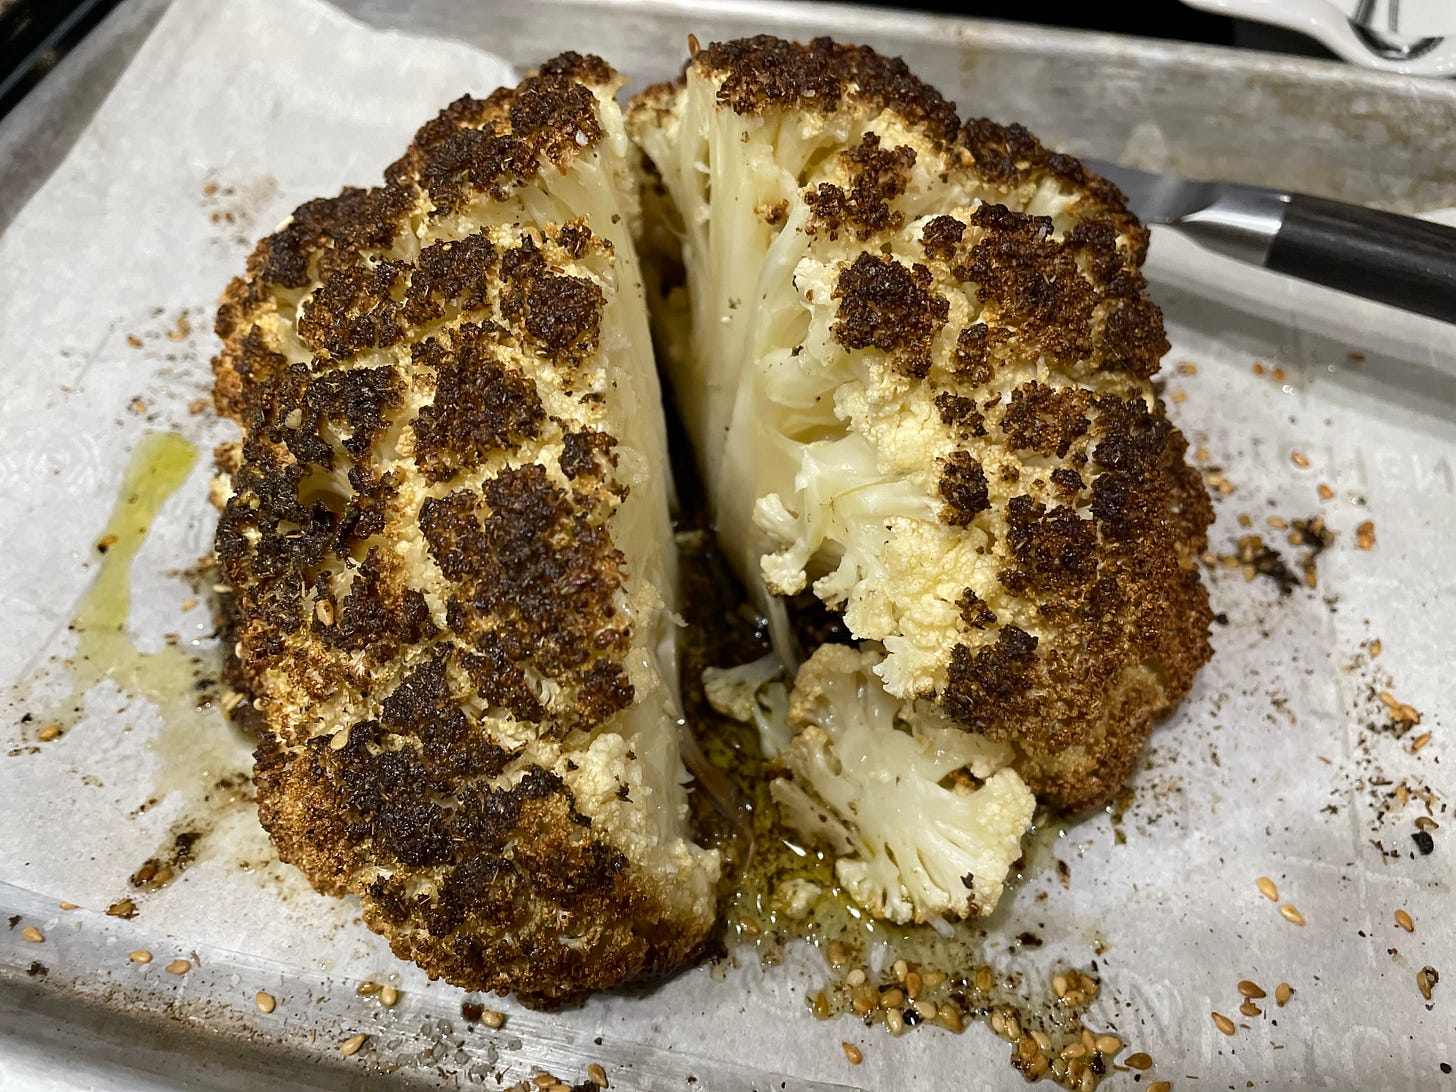
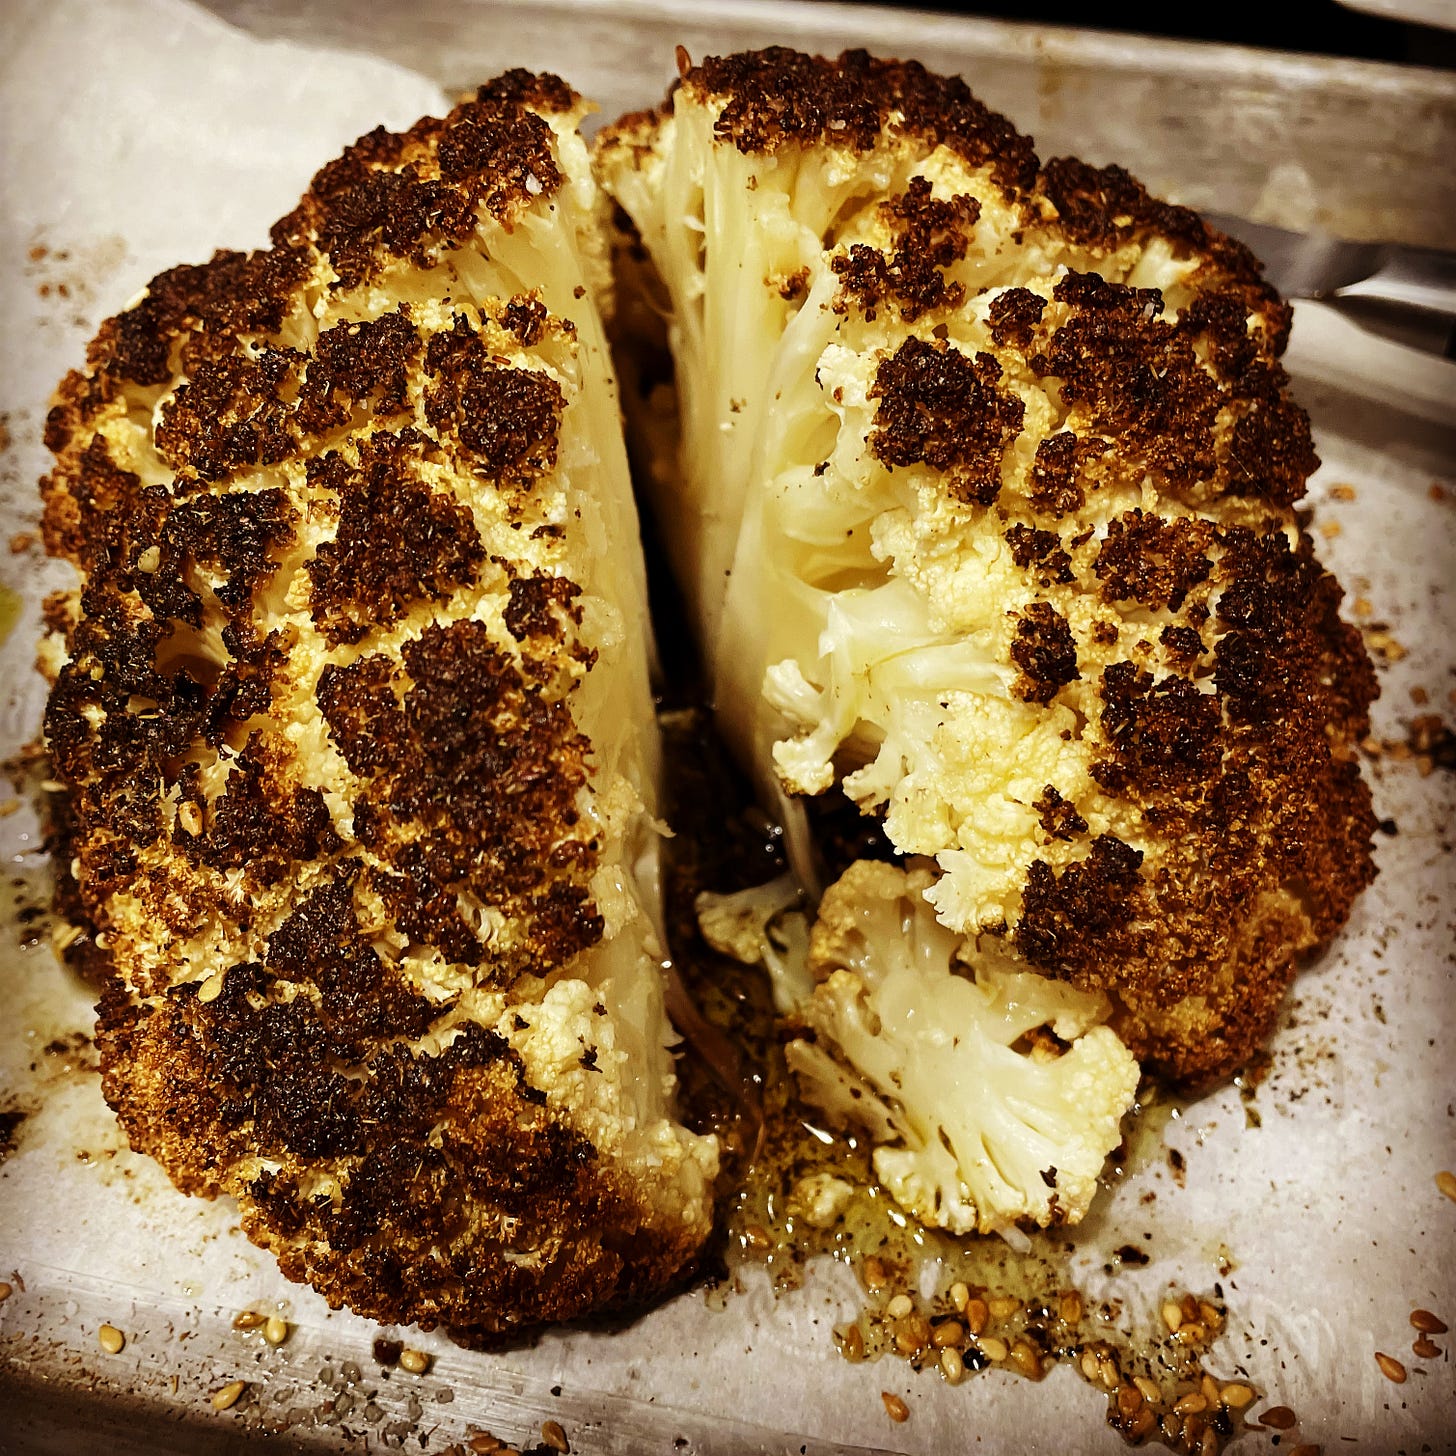
I placed the whole head on a parchment-lined quarter sheet pan and roasted it for 1.5 hours in a 375°F oven. The result was whole roasted cauliflower perfection without having to par-boil it. The outside was deliciously crusted with the flavors of za’atar and roasted caramelized cauliflower.
For fun, and out of curiosity, I decided to temp the head. It’s not common to test vegetables for doneness using a thermometer, but I wondered if it would temp like meat. I slipped the instant-read thermometer into the thickest part of the center and I could tell it was tender by the way it felt. The thermometer read—and the cauliflower felt much like—a well-cooked pork butt, from 195°F -205°F, depending on the position of the thermometer.
I cut it and the knife went through the center like butter. No toughness, nothing dried out. The removal of the stem allowed for more air to circulate through the center of the whole cauliflower and resulted in picture perfect cooking.
The cauliflower is excellent all on it’s own—I am a big believer in less is more! But it is a main course to remember when you add an aromatic vinaigrette of capers, shallots and garlic. I love the combination of the tender deeply roasted cauliflower contrasted by the clean, tangy vinegar, the pop of capers and sharp Dijon mustard in the vinaigrette.
ZA’ATAR CRUSTED ROASTED WHOLE HEAD OF CAULIFLOWER
Za’atar is also having a moment and is the perfect seasoning for roasted cauliflower. It is generally a dried spice mixture of oregano, thyme, sumac, sesame seeds, and based on the region, other herbs and sometimes salt. It is easily found in any middle-eastern grocery store, online and even in some grocery stores. Find your favorite version and you’ll find yourself using it on everything. My favorite version is a no-salt Lebanese version that is heavy on the sesame seeds which I love because it give a toasty nutty flavor to everything you sprinkle it on.
INGREDIENTS:
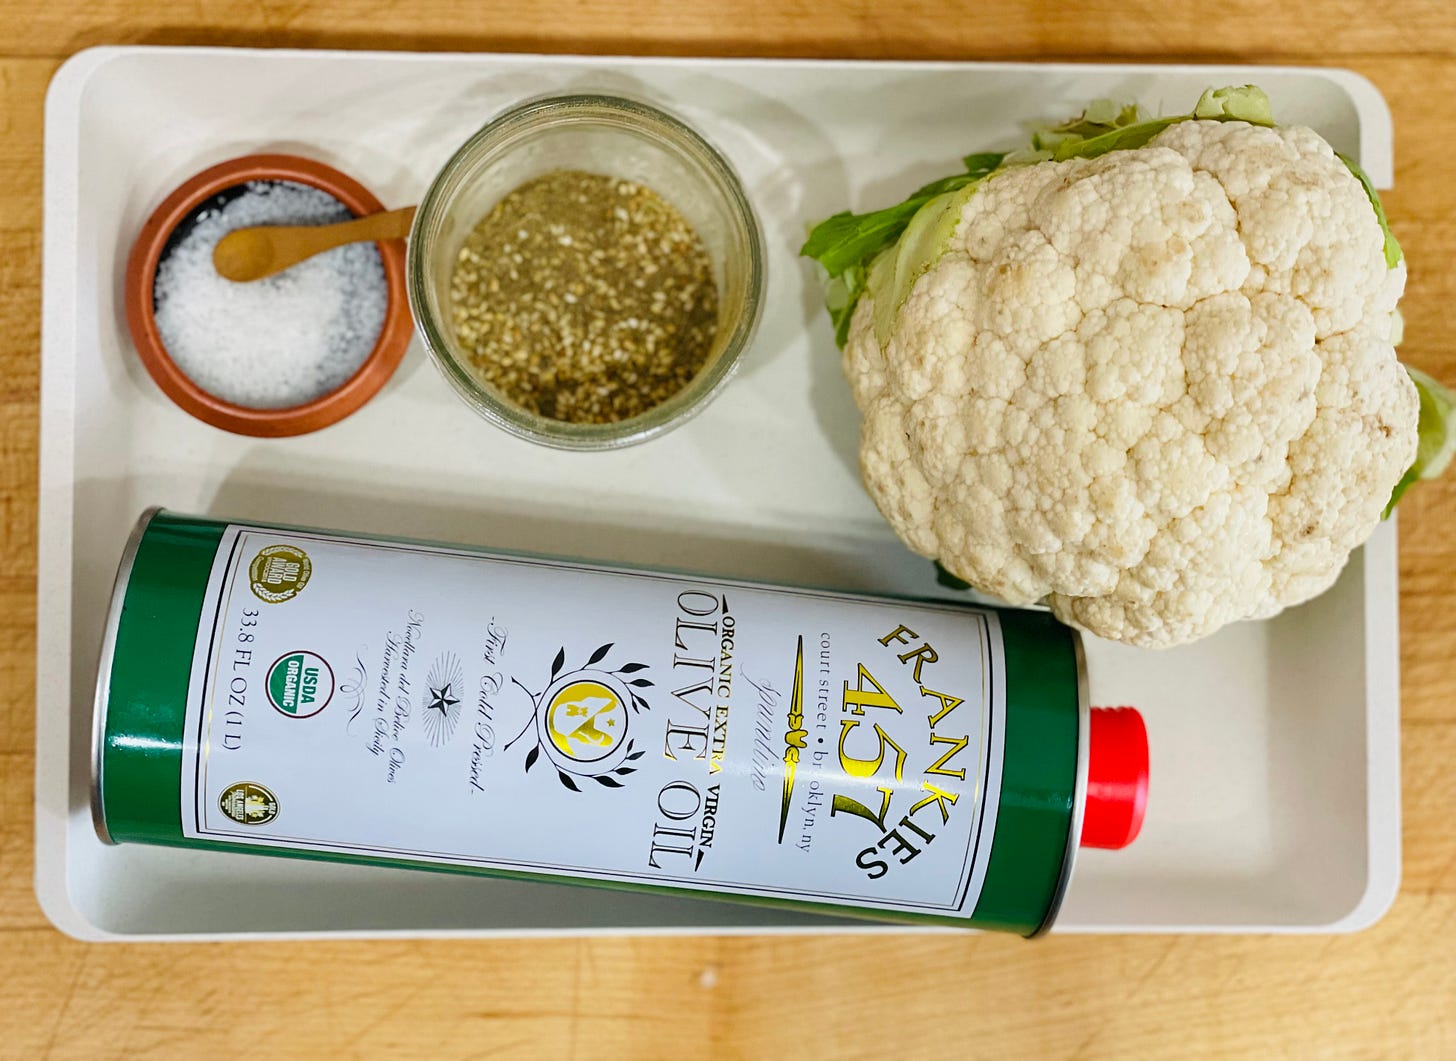
1 whole head of cauliflower
Olive oil
2 tablespoons favorite za’atar
1 teaspoon kosher salt
Flaky sea salt, such as Maldon or Fleur de Sel for serving
METHOD:
Preheat the oven to 375° F
Rinse the cauliflower and carefully trim the leaves from the bottom using a sharp paring knife. Once the leaves are trimmed, make small cuts around the diameter of the stem and pull the stem out. You want to be careful not to cut any florets out, but you effectively want a hole underneath that the heat can travel through.
Place the cauliflower [stem-side down] on a parchment-paper lined sheet pan. I use a quarter sheet pan that measures about 9 x 13 inches. Rub cauliflower all over with olive oil. You will need to use your hands to make sure all the exterior surfaces are oiled. This will help prevent the cauliflower from drying out.
Season liberally with za’atar. Sprinkle with salt. Alternatively, you can mix the za’atar and salt together and season the whole cauliflower once.
Place the sheet pan in the oven and let roast 1.5 hours. At this point, an instant-read thermometer should go into the center of the cauliflower easily and the temperature reading should be between 195°F -205°F. If you don’t have an instant-read thermometer, use a small knife and insert it into the thickest part of the cauliflower. It should feel like slicing through soft butter.
Remove the pan from the oven and drizzle lightly with olive oil and a small pinch of flaky sea salt. Cut cauliflower into quarters and serve.
Fried Caper Vinaigrette
If you don’t feel like frying the capers, shallots and garlic, give them a rough chop and add them raw to the vinaigrette.
Makes 1 cup
INGREDIENTS:
1/3 cup red wine or sherry vinegar
1 tablespoon salt-cured capers*, chopped
2 tablespoons chopped shallots
1 teaspoon grated garlic, about 2 cloves
1 teaspoon whole-grain Dijon mustard
Pinch of sea salt and freshly-ground pepper
2/3 cup olive oil
*Note: When using salt packed capers, rinse them in cold water and squeeze extra moisture out into a paper towel.
METHOD:
If making the fried version, heat up ¼ cup of the oil over medium heat and quickly fry the capers, garlic and shallots for 2-4 minutes or until the edges are brown but the oil is still clear. Let capers, shallots and garlic cool in the oil before making the vinaigrette. Note: If the oil got too hot and burned, discard. Otherwise use cooled oil in the vinaigrette—it will add a lot of flavor.
Make the vinaigrette by whisking together the vinegar, capers, shallots, garlic and cooked oil, mustard, salt and pepper. Slowly whisk in the reserved olive oil, making sure it is emulsified before adding more oil. Adjust seasoning to taste with salt and pepper if necessary and use immediately or store in the refrigerator in a tightly sealed container for up to 2 days.
AIR FRIED BUFFALO CAULIFLOWER BITES
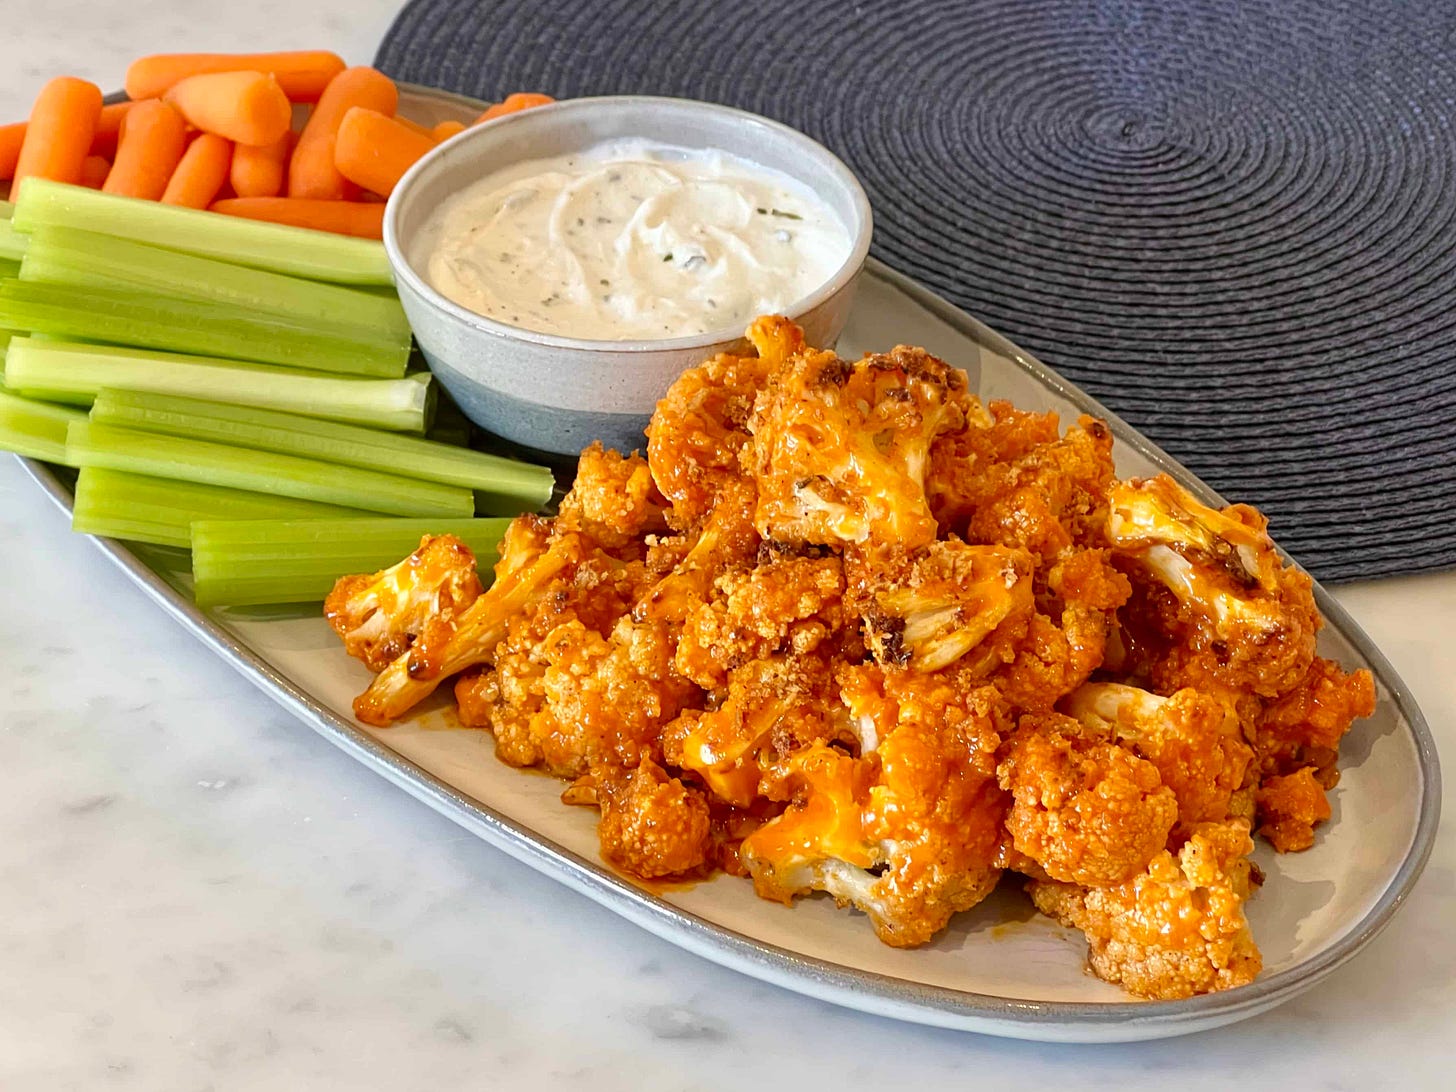
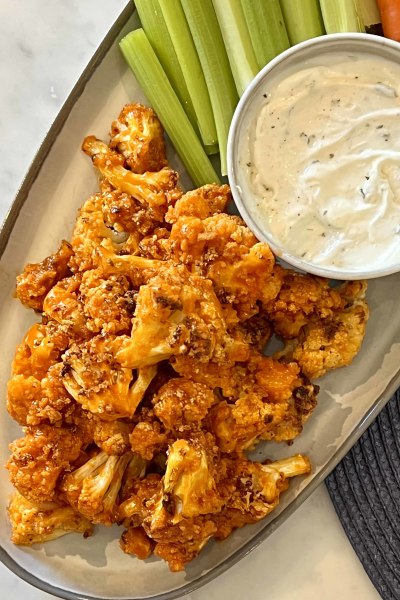
AU: Did you really think we were going to do a whole newsletter featuring cauliflower without dipping into the obvious Buffalo Cauliflower Bites bag? No gurl. Call me a Basic Betty, but when something works, it just WORKS. These cauliflower “wings” are a delicious snack whether you’re vegetarian or not!
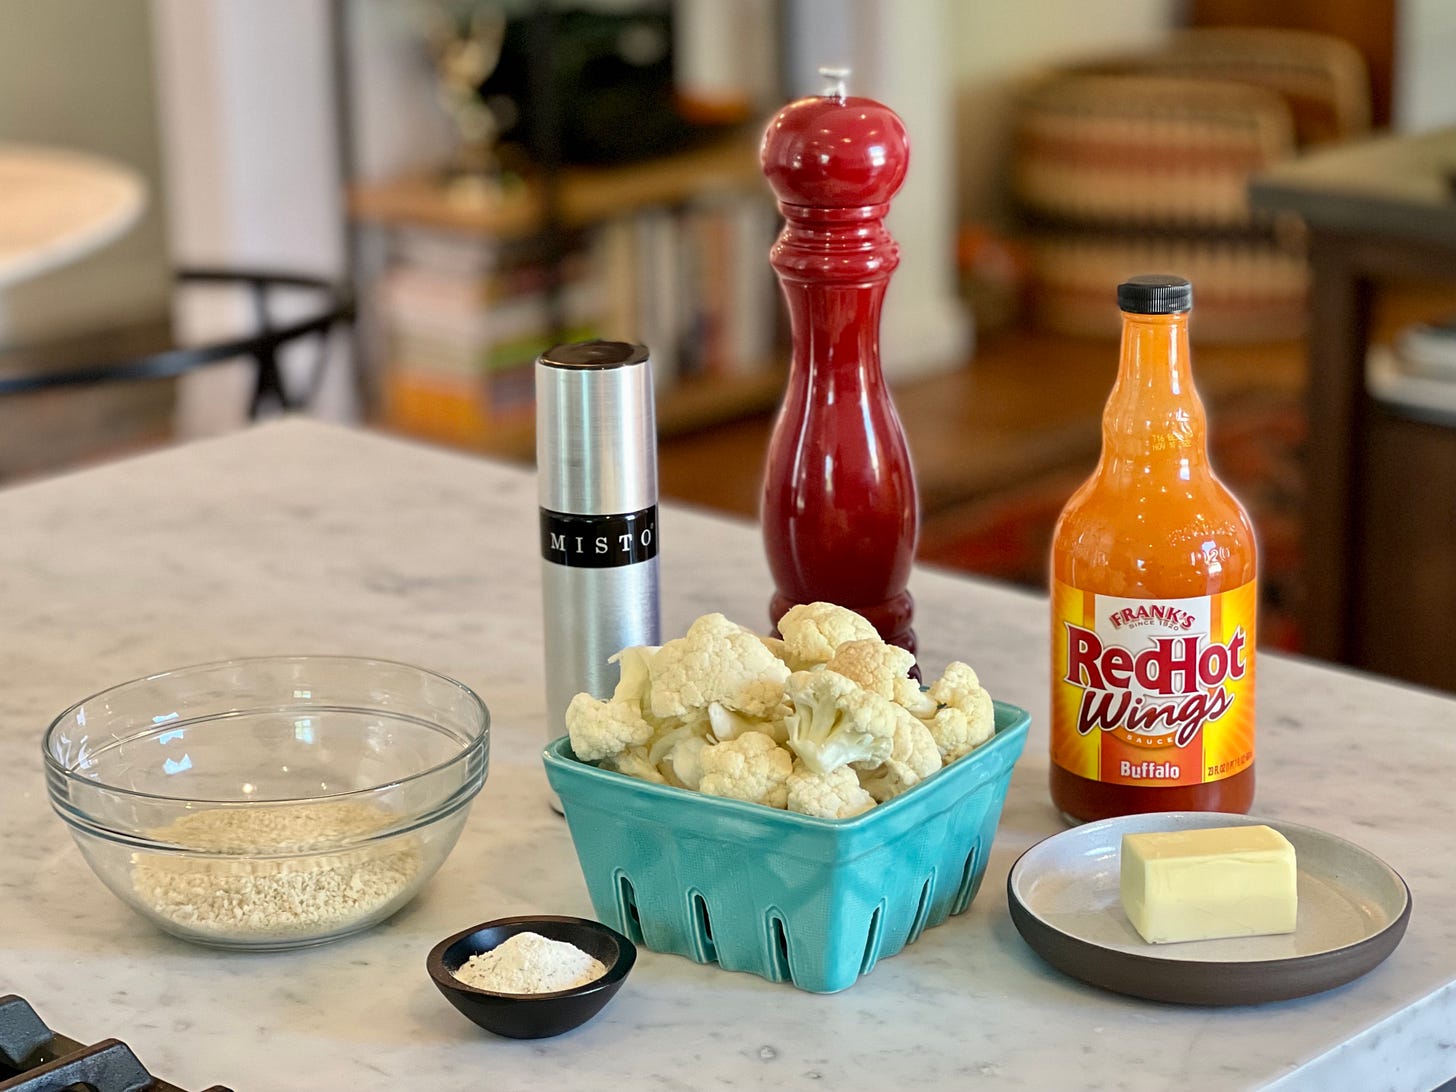
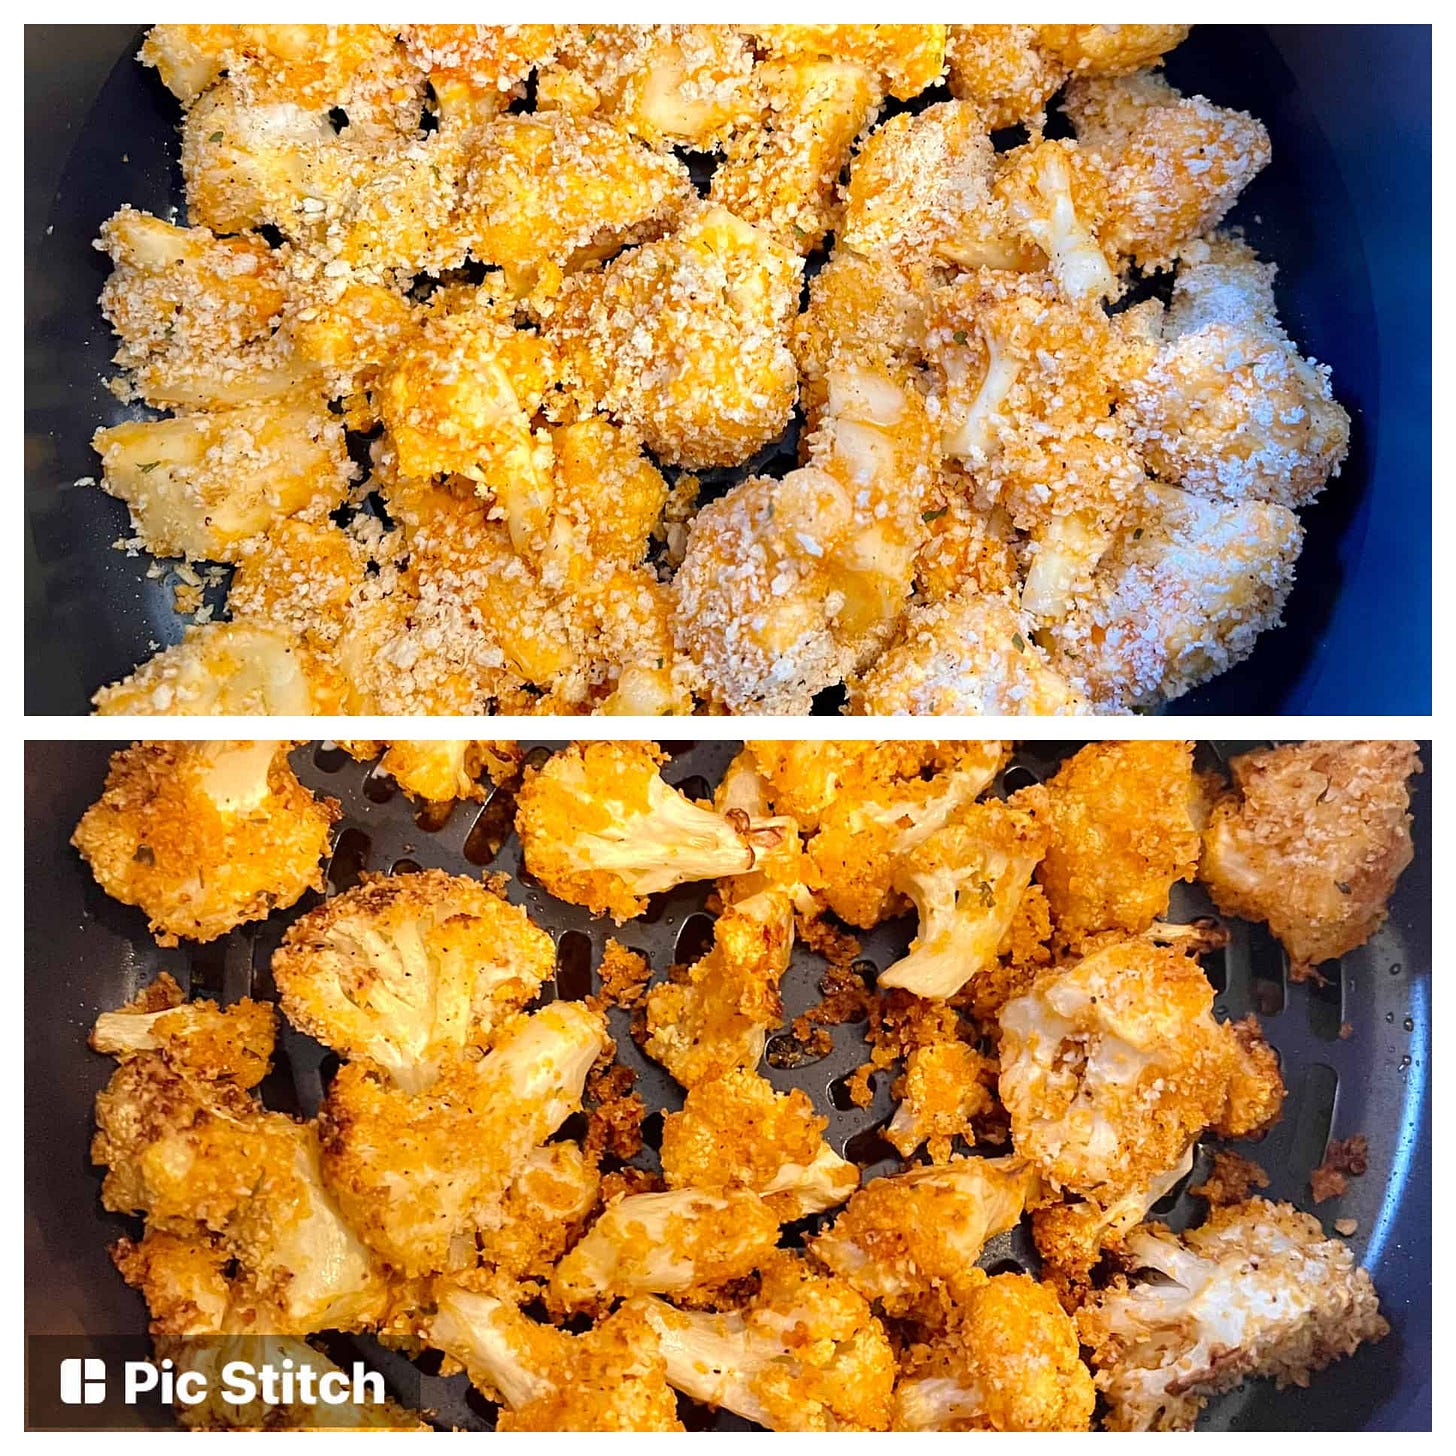
Snacktime should be simple, so the ingredient list is short for these. And I will not begrudge you for buying pre-cut florets. I’ve always said cauliflower is truly the glitter of the kitchen (how does it fly EVERYWHERE?!). My favorite—maybe controversial—ingredient in the lineup: Ranch Dip Mix. If you know me, you know I don’t NEED a reason to add Ranch to anything on my plate, but here it actually does serve a purpose. The Ranch mix has dried buttermilk powder in it, and that helps the breadcrumbs stick to your sauced florets. Once you have them all dredged, you just cook them in batches in the air fryer! Hot tip: the little crumbs that inevitably fall through your air fryer basket are a delicious extra crunchy topping to add just before serving.
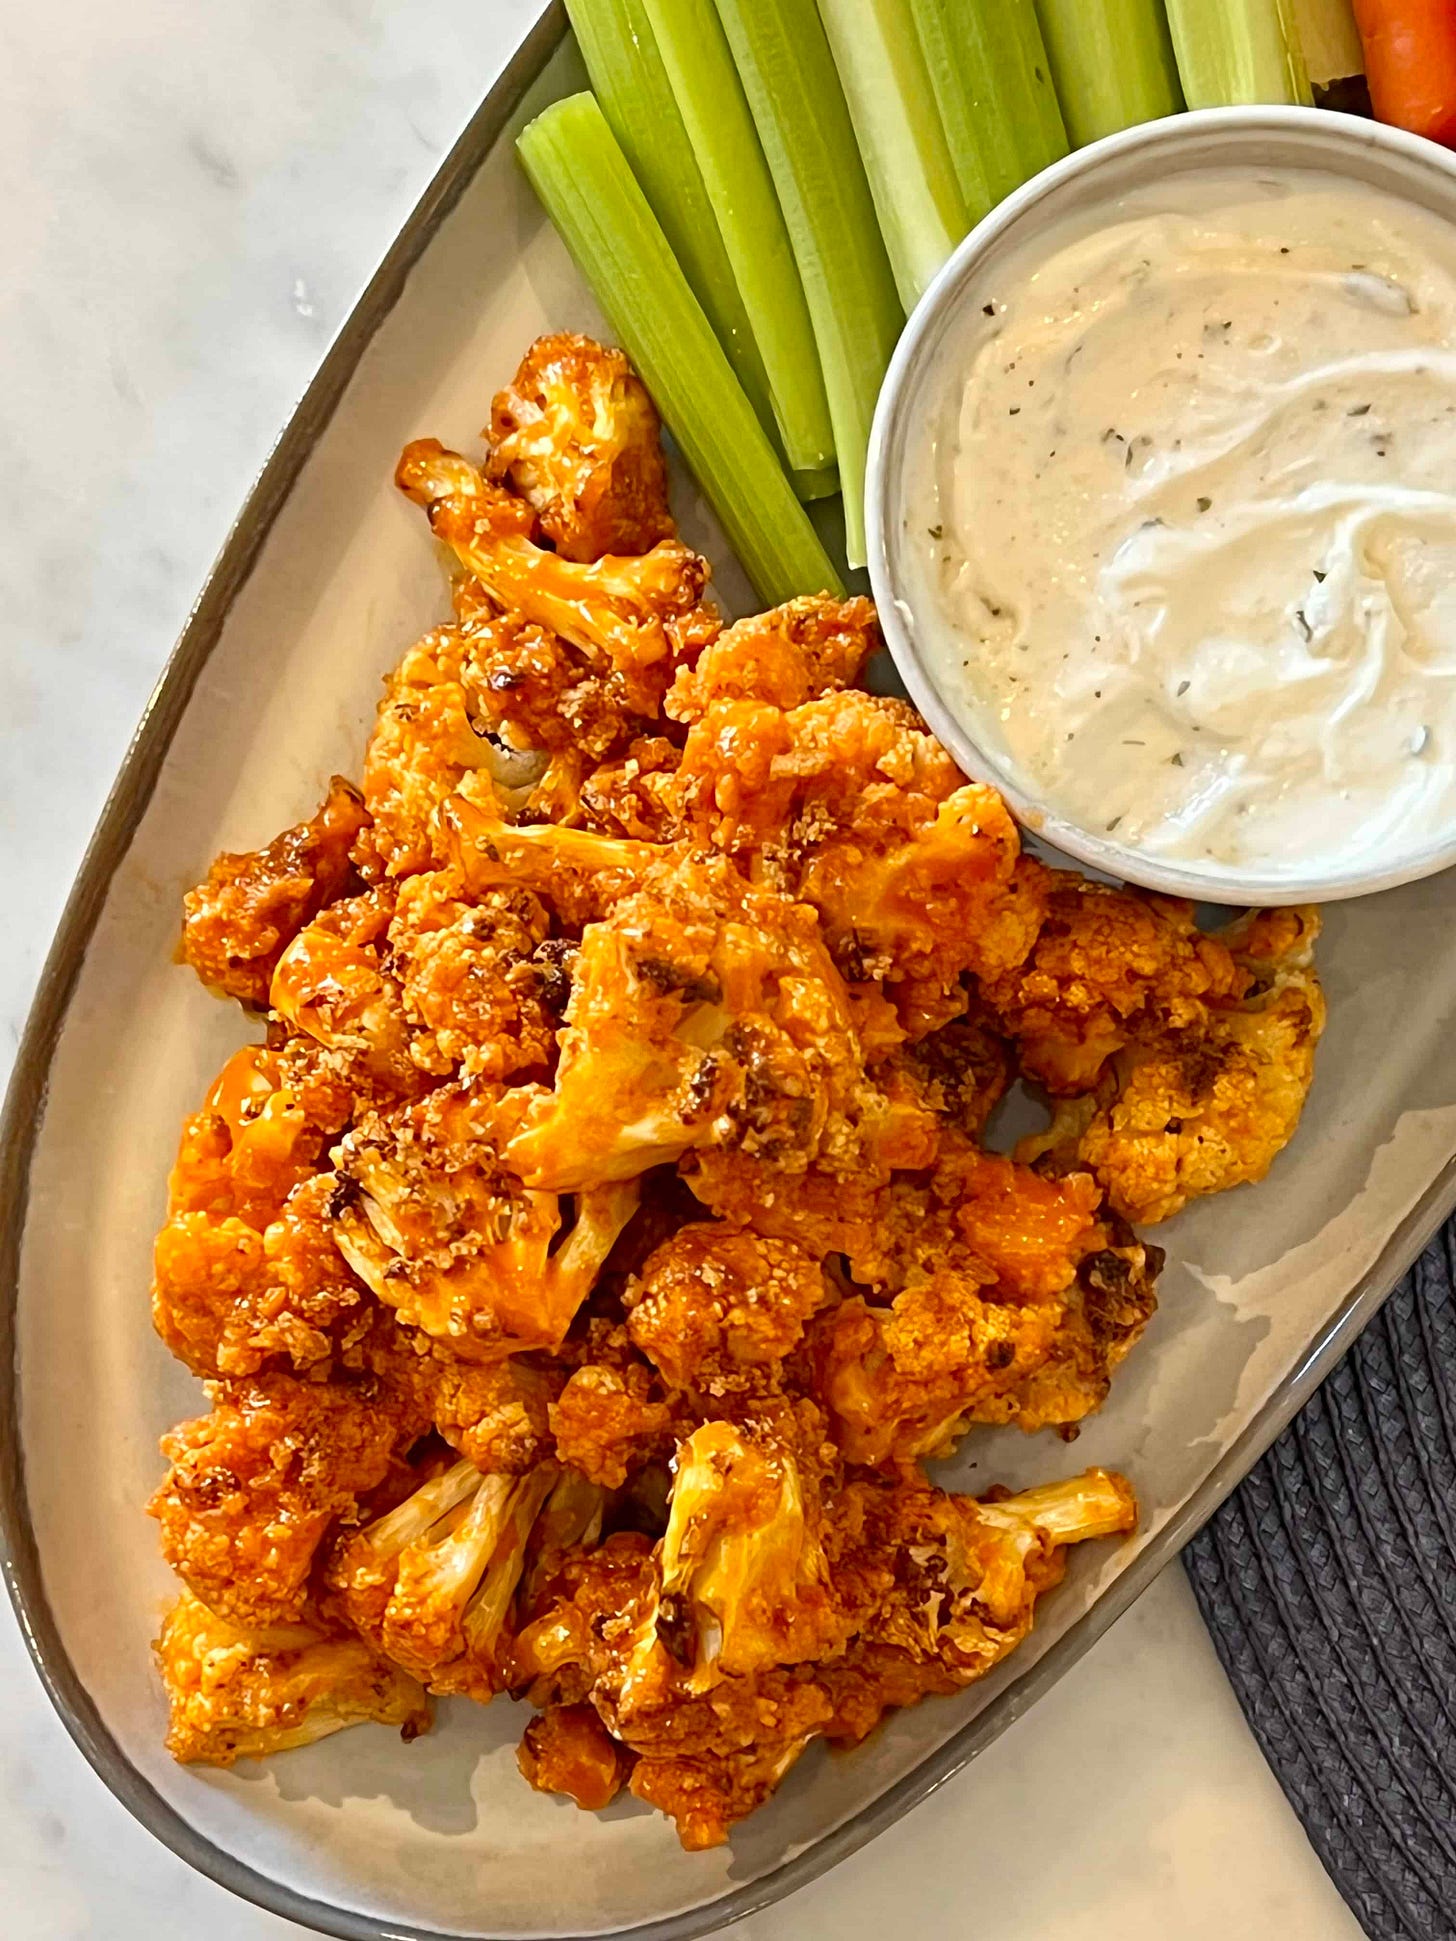
After you air fry the cauliflower bites, toss ‘em again in the sauce and serve immediately. They won’t last long!
Air Fryer Buffalo Ranch Cauliflower Bites
Whether it’s game day or you’ve just got a hankering for some Buffalo Wings, this is a great vegetarian version that comes together in a snap! An air fryer makes quick work of crisping up cauliflower florets that have been dunked in sauce, then a breadcrumb mixture with the Ranch dressing baked right in!
Serves 4
INGREDIENTS:
4 cups cauliflower florets
4 Tablespoons (½ stick) unsalted butter, melted
½ cup Buffalo-style hot sauce
1 ½ Tablespoons Ranch seasoning/dip mix
1 cup panko or regular breadcrumbs
½ teaspoon kosher salt (Diamond Crystal)
½ teaspoon ground black pepper
Olive Oil Spray for air fryer basket
Celery & Carrots, for serving
Blue Cheese or Ranch dressing, for serving
METHOD:
Stir together melted butter and buffalo sauce. Pour half of the mixture into a large mixing bowl. Add cauliflower florets to the bowl, and toss to coat. Save the remaining sauce to toss the cooked florets in later. Lightly coat your air fryer basket with olive oil spray to keep the cauliflower from sticking while cooking.
In a separate bowl, mix together breadcrumbs, Ranch seasoning, salt, and pepper.
Dip each cauliflower floret from the buffalo sauce into the breadcrumb mixture until coated, and arrange in the air fryer basket in one even layer. Cook half of the cauliflower in an air fryer at 360ºF for 12-15 minutes, shaking halfway through cooking. Repeat the process with the remaining cauliflower.
Once all cauliflower has been air fried, microwave the remaining buffalo sauce and butter mixture so that it’s warm. Toss cooked cauliflower in the sauce until well-coated, and transfer to a platter. Serve with celery sticks, carrots, and dressing, if desired.
COUNTDOWN TO SB LVI: TONY’S CHILI-LIME TEXAS TRASH
AU: Apparently there is some big game happening my birthday weekend? It also happens to be Valentine’s day weekend, so the weekend of February 11th (my actual bday, btw) is a multi-purpose weekend! Feel free to default to only celebrating moi.
I’m not one for sports, but I do love that Super Bowl Sunday has turned into an all-out FOOD holiday. In fact, it’s the second-biggest food holiday in America—right behind Thanksgiving! So we are going to add some game-day grub to every newsletter ‘til the big day. COUNTDOWN TO “SPORTS BALL LVI” STARTS NOW!
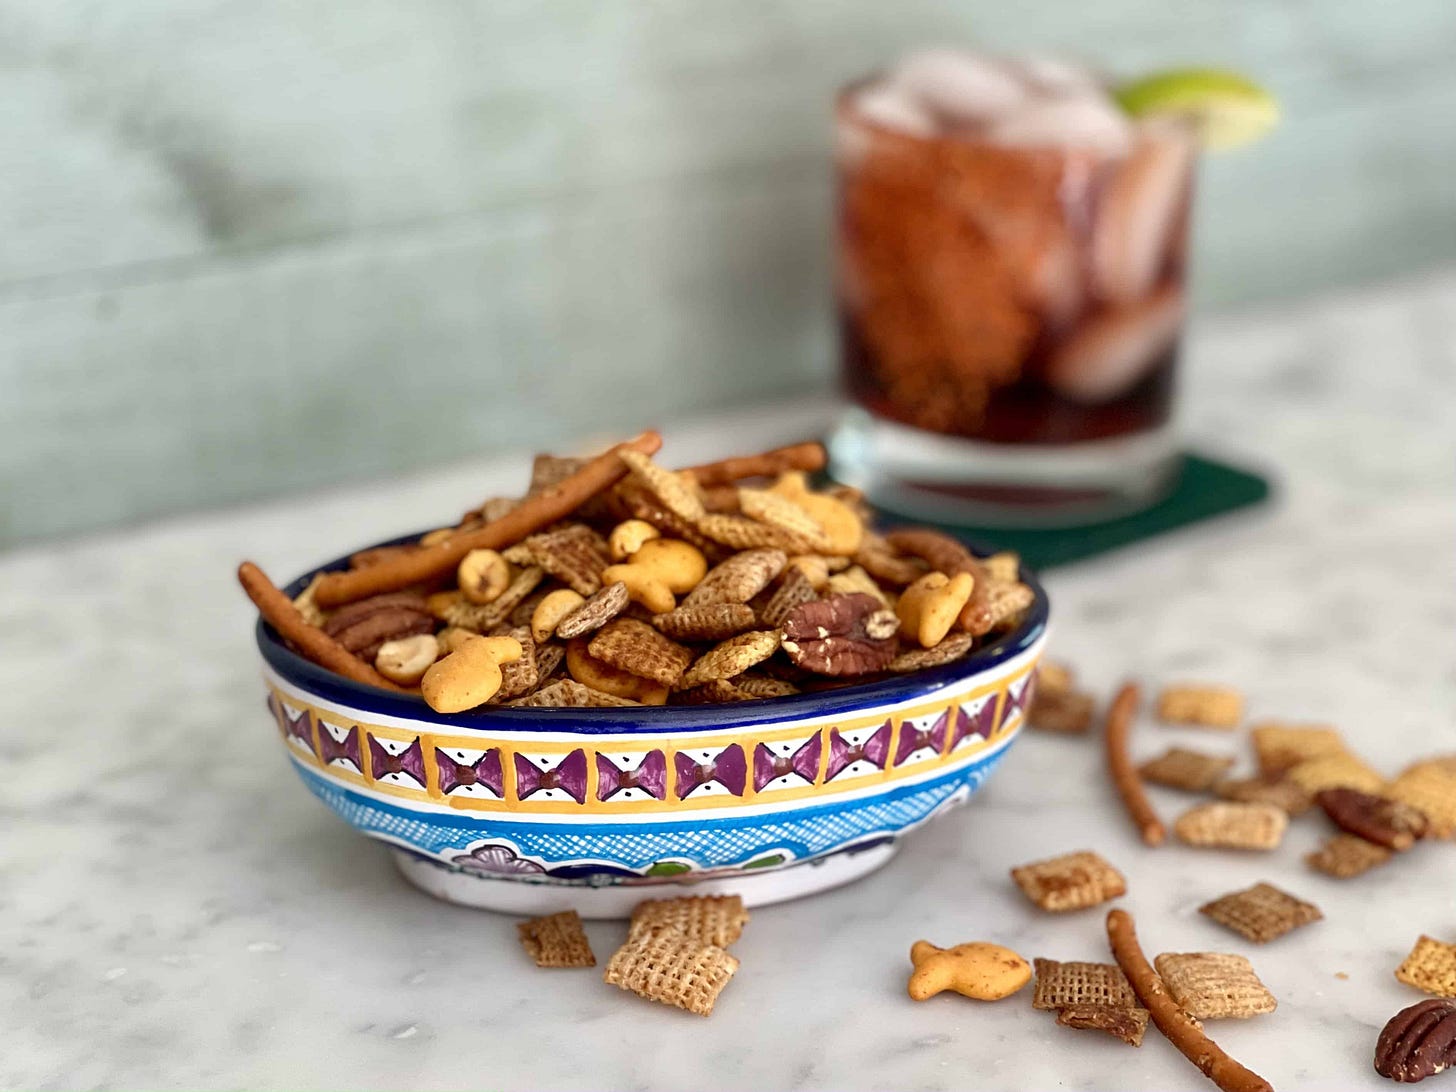
AU: Let’s kick off with my all-time favorite snack: Texas Trash. You may know this as “Chex Mix,” but before it was sold in every gas station in America, you had to make it from scratch. My grandmother, Kay Underwood, made sure to always have a big ol’ butter cookie tin (you know the one!) filled with my favorite Texas Trash whenever I’d come to visit.
Sometimes, if I was lucky, I would catch her at the stove stirring together the magical concoction of Worcestershire, butter, and garlic salt before she tossed all the different cereals and nuts together. She and my grandfather had huge pecan trees in their yard (the same house where my father and aunt grew up!), so she always added plenty of fresh Texas pecans.
EK: After we talked about it last week, I made Texas-Trash flavored pecans and walnuts and wondered why no-one ever made “just the nuts” before, and then…you blew my mind with your TTT—Texas Trash Twist®! OMG. You are brilliant! Chili-Lime Texas Trash! What is this delicious can’t-stop-eating-it-snack-world coming to?
AU: Well, ya know I like to tinker! Keeping the integrity of the original recipe, my version just adds a little zing by using a chili-lime seasoning (like Tajin) to keep you coming back for more. But you can use any Chili-Lime mix (I’ve even spotted a Trader Joe’s version). There’s enough in the recipe to add some zip, as written, but if you want a more pronounced chili-lime flavor, I suggest sprinkling on some extra after the baking process. Mix-and-match whatever cereals, crackers, nuts, and pretzely things you’ve got around!
If you’d rather use the microwave in step 2, melt butter in 30-second increments in a large, heat-proof mixing bowl. Then proceed with the recipe as written. Enjoy!
Tony’s Chili-Lime Texas Trash
One of my favorite treats that my grandmother would make is the classic “Texas Trash.” You may know it as “Chex Mix,” but believe it or not, there was a time when this party delicacy wasn’t packaged and sold at every grocery store in America! My version adds a healthy dose of chili-lime seasoning, cayenne, and chili powder, but still remains true to the classic. This is exactly the type of mix I like to snack on with an ice cold marg at happy hour, but it’s also great for game day, if that’s your thing. Go sports ball!!
INGREDIENTS:
8 Tablespoons (1 stick; 115g) unsalted butter
3 Tablespoons Worcestershire sauce
1 Tablespoon hot sauce, like Cholula or Tabasco
3 teaspoons chili-lime seasoning, like Tajin
1 teaspoons kosher salt (Diamond Crystal)
1 ½ teaspoons garlic powder
1 teaspoon onion powder
¼ teaspoon cayenne pepper
½ teaspoon chili powder
1 cup (70g) cheese crackers, like Goldfish
3 cups (80g) Rice Chex cereal
3 cups (180g) Wheat Chex cereal
3 cups (110g) Corn Chex cereal
1 cups (70g) bite-sized pretzels
1 cup (110g) pecan halves
1cup (130g) chili-lime spiced peanuts
METHOD:
Arrange oven racks to upper-middle and lower-middle positions, and preheat oven to 250ºF. Line two sheet trays with parchment paper.
In a small saucepan over medium heat,* melt butter. Whisk in Worcestershire, hot sauce, chili-lime seasoning, salt, garlic and onion powders, cayenne, and chili powder. Set aside.
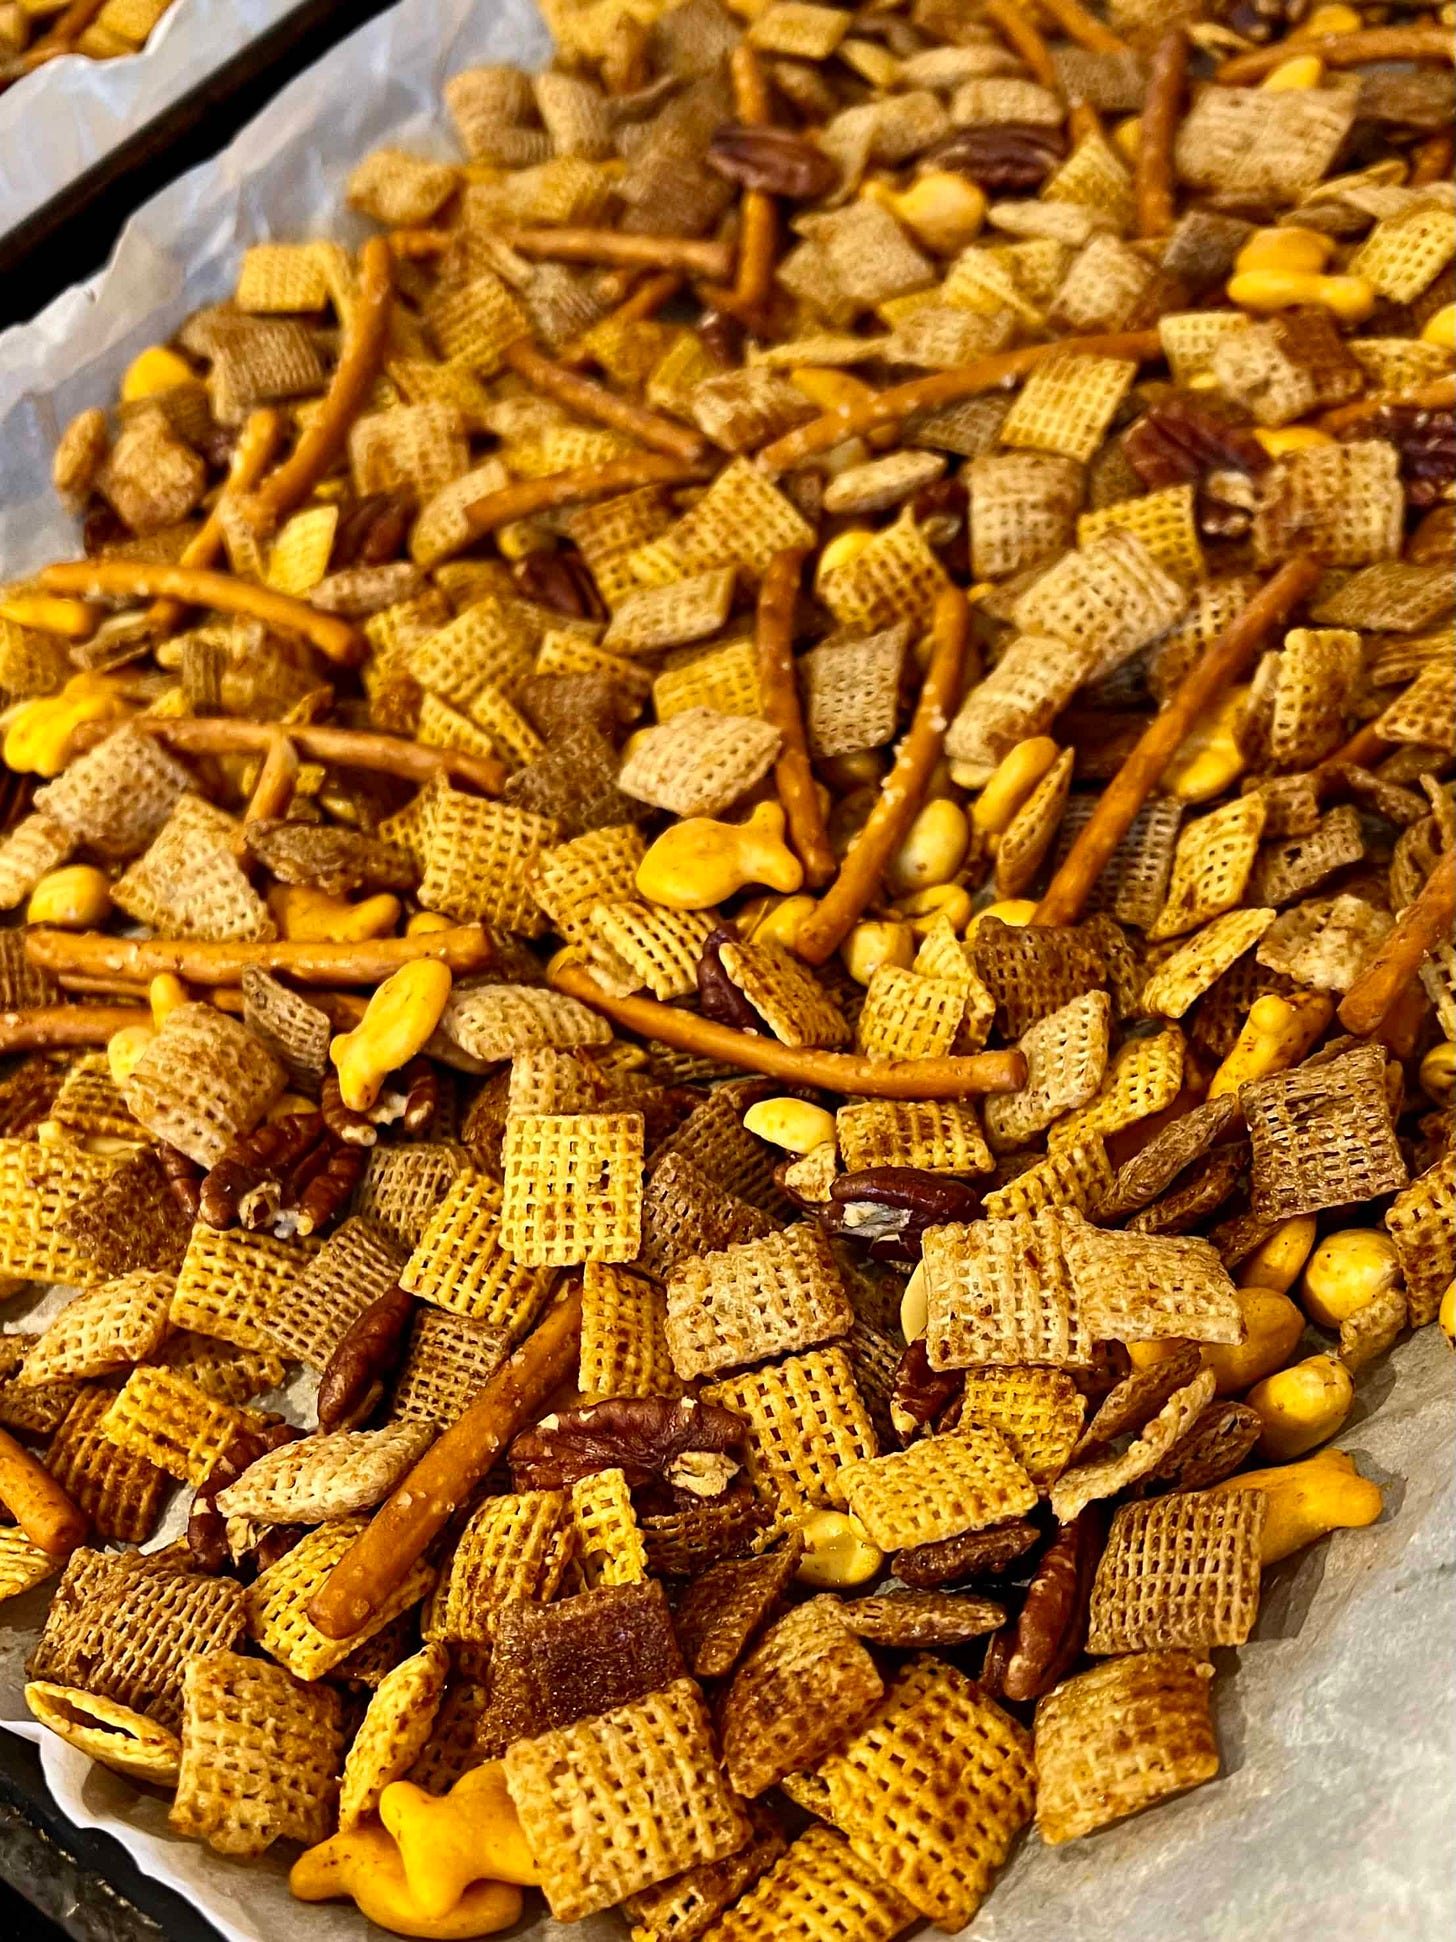
Combine remaining ingredients in a large bowl. Drizzle with butter mixture, and gently toss to coat evenly. Divide onto 2 lined sheet trays.
Bake at 250ºF for 1 to 1 ½ hours, tossing/stirring every 20 minutes until lightly browned and crisp. Let cool completely, then store in an airtight container. If you want an extra jolt of chili lime, sprinkle with additional chili-lime seasoning just before serving.
That’s #Whats4Dinner! If you try these recipes, be sure to tag us on social media and use the hashtag #whats4dinner! Happy cooking and have a great week!! xo


