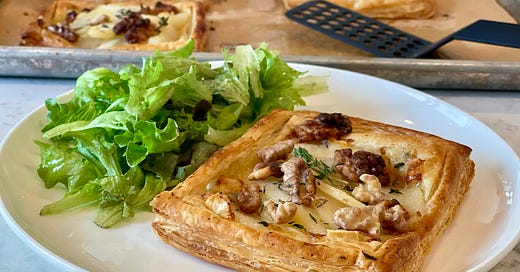
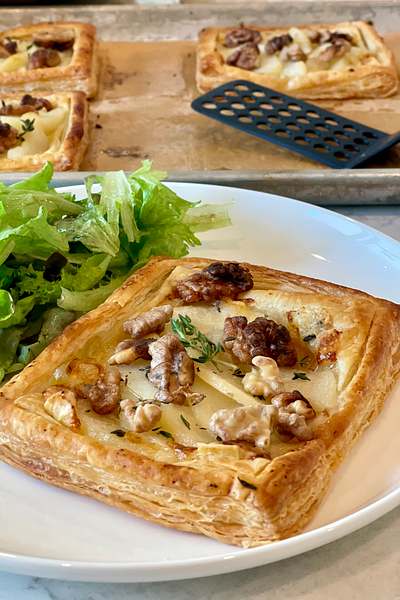
This Sunday is the Academy Awards, and Los Angeles is all abuzz with awards show fever! Even if you plan on watching the Oscars from the comfort of your couch in your finest sweatpants, it’s still nice to make a lil something special while you watch the red carpet…
AN OSCAR-WORTHY SAVORY PEAR TART
EK: You know how you can go down those social-media food rabbit holes?…well, I saw so many upside-down tarts that I finally had to try it.
But, despite how cool I think the upside down tart looks in a quick video, IMO it didn’t deliver anything as good or better than the original right-side-up tart. And it’s just as easy, if not easier, to make a puff-pastry tart the traditional way!
I am a sucker for any kind of tart and especially an individual tart. It is the kind of thing that if I see it on the menu at a restaurant, I order it! It is crunchy and buttery with a luscious interior and always feels like a treat!
AU: Louder for the folks in the back! The upside down tart thing is cute, but like… not really practical in all applications. Also, don’t you WANT your ingredients to caramelize instead of steam?? I love anything with a crust, so sign me up!
EK: One of my favorite personal-sized puff pastry “tarts” is a mushroom tart inspired by one created by NYC-based chef, Jean-Georges Vongerichten. It is made with a duxelles filling (chopped mushrooms) with sautéed, sliced mushrooms on top. I included it in my last cookbook, Steak & Cake, as an accompaniment to steak, but it can easily stand on its own.
I love making individual tarts, because each one is framed by the crispy multi-layered puff pastry—not only does it look good, but everyone gets their own perfect bite.
Mini-tarts like tartines—open faced sandwiches—can hold any of your favorite toppings. That means besides the mushroom tarts, you can make tarts with just about anything. My favorites include smoked salmon, almost any vegetable, and fruit and cheese.
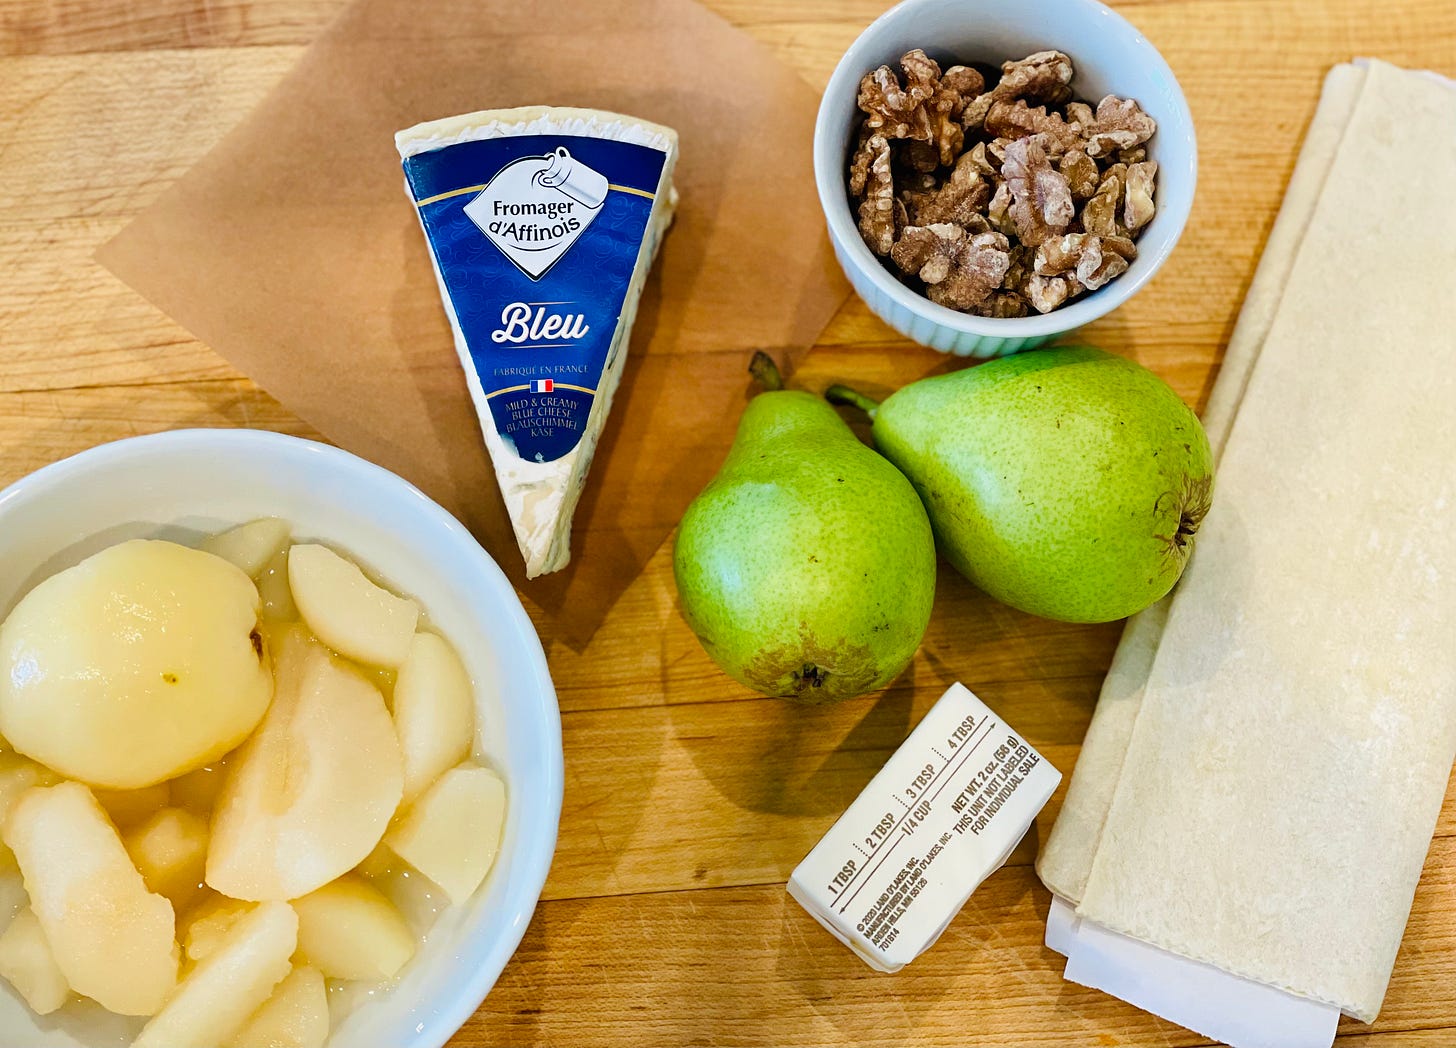
For today’s tart, I took my favorite pear and blue cheese salad and deconstructed it. This tart is basically puff pastry, plus three ingredients with a little butter, and optional fresh thyme so the best quality of each of the ingredients is essential.
EK: Because my goal was to make a super simple tart, I wanted to use ingredients that would bake to create a homogeneous filling so it would taste a little custardy without making a custard. The key to this is using a soft, creamy cheese with a brie-like texture. I chose the mild triple-creme Bleu from Fromager d’Affinois. It bakes beautifully and has a special affinity with pears.
The quality of pears vary every time you buy them, depending on ripeness. For this reason, I did something unconventional. I purchased a CAN of pears in heavy syrup. I have never bought canned pears, but I tried this tart with both fresh and canned and the canned ones are just as delicious in this tart! Plus, they are even easier to use, since they are already cored and peeled. Whether you use fresh or canned, make sure they are sliced thinly and coated with melted butter before you assemble the tarts.
Finally, roasty-toasty walnuts are the third piece of this perfect pear tart. I love darkly toasted nuts of all kinds and I use raw (untoasted) walnuts because they get very brown baking on top of the tart. If you don’t like deeply browned walnuts, add them as soon as the tarts come out of the oven.

EK: The fun thing about using puff pastry is that as it bakes, the scored and exposed sides puff up to frame the filling. If you haven’t used puff pastry before, you might be unfamiliar with how to score it to make this happen.
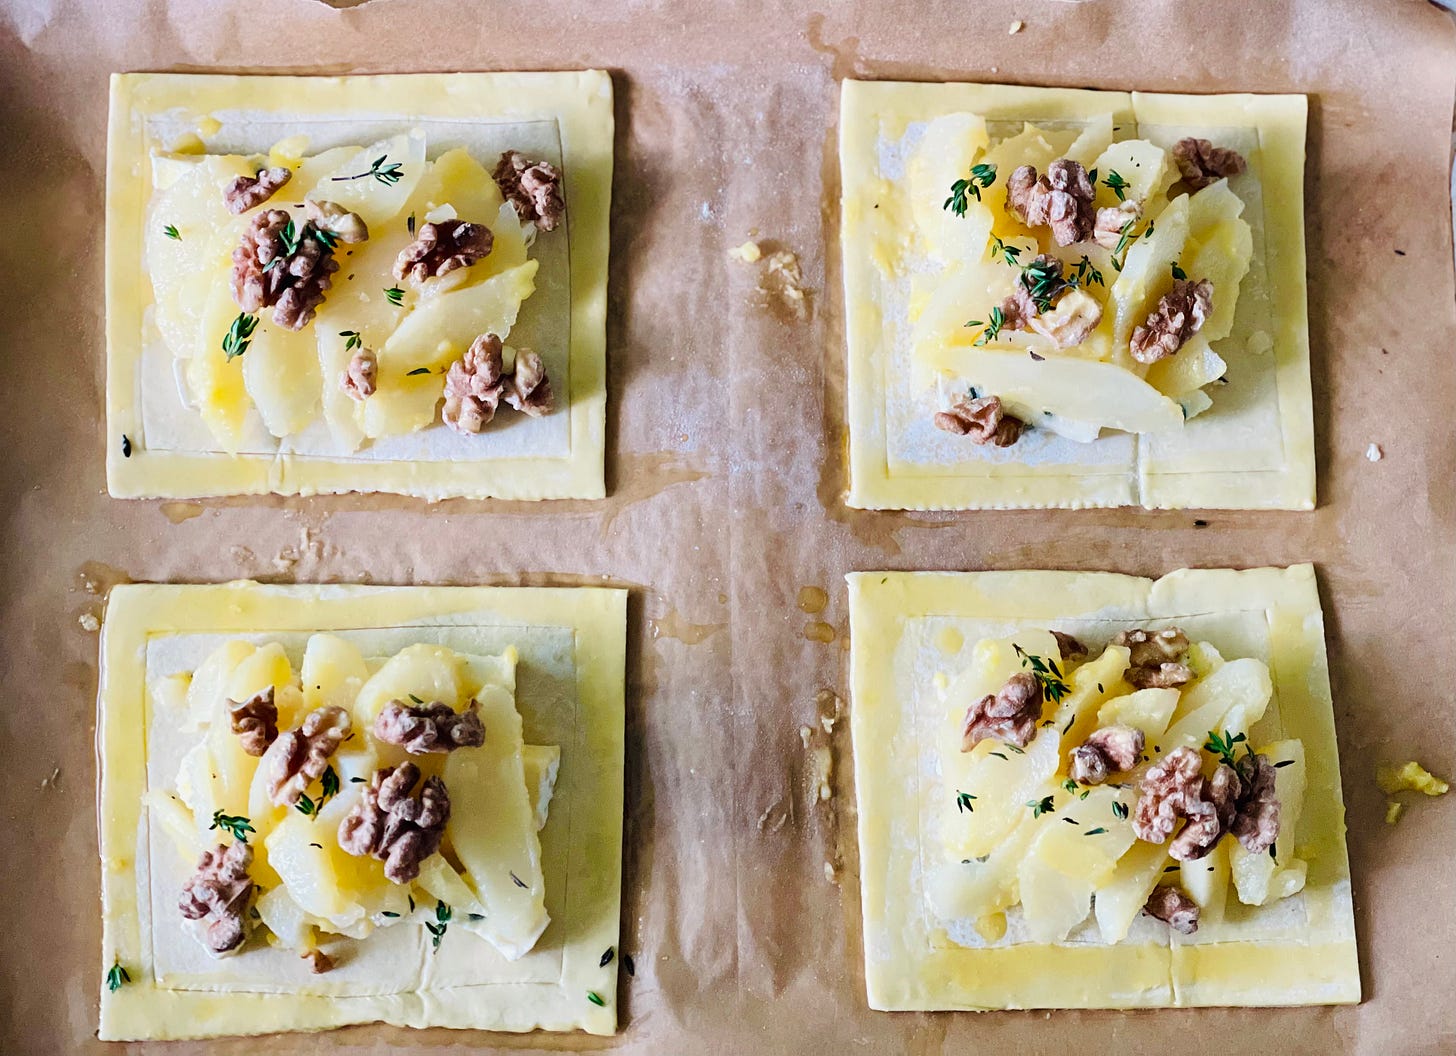
The easiest way to do this is to draw a line lightly through the puff pastry with the tip of a paring knife. Draw a line a half-inch in from the ends to make a “frame” along the border. If you look at the photo above, I highlighted in red where you make the shallow cuts. Do not cut all the way through or it will bake-apart from the rest of the tart.
EK: And, don’t worry if the lines are not completely straight. They will bake up just fine as mine did. Just remember to fill inside the lines! This is one time that you can’t “color” outside the lines because the pastry border needs the hot air to lift it up, and if anything is weighing it down, it won’t puff up. And, keep your pastry cold. It will bake better and higher if it is cold when it goes into the oven.
AU: I like to cut my puff pastry, score it, and then throw it back in the fridge (or even the freezer) for a few minutes while I get the rest of the dish ready. This ensures that my puff pastry is well-chilled before baking.
EK: To assemble the tarts, place the cheese on the bottom of your dough first towards the middle. It will distribute itself evenly as it melts and bakes. Place the butter-coated pear slices on top of the cheese and finish with the walnuts. You could also chill the tarts at this point, if you aren’t ready to bake them yet.
When you are ready to bake, make sure to preheat the oven and only place the cold-pastry tarts in a completely pre-heated oven.
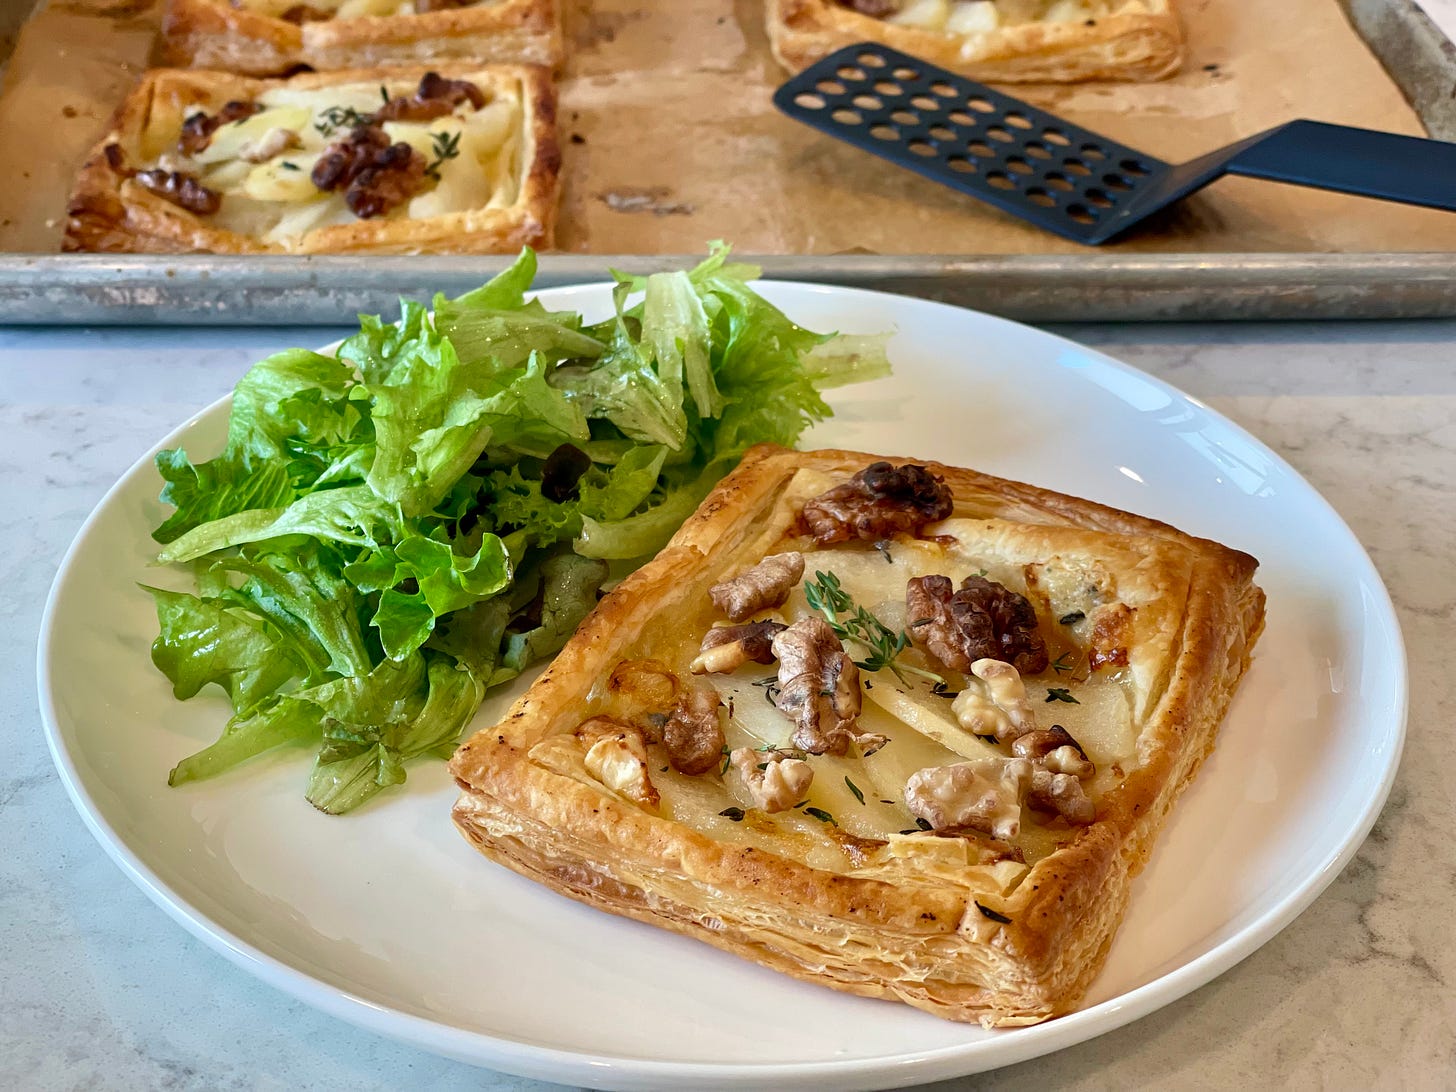
EK: If you are new to puff pastry and haven’t watched it bake before, it’s like time-lapse photography in motion as it goes from perfectly flat to layers and layers of thin crisp pastry. If you have a glass window in your oven, you can watch this happen in real time. Puff pastry bakes in a 425ºF hot oven and that means that you can literally see the layers of the pastry crisping up and separating as it bakes.
AU: Serve these up with a nice side salad, and you’ve got an elegant meal on your hands before Jimmy Kimmel even finishes his opening monologue!

