🇺🇸 HAPPY FOURTH OF JULY! 🇺🇸
If you are new here, you may not know that we launched a new monthly “segment” called 4 Things You Need 4…
Just like a 3-4 minute national TV spot, similar to the ones our very own in-house Emmy-Award-winning TV Producer, Anthony, has produced for the likes of GMA, The Chew (RIP), and Food Network!
Since today is the Fourth of July and many of you will be firing up the grill, we decided to focus on the 4 Things You Still Need to Know for Great Grilling!
4 THINGS YOU STILL NEED TO KNOW 4 GREAT GRILLING!
EK: Since we grill all year long and write about grilling, we sometimes forget that people still make very simple grilling mistakes.
AU: In fact, in the last couple of weeks, real people making these very real grilling mistakes inspired this newsletter!
EK: Fourth of July foods are often burgers, hot dogs, and maybe steaks. All foods that are easily grilled using the Direct Grilling Method. The Direct grilling method is generally used for foods that take less that 20 minutes to cook and are flipped once halfway through the cooking time. “Direct” refers to the heat sources and means that the food is placed directly over the fire, a.k.a., lit gas burners or gray-ashed charcoal.
1) OIL THE FOOD, NOT THE GRATES
AU: I was at a friend’s house the other day and I saw them soak a paper towel in oil and rub it all over their grill grates with tongs… I assumed this was to prevent the food from sticking, which may work some… But in reality, all it’s doing is building up a coating on your grates (and making ‘em gunky).
Elizabeth is well known for her mantra, ”oil the food, not the grates” and we have written about it before, but it bears repeating!
EK: Oiling the food helps to prevent the food from sticking, which is a huge issue for people. Many grillers think if they oil the cooking grates, the food won’t stick. But the reverse is true. Often, the “stickage” is worse because the oil starts to burn and becomes tacky—almost like glue—before they get the food on the grill.
When you put un-oiled food on top of sticky, tacky burned oil, it’s like gluing the food to the cooking grates!! Your food won’t stick if it is brushed with a thin coat of olive oil and placed on clean cooking grates. Plus, the oil promotes caramelization which is the key to those great looking, great tasting grill marks!
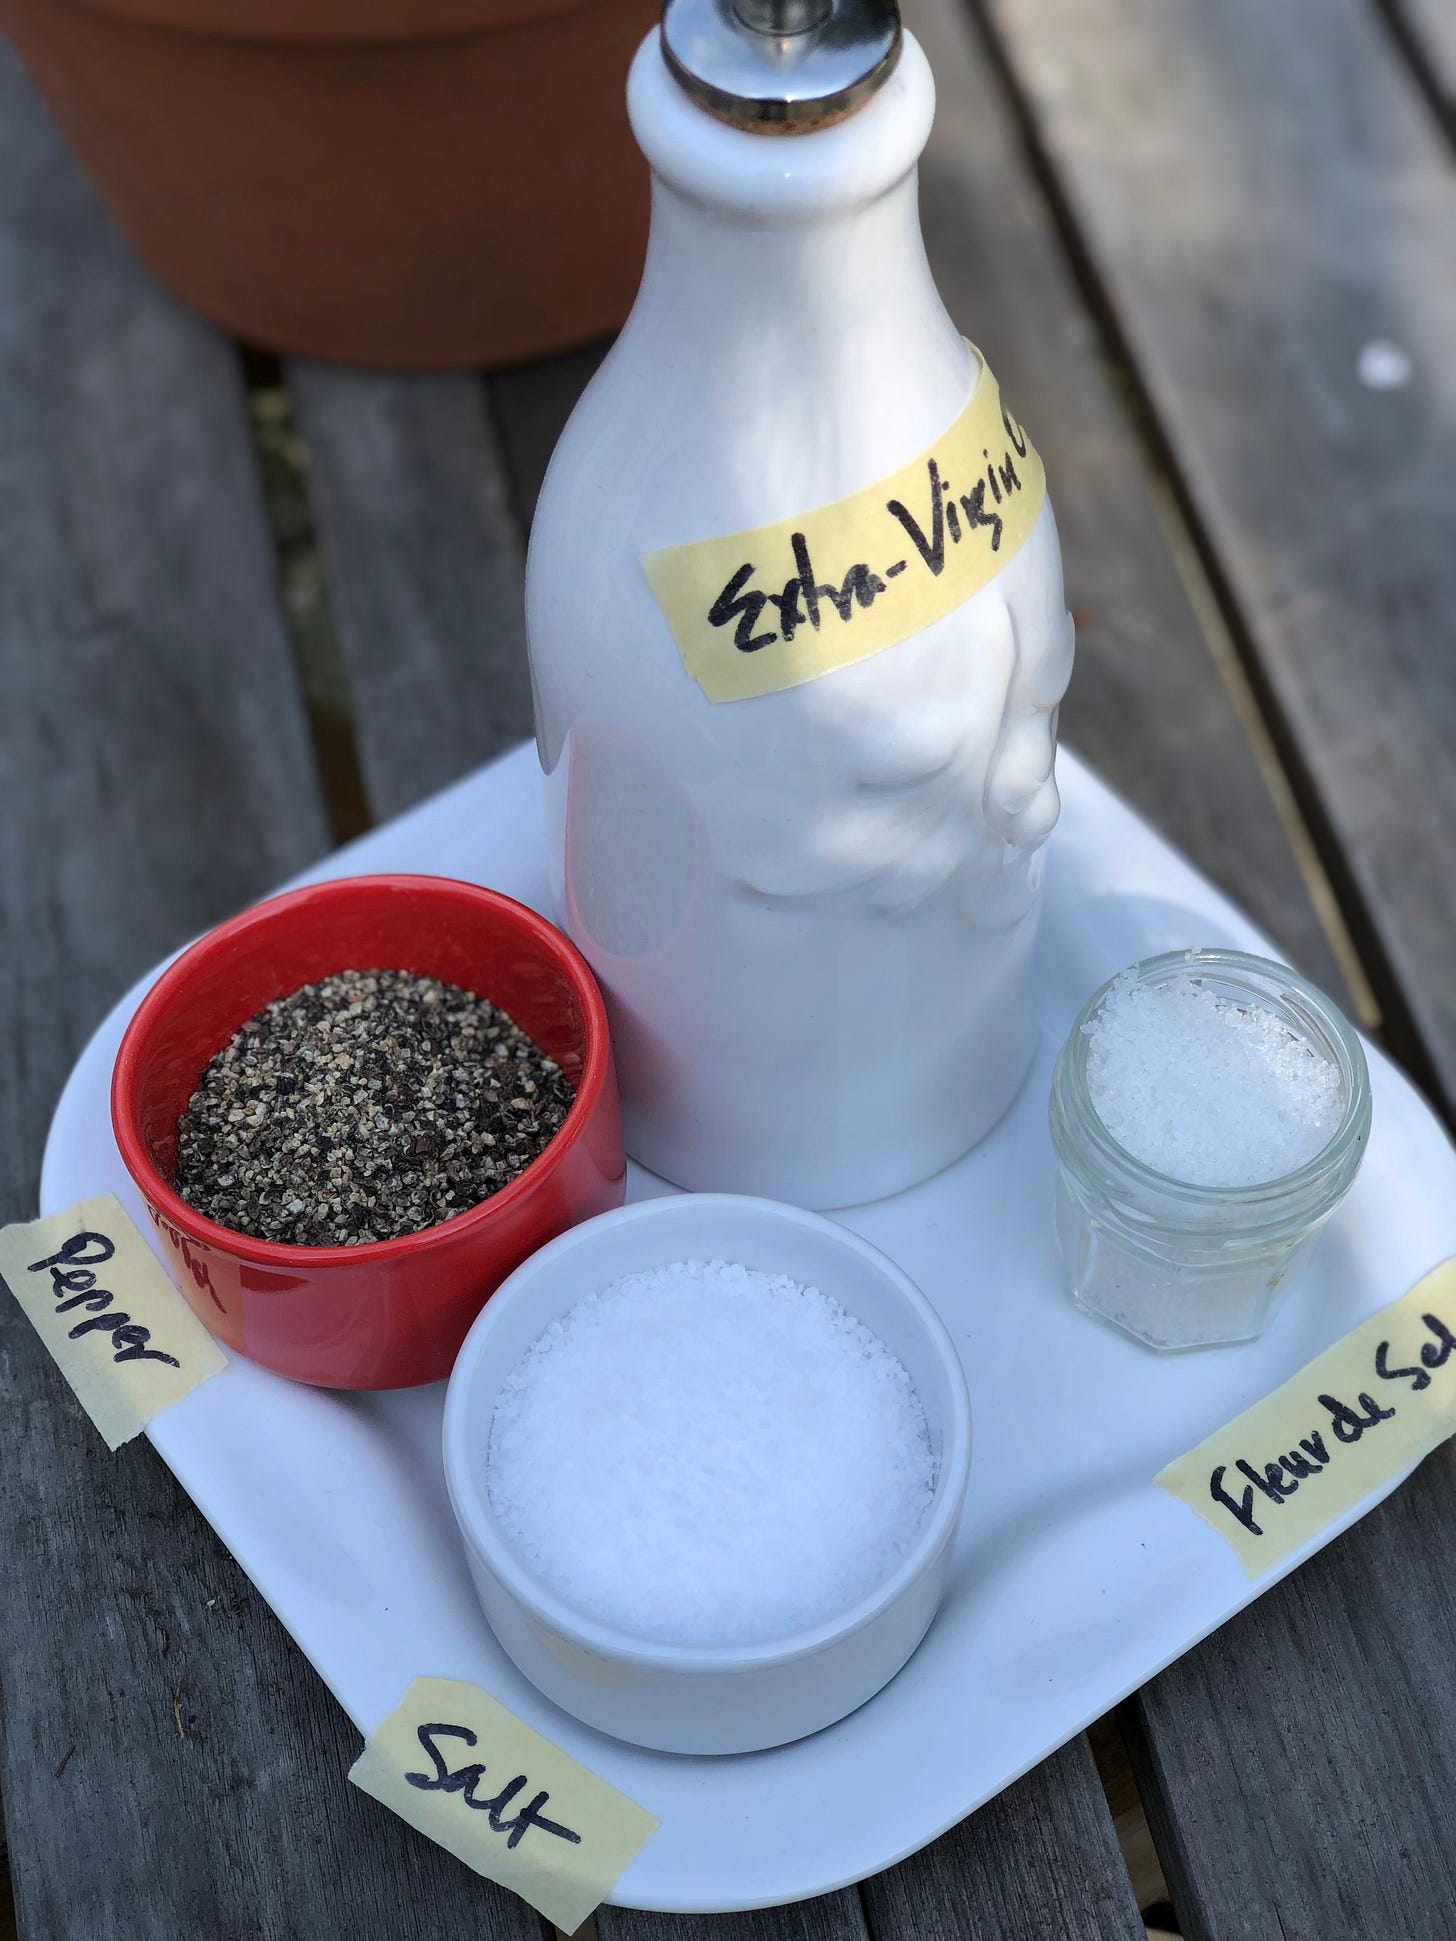
Once you’ve oiled the food, season it simply with kosher salt and freshly-ground black pepper and you will have the beginnings of perfectly grilled food!
2) PUT A LID ON IT!
EK: I was “on call” for a friend learning to smoke meat, and she called me in a panic because her smoker was running really hot at 375ºF (when she had set it to smoke steaks at 225ºF). She couldn’t figure out why the smoker was so hot.
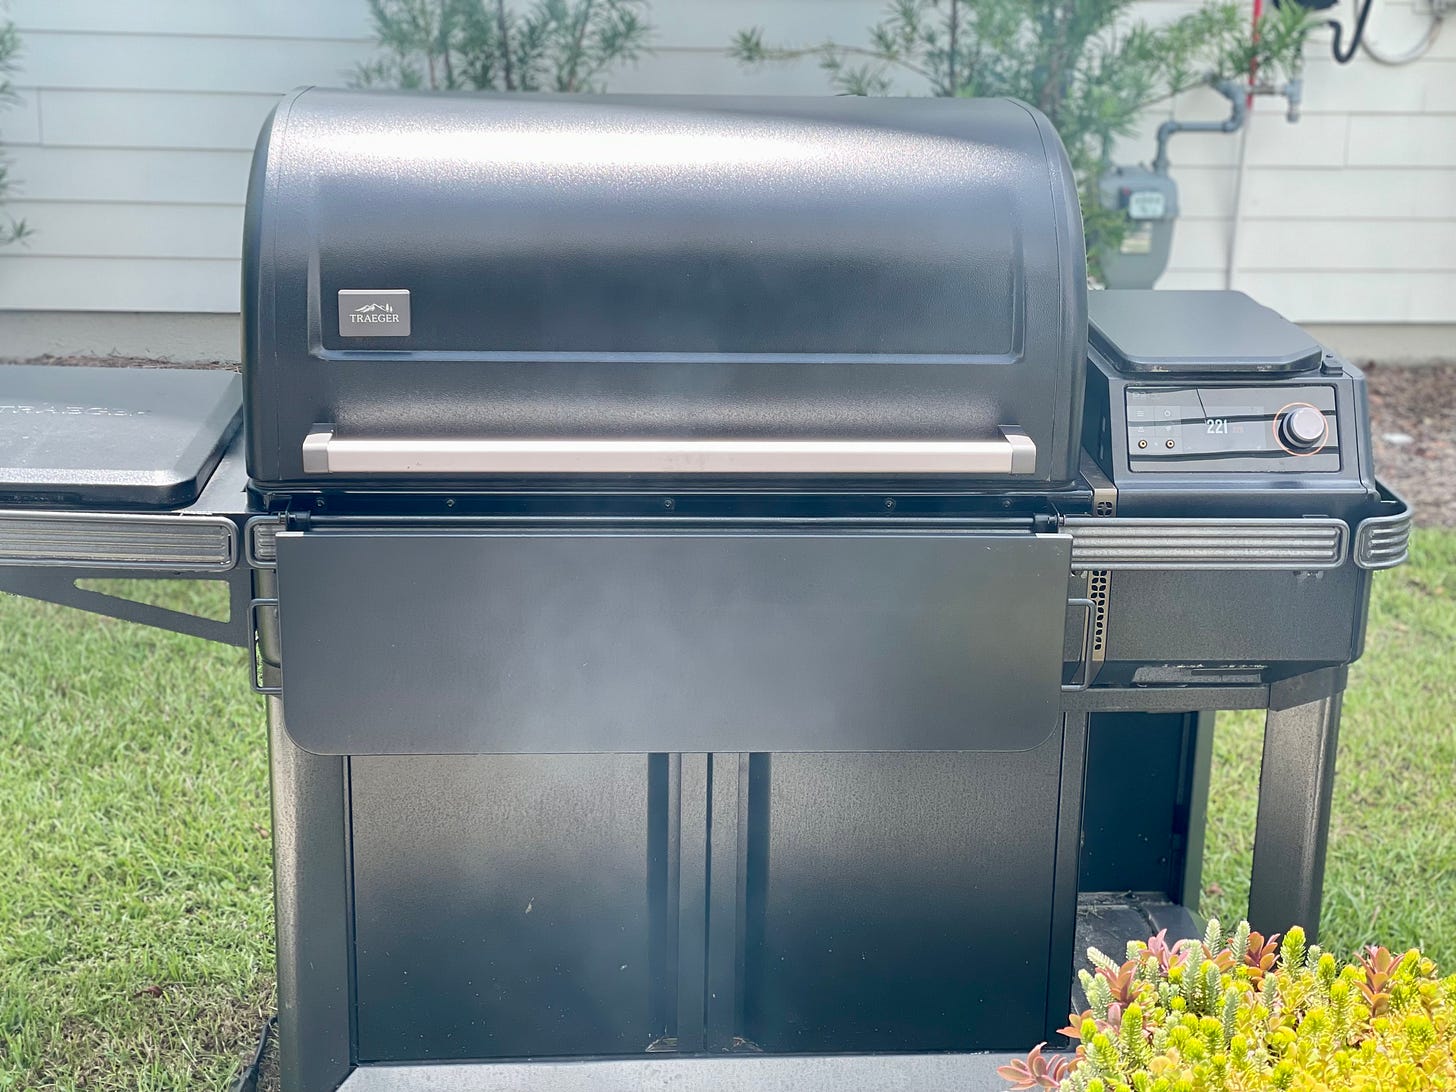
After some trouble shooting, she told me that she turned on her pellet smoker and preheated it for 30 minutes with the lid up. When she put the lid down, the smoker was at 375ºF, instead of 225ºF.
If you are like her, and want to know why: Fire feeds on oxygen, and the more oxygen you give it—by leaving the lid up— the hotter it will get. Turns out she watched someone on Youtube who said to light the smoker/grill with the lid up. That is absolutely correct, but they never said to put the lid down after the grill is lit. That’s a crucial step as you need to preheat the grill with the lid closed.
AU: Yeah, it’s like preheating an oven! For my gas grill, I light the grill with the lid open, and once all burners are lit, I set them to High. I close the grill’s lid and let it preheat for 15 minutes. Then, if I’m grilling something that doesn’t need high heat, I’ll reduce the burners to the correct temp and grill away!
EK: Charcoal is the one caveat to all this. If you are lighting charcoal in a chimney starter or on the charcoal grate of the charcoal grill. You need the oxygen to ignite the charcoal and keep the flames going until you burn off the finish of the charcoal. It is ready when the briquettes are covered with a white gray ash. That is when you put the lid down and make sure that the air vents are at least 1/4 of the way open on the top and the bottom. The more open the vents, the hotter the fire.
TO REVIEW:
Light your Grill/Smoker with the Lid UP, then preheat with the lid DOWN.
Once you’ve reached desired temperature, cook with the lid DOWN. *Remember, you would never bake a cake with the oven door open.
3) DON’T FLIP OUT
AU: I had a big crowd over recently for a fun day of burgers and brewskis (and by “brewskis” I mean rosé, tequila, and Lillet Spritzes). When it was time to grill the burgers, I had an audience.
I gently placed the burgers on the grill (coated with a thin layer of oil, and a generous dusting of s&p), and closed the lid. Shocked, my audience asked, “Well, aren’t you going to flip them around, so they don’t burn?” I replied that I would flip them after about 4 minutes on the first side. Then he confessed that he would normally be trying to pry them off of the grates to make sure they don’t burn.
EK: The most important tip for a great grilled burger is don’t try to turn the food too early. Most food—especially protein—initially sticks to the grill. Once it is cooked on one side, it will naturally release and you’ll be able to flip with ease using only tongs. If it sticks, it’s probably not ready to flip.
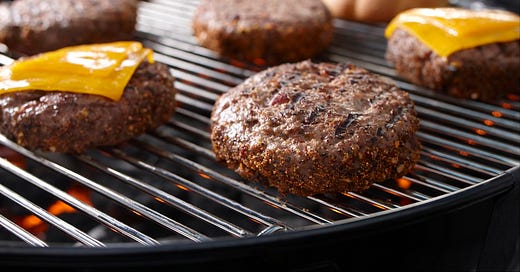
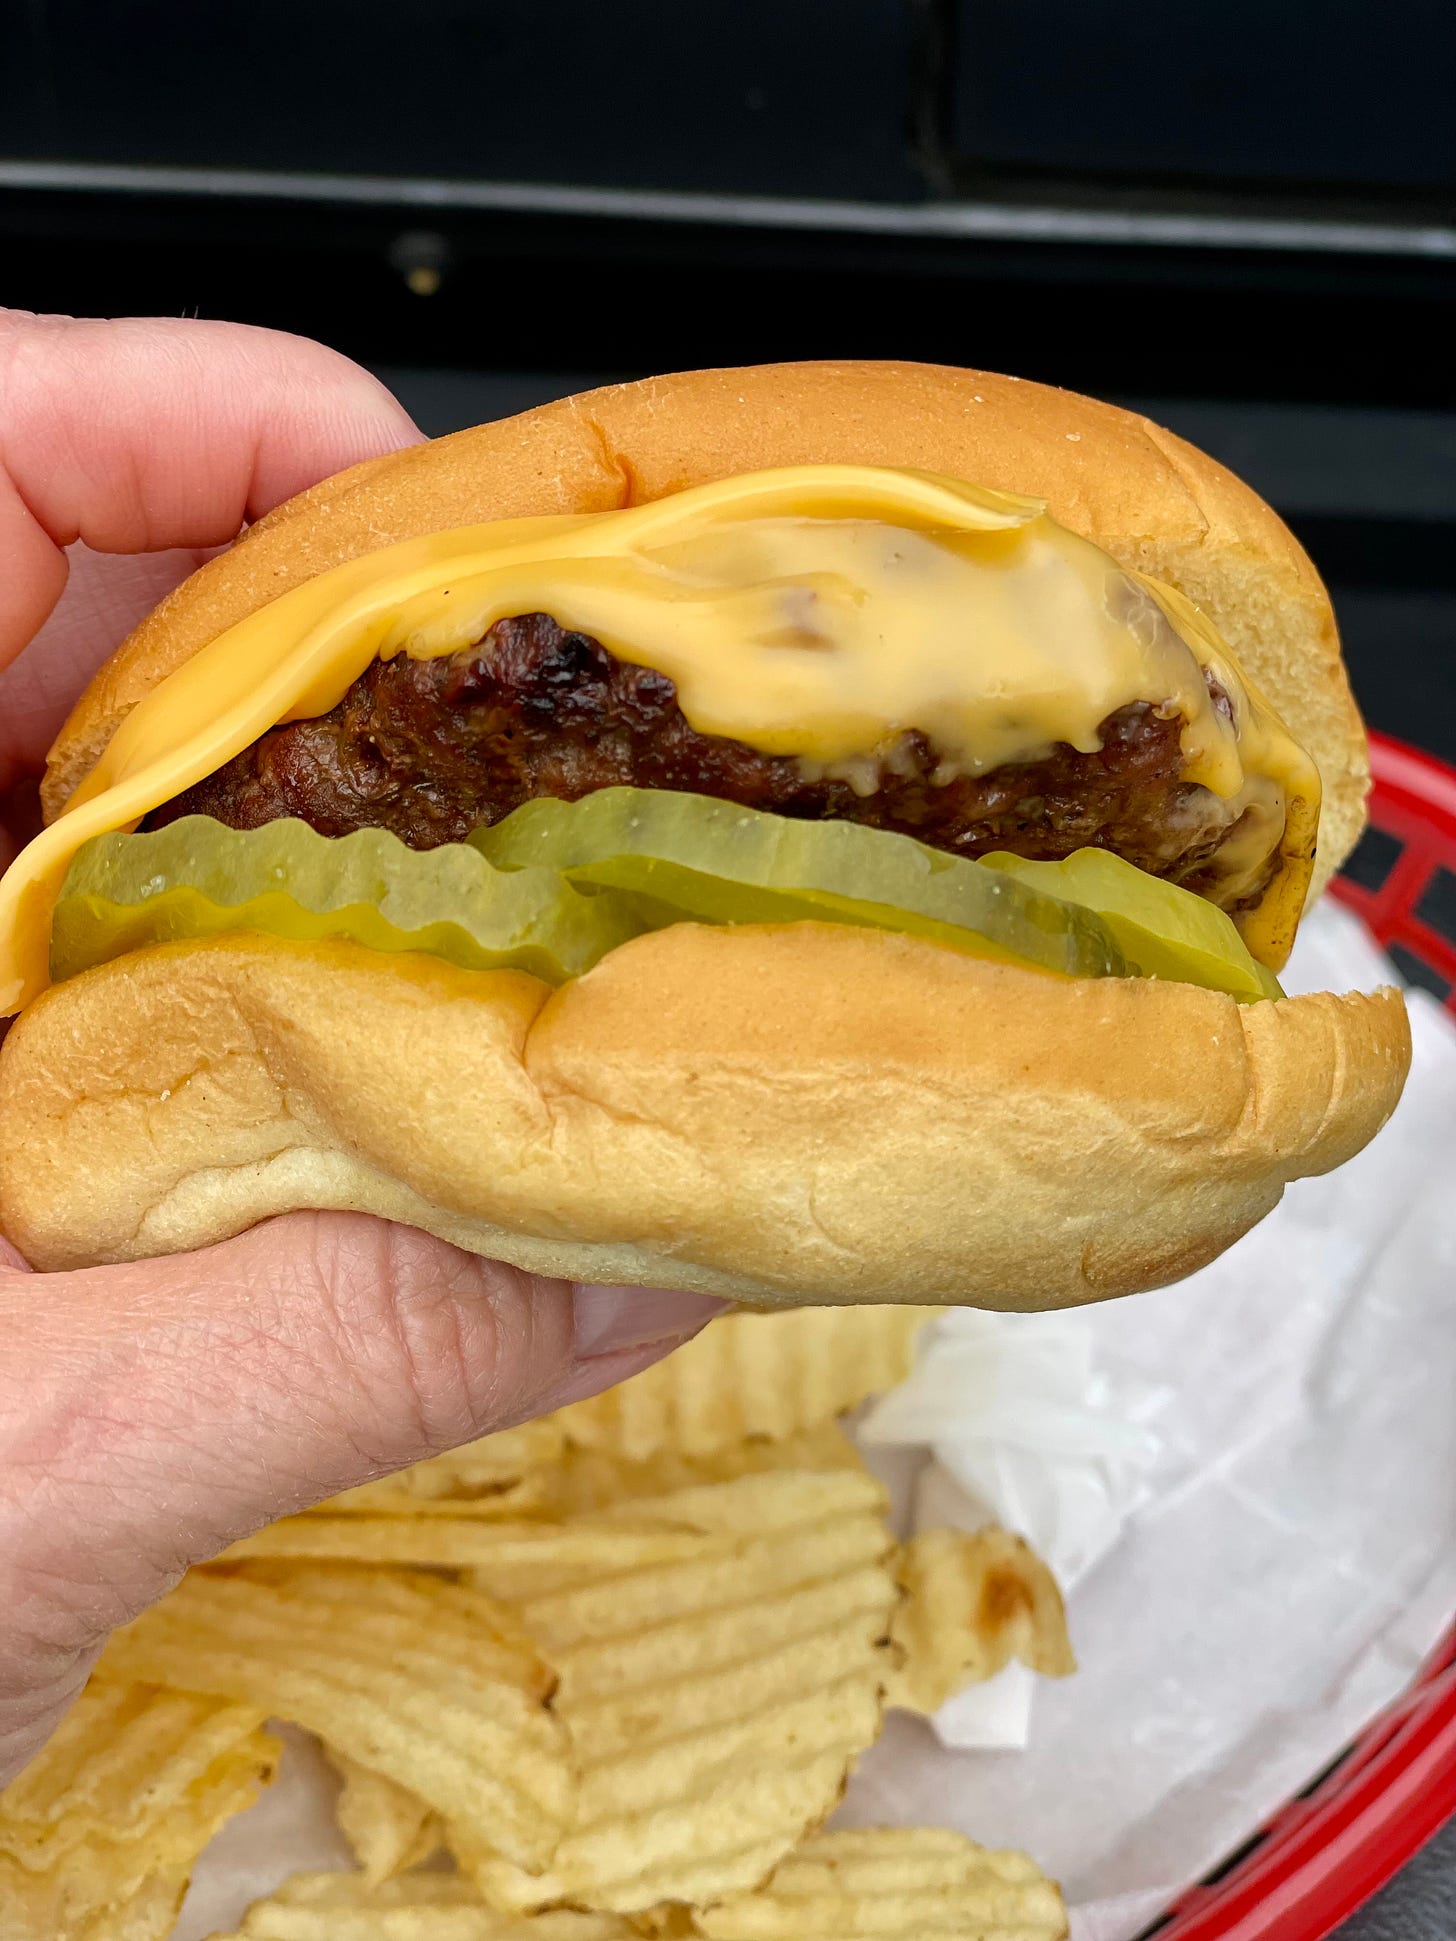
If you are grilling burgers today, know this: you only turn hamburgers once halfway through the cooking time. Burgers will be easy to turn if they are ready, and won’t need you to pry them off the cooking grate! If they are “stuck” on the grill grates, it’s too early to flip.
AU: The food will tell you when it’s ready to flip! The one caveat to this rule, is if you are cooking something that is coated in a sticky/sugary coating. That’s when your food may need a little coaxing off the grill.
EK: One of the other biggest grilling mistakes is squashing, a.k.a. smashing your burgers with a spatula. Not only does it dry out the burger but it also makes it stick more to the grates. And, I am not talking about griddled Smashburgers that cook in their own grease and flatten out amid fried onions—for those, smash away! I am taking about old-fashioned grilled burgers cooked on an open grate.
4) TOO HOT TO HANDLE
EK: When people first start to grill—before they learn to Tame the Flame—they have a tendency to cook everything over a high direct heat. The big grilling secret is that you don’t need the heat to be as hot as you think it should be. Think about how you cook indoors. Most recipes call for a 350ºF oven. Classic roasting temperature is 325ºF.
AU: I admit that I made this mistake early on. I think it’s because we see all of the commercials with big flames around the food, and think about “searing in all the juices.” But the truth is grilling can be a fairly hands-off and gentle cooking process.
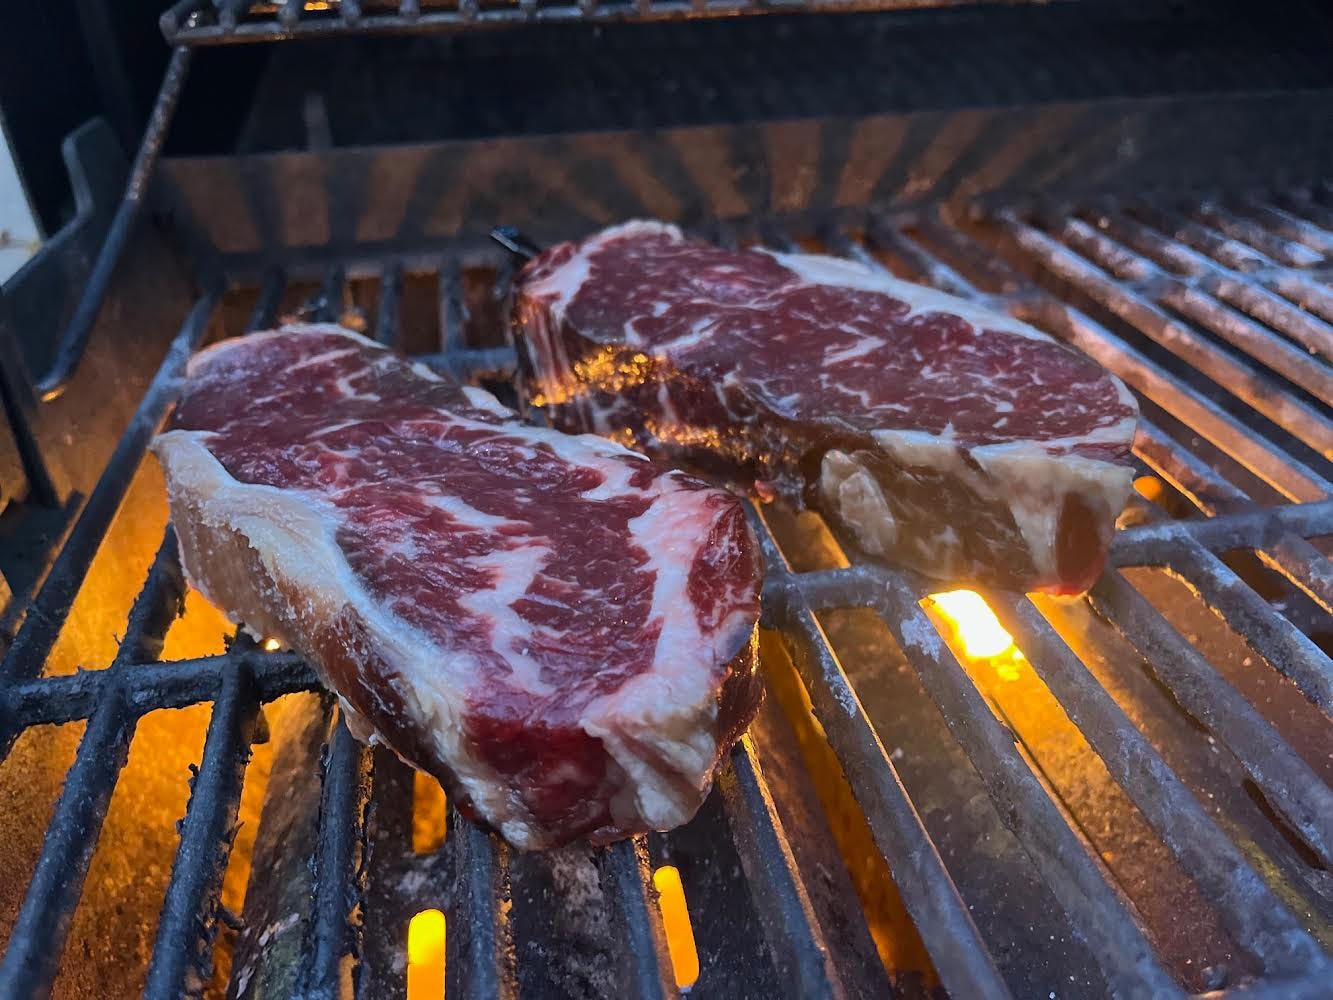
DO THIS (above)
A nice glowing medium-high heat will always deliver great results.
DON’T DO THIS (ABOVE)
Say NO to big flames and flares-ups, they will burn your food, and “burned barbecue is bad barbecue!”
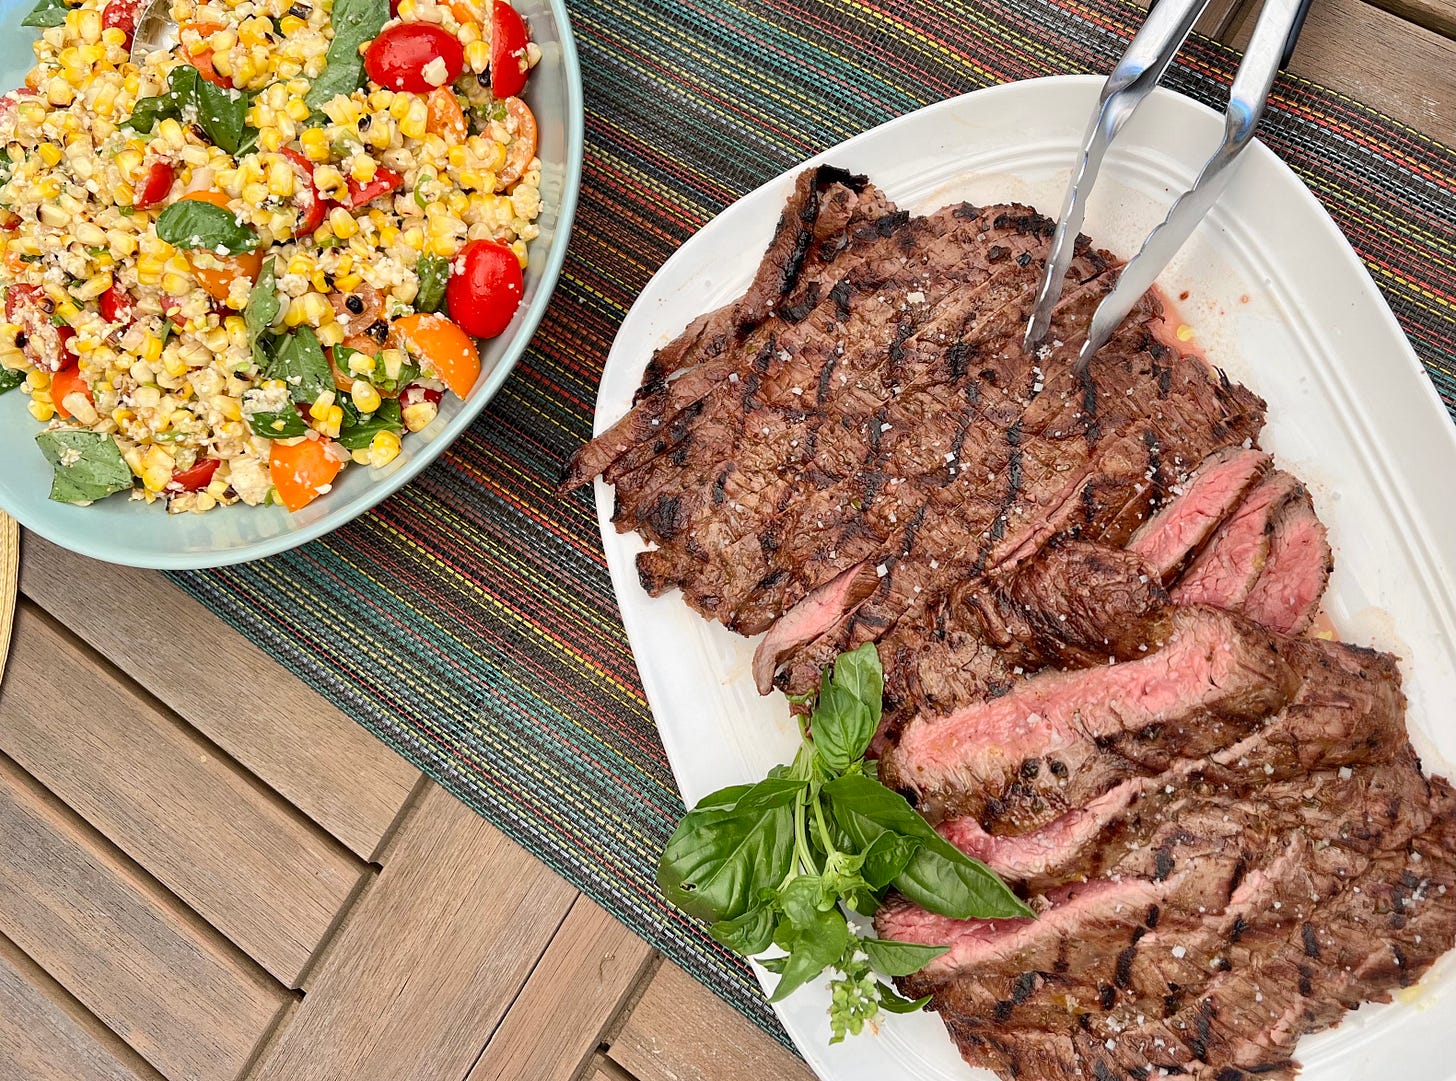
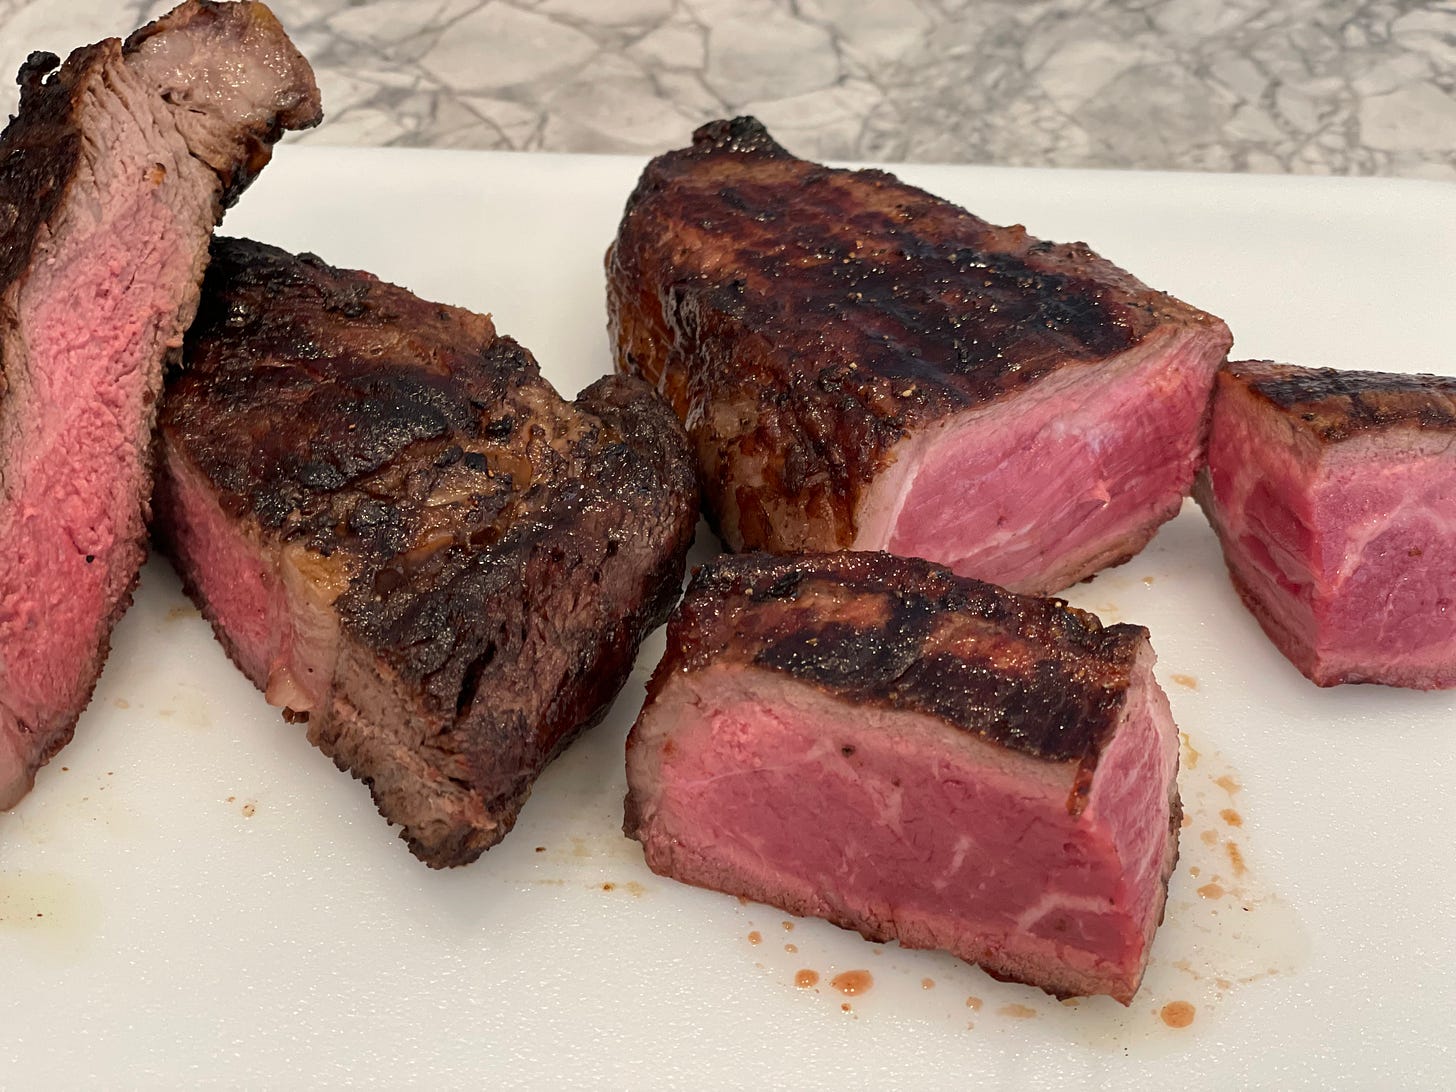
EK: You can get a great crust on the steak using a medium-high heat without flames and flare-ups. I happen to love a rare steak with a darkly caramelized crust like the one shown here but if you like your steak medium, just let it grill longer!
Wishing you all a safe and happy holiday!! Happy Grilling!!!






Always learn something from you guys! Thanks!
Thank you for being so engaged and complimentary!!! Happy holiday weekend!